‘Witch’ - Texture and Lighting Process
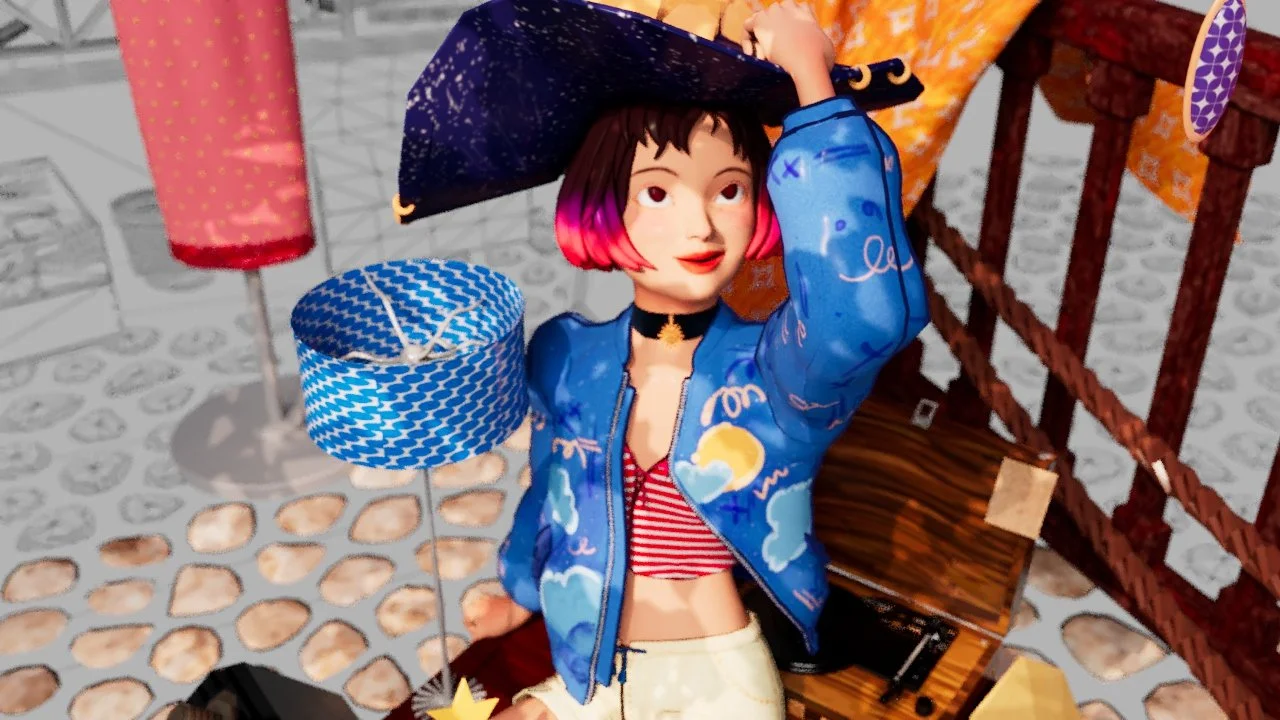
For this assessment, the scene was big and would be too load to make detail in every detail so I just focus on the girl and her surround objects.
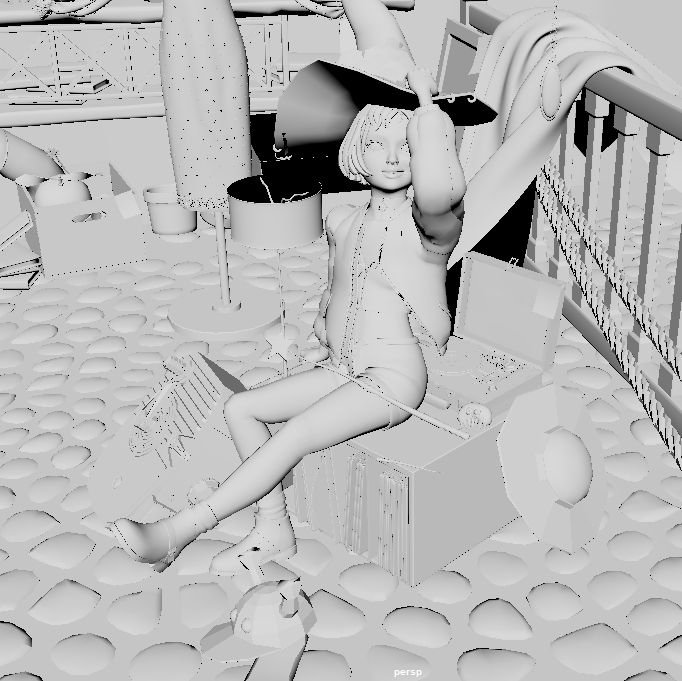
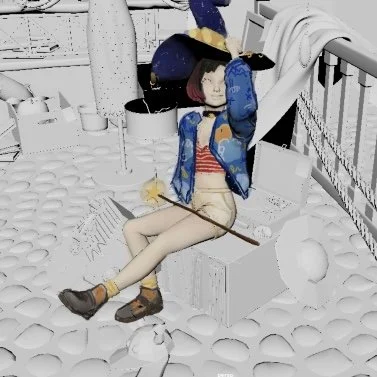
Call Out Sheet
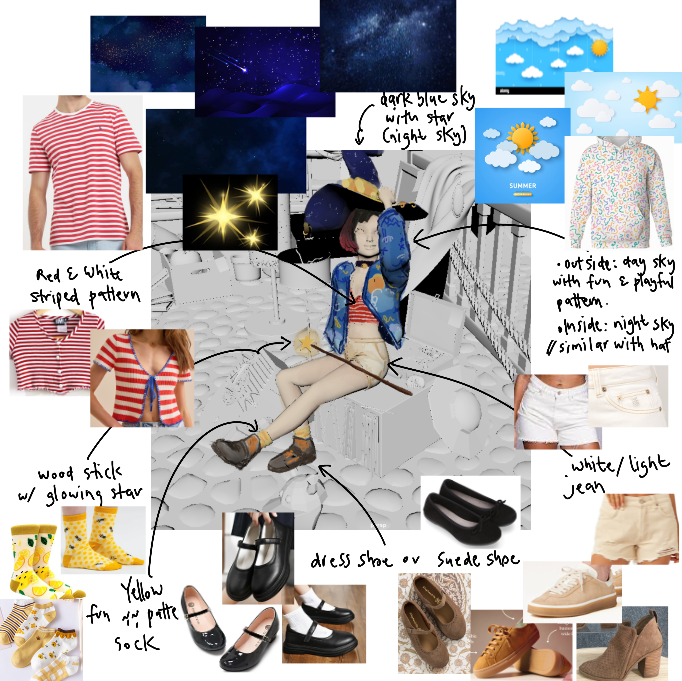
As you can see there, she has a crop shirt which have the red striped design, matching with the hand-drawn stylize day-time sky jacket with the reverse design of the inside part as a night sky with star and a light cream-color jean short.
Light Cream-color Jean Short
There were two choices of shoe style that I would like to use, the dress shoe which giving a clean wipe when it reflects the light it feels very lively and the other one is the suede shoe, I like the matte texture, the giving look of a felt texture.
And for the socks, I want it to feel lively like a bright kid, the image in my head is kid running in the playground on a sunny day, these yellow socks are so match with the scene.
A magic is quite similar to the inner design of the jacket, the dark night sky which you can see the star clearly decorate with the golden card.
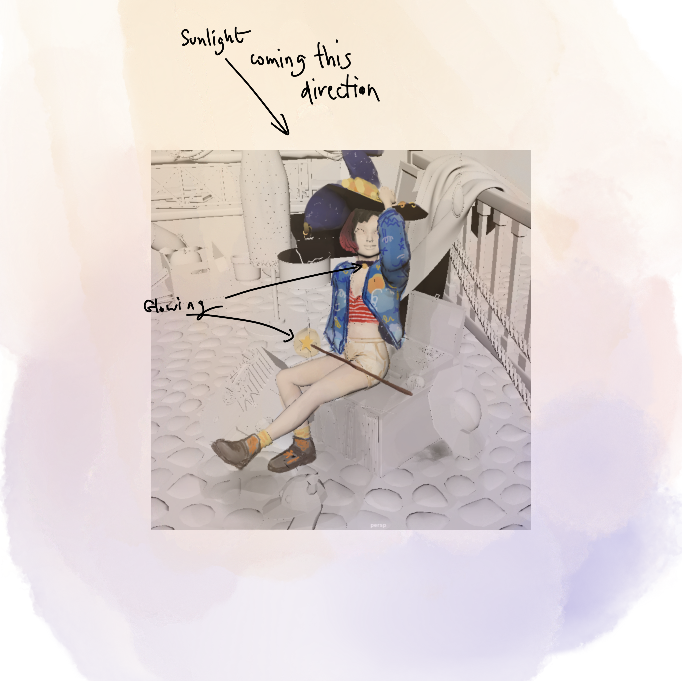
For the light source, this set is outdoor so it’s going to be bright with a natural light. The light will come from the front right angle of the character, set with a leave gobo to the light and scene look more natural.
References of the objects surround
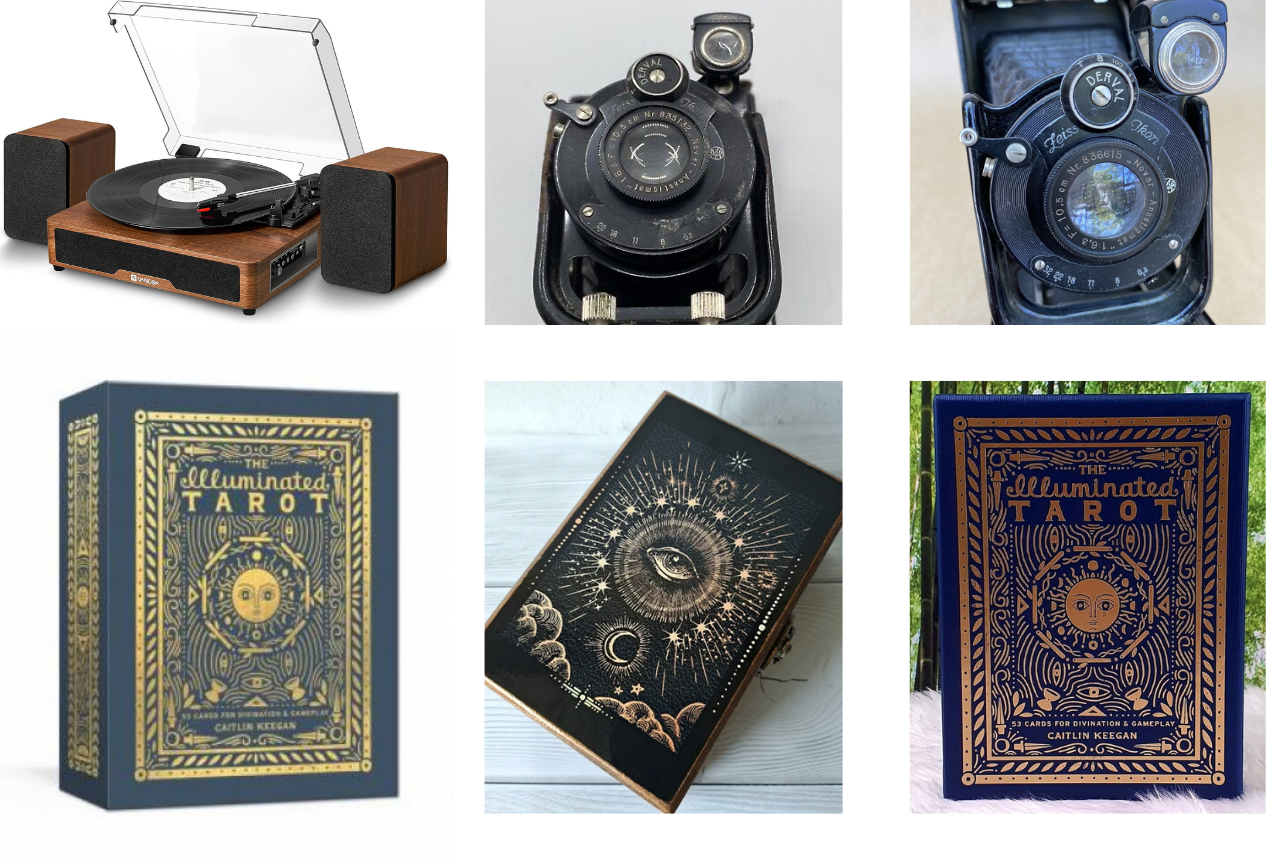
Here are the references of the objects surround. The vinyl reader, classic camera and dock of tarot cards.
Grouping and UV layout
(ready import to Adobe 3D Substance Painter):
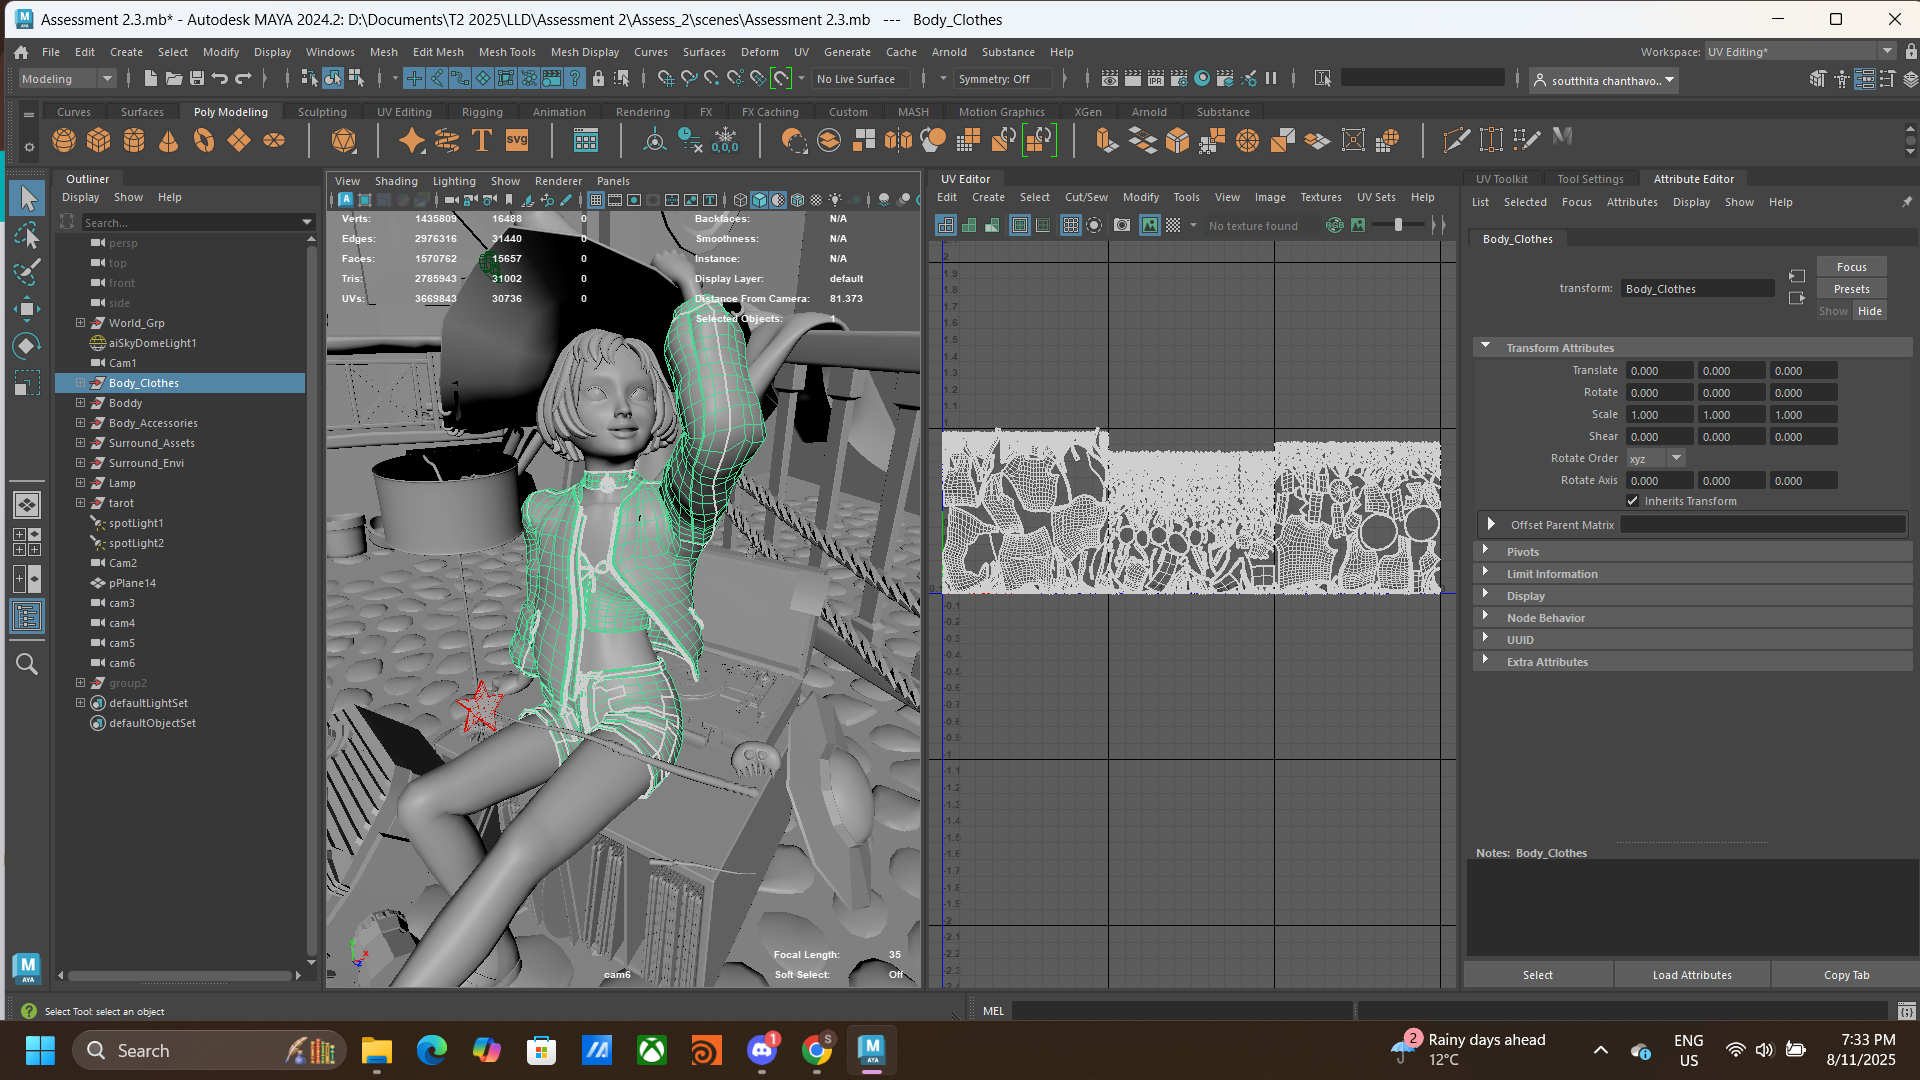
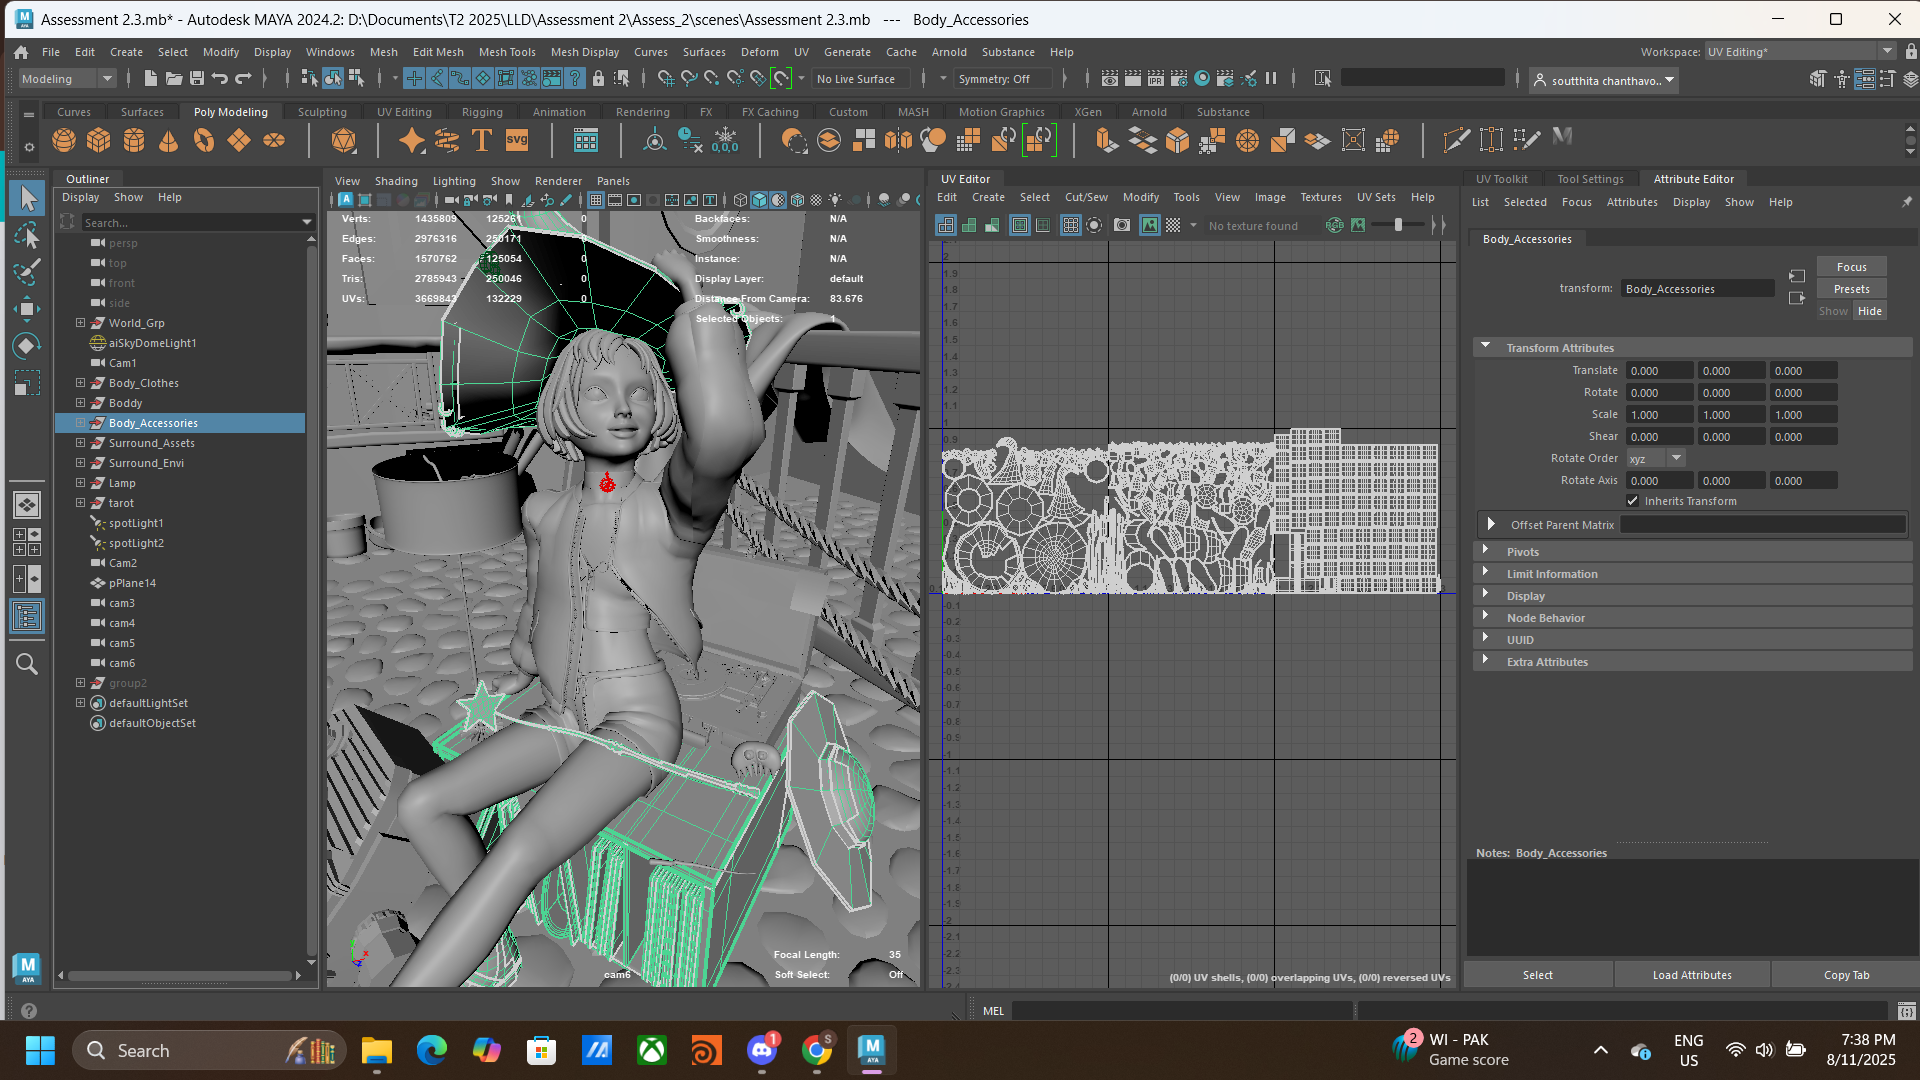
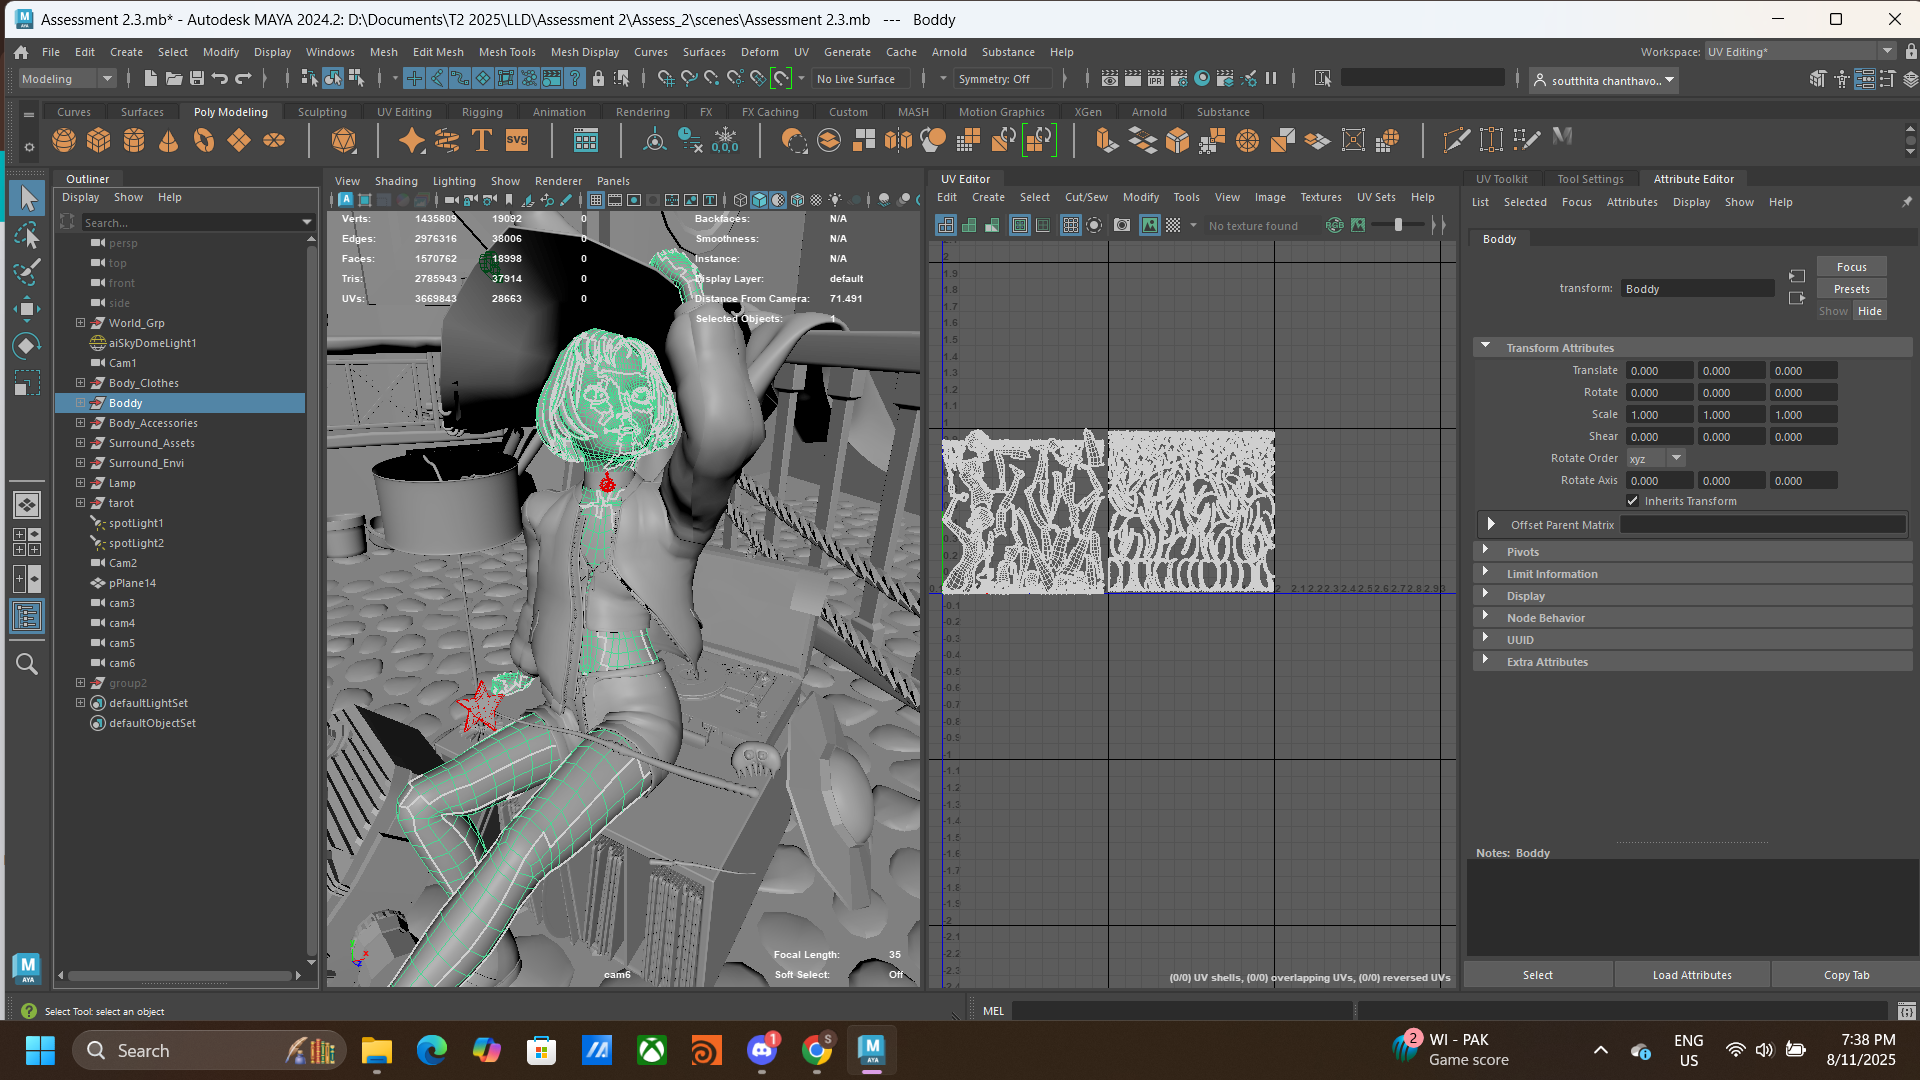
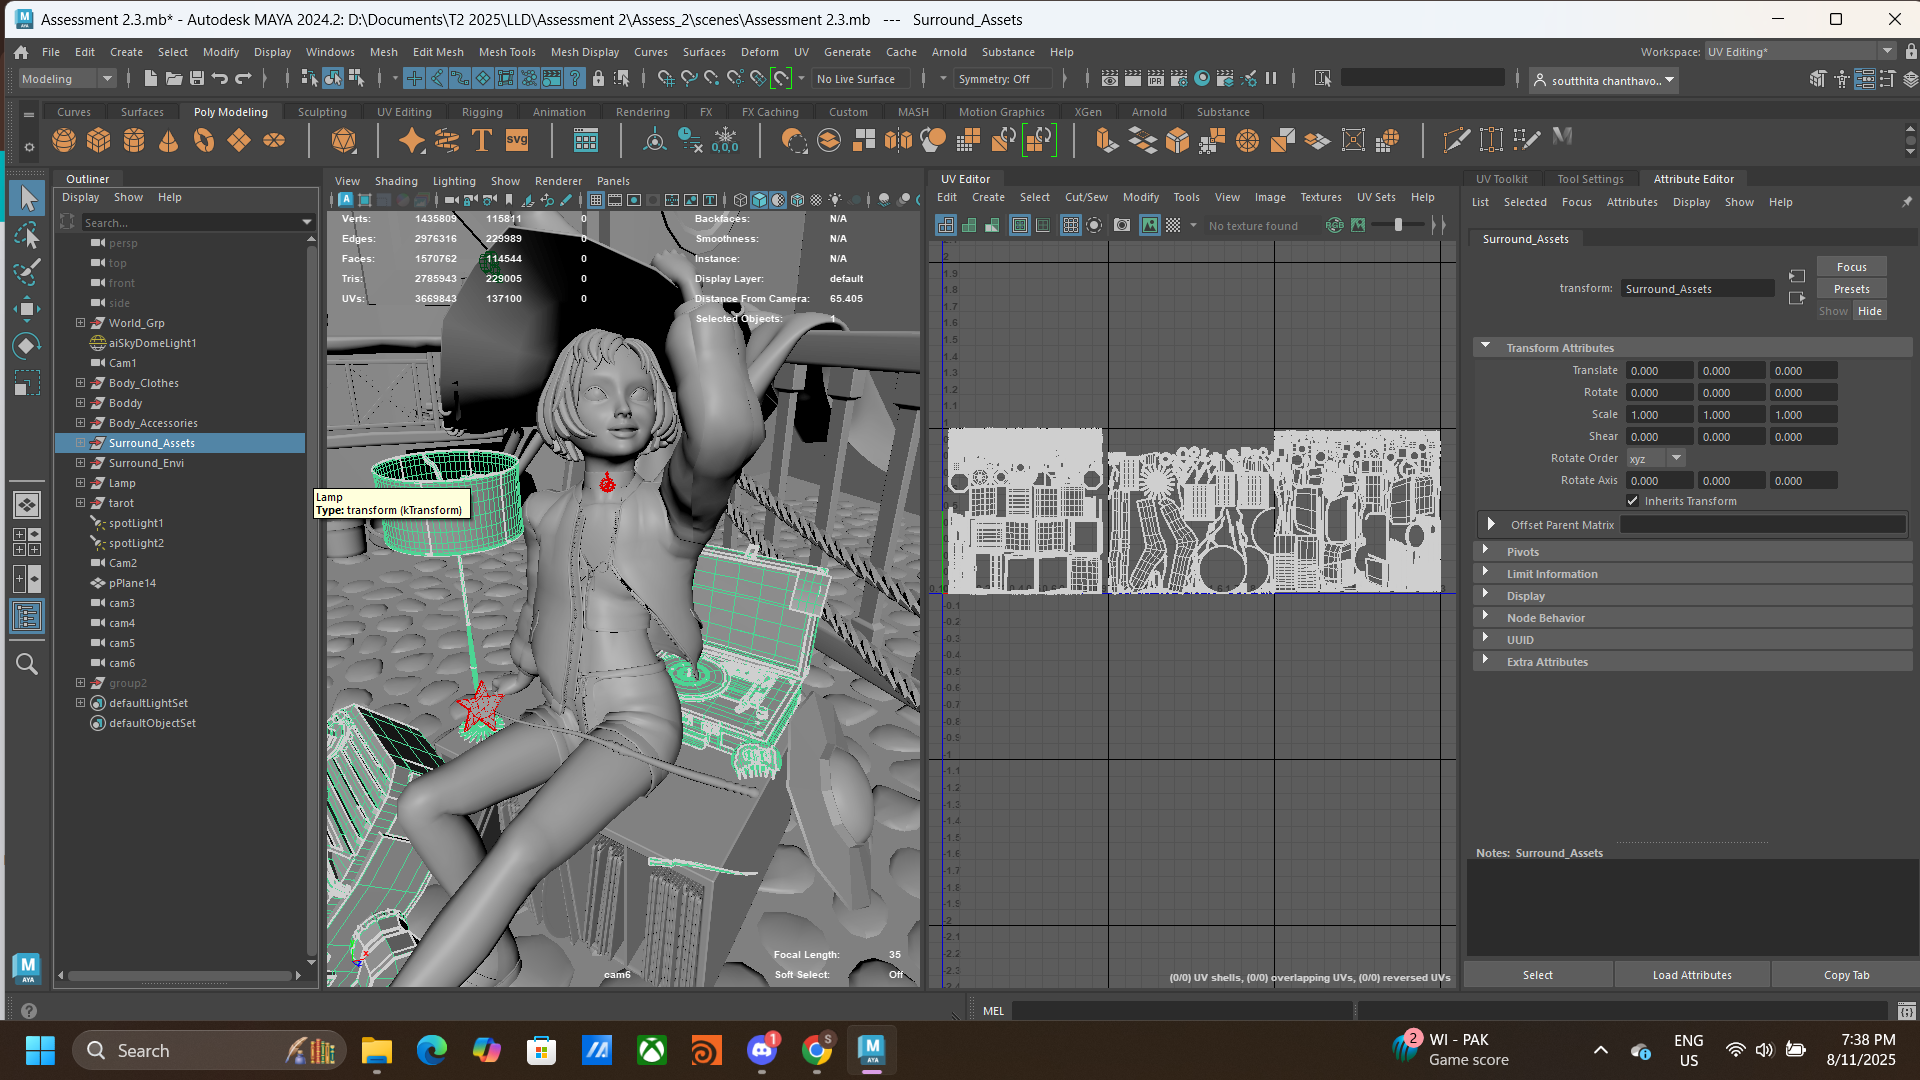
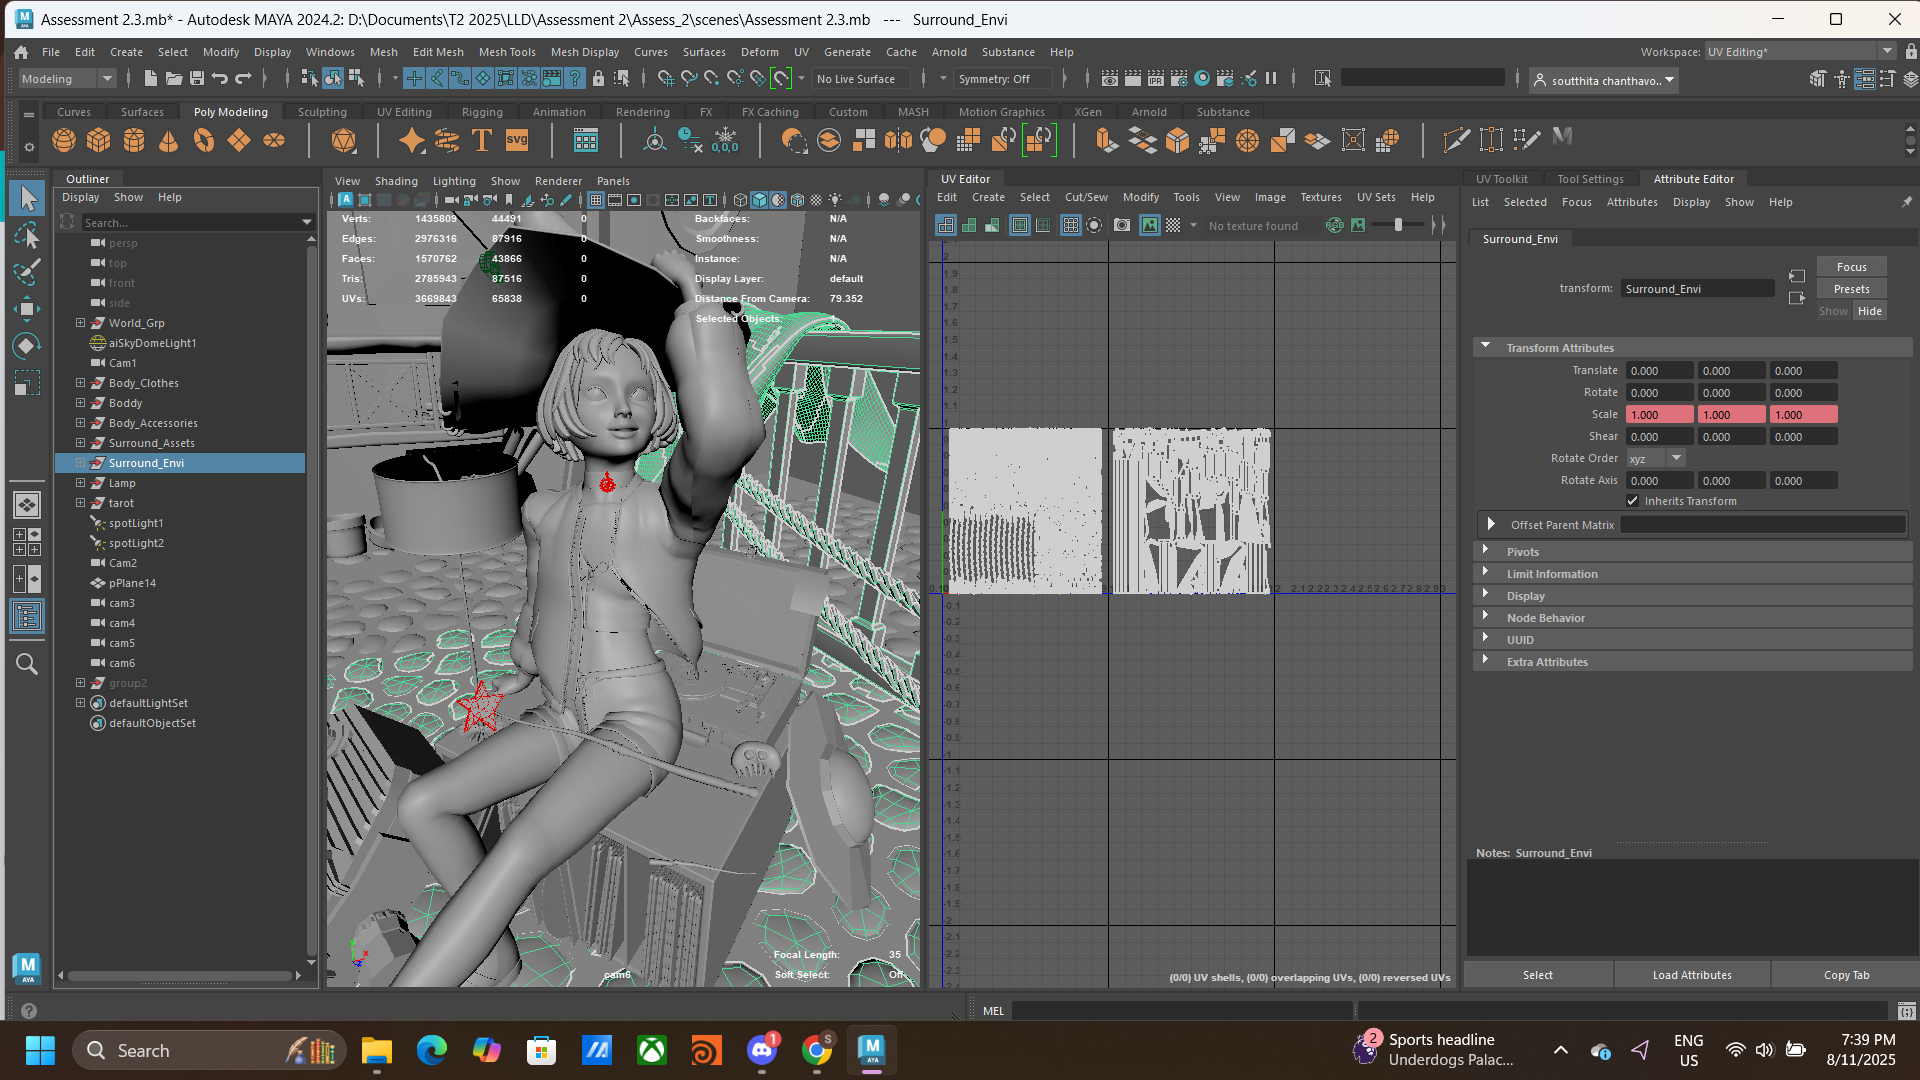
I start with select all the needed objects, set and group it together as a category to make it organize.
I group the body outfit together which contains, jacket, short, crop shirt and the choker. Group them together and layout the uv properly as shown. Noted that when grouping the objects, don’t merge or combine the objects into one layer if you want to texture those with different material in adobe 3D substance painting.
Do the same method to other objects that wanted to be exported to texture in Adobe 3D Substance Painter.
Texturing using Adobe 3D Substance Painter
When import the file into Substance Painter make sure to set up the setting correctly and bake the texture before you do the texturing.
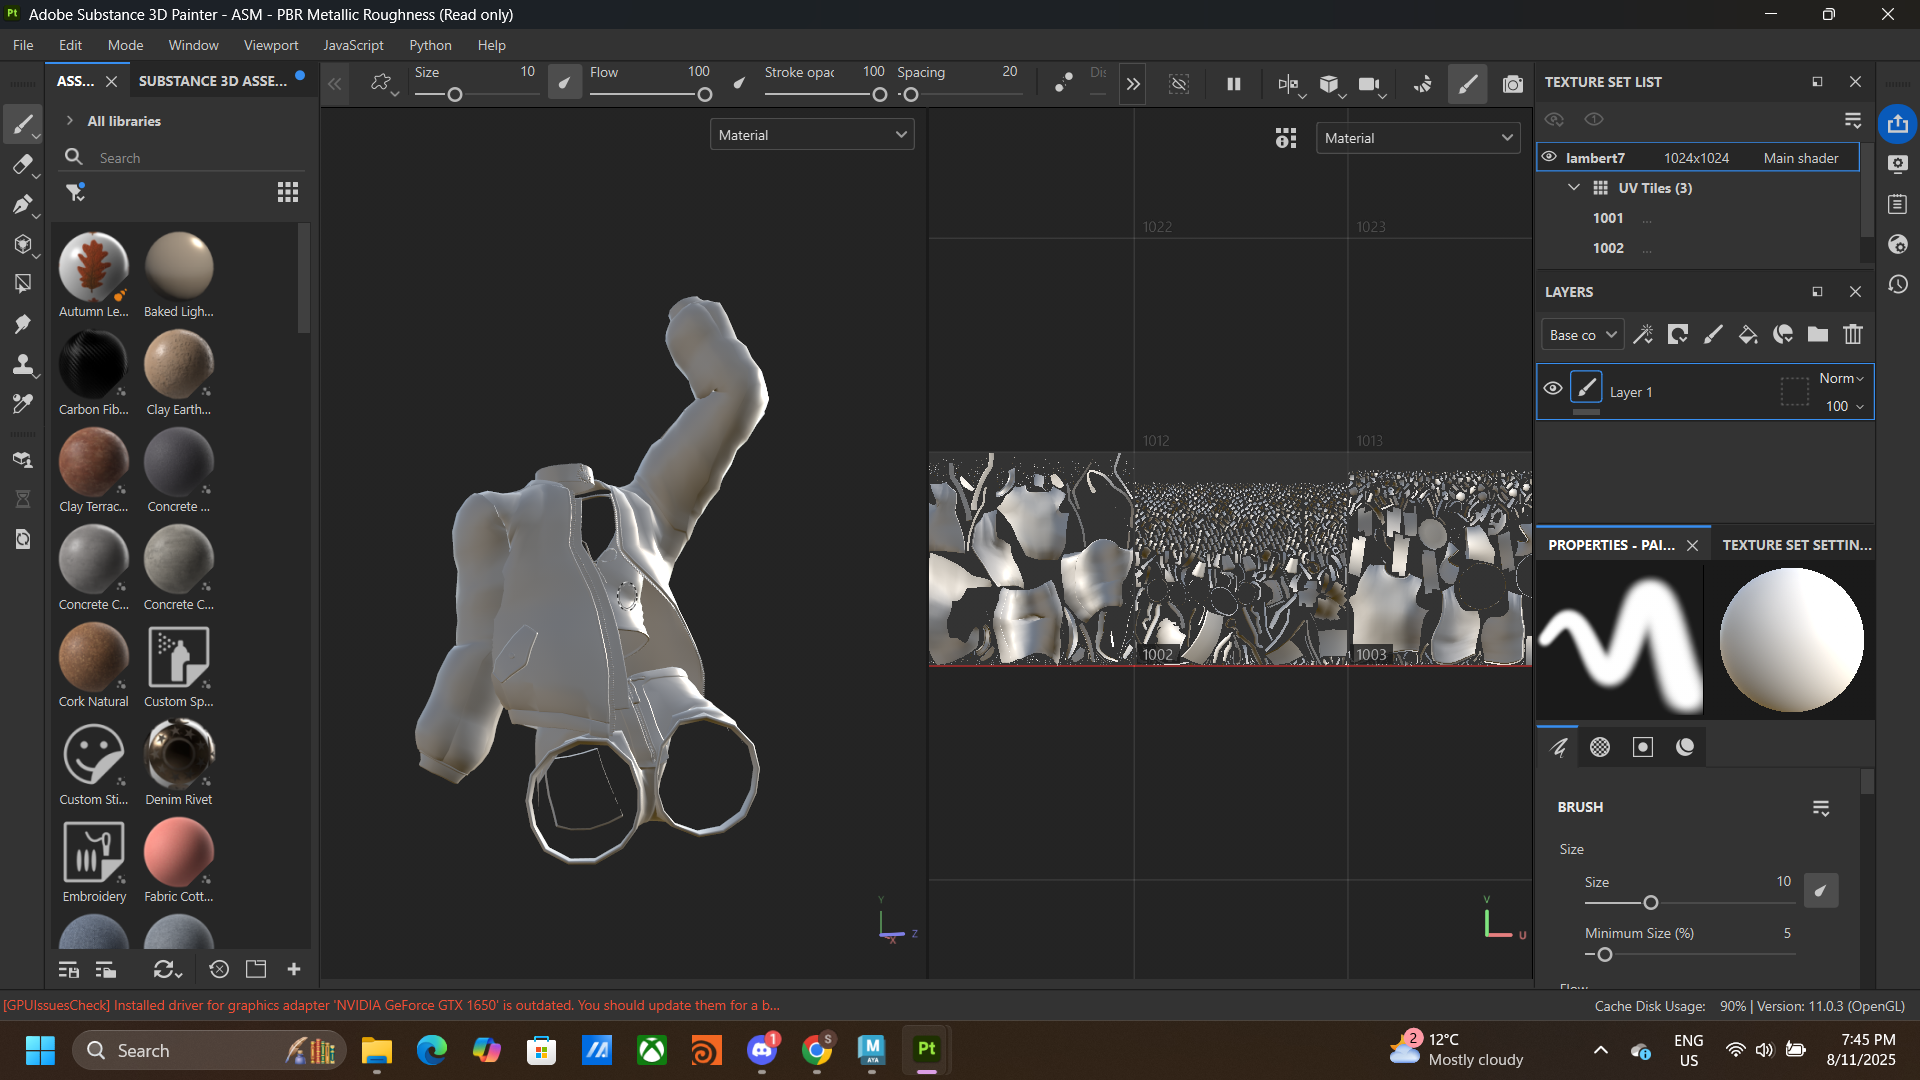
This is how it looks in the software. You can add materials from the left-hand side to the object directly, the software will add that to the layer on the right-handed side automatically. On the layer panel, you can see a dashed line box on each layer, this is where you can choose to apply the material to specific UV tiles or mesh layers.
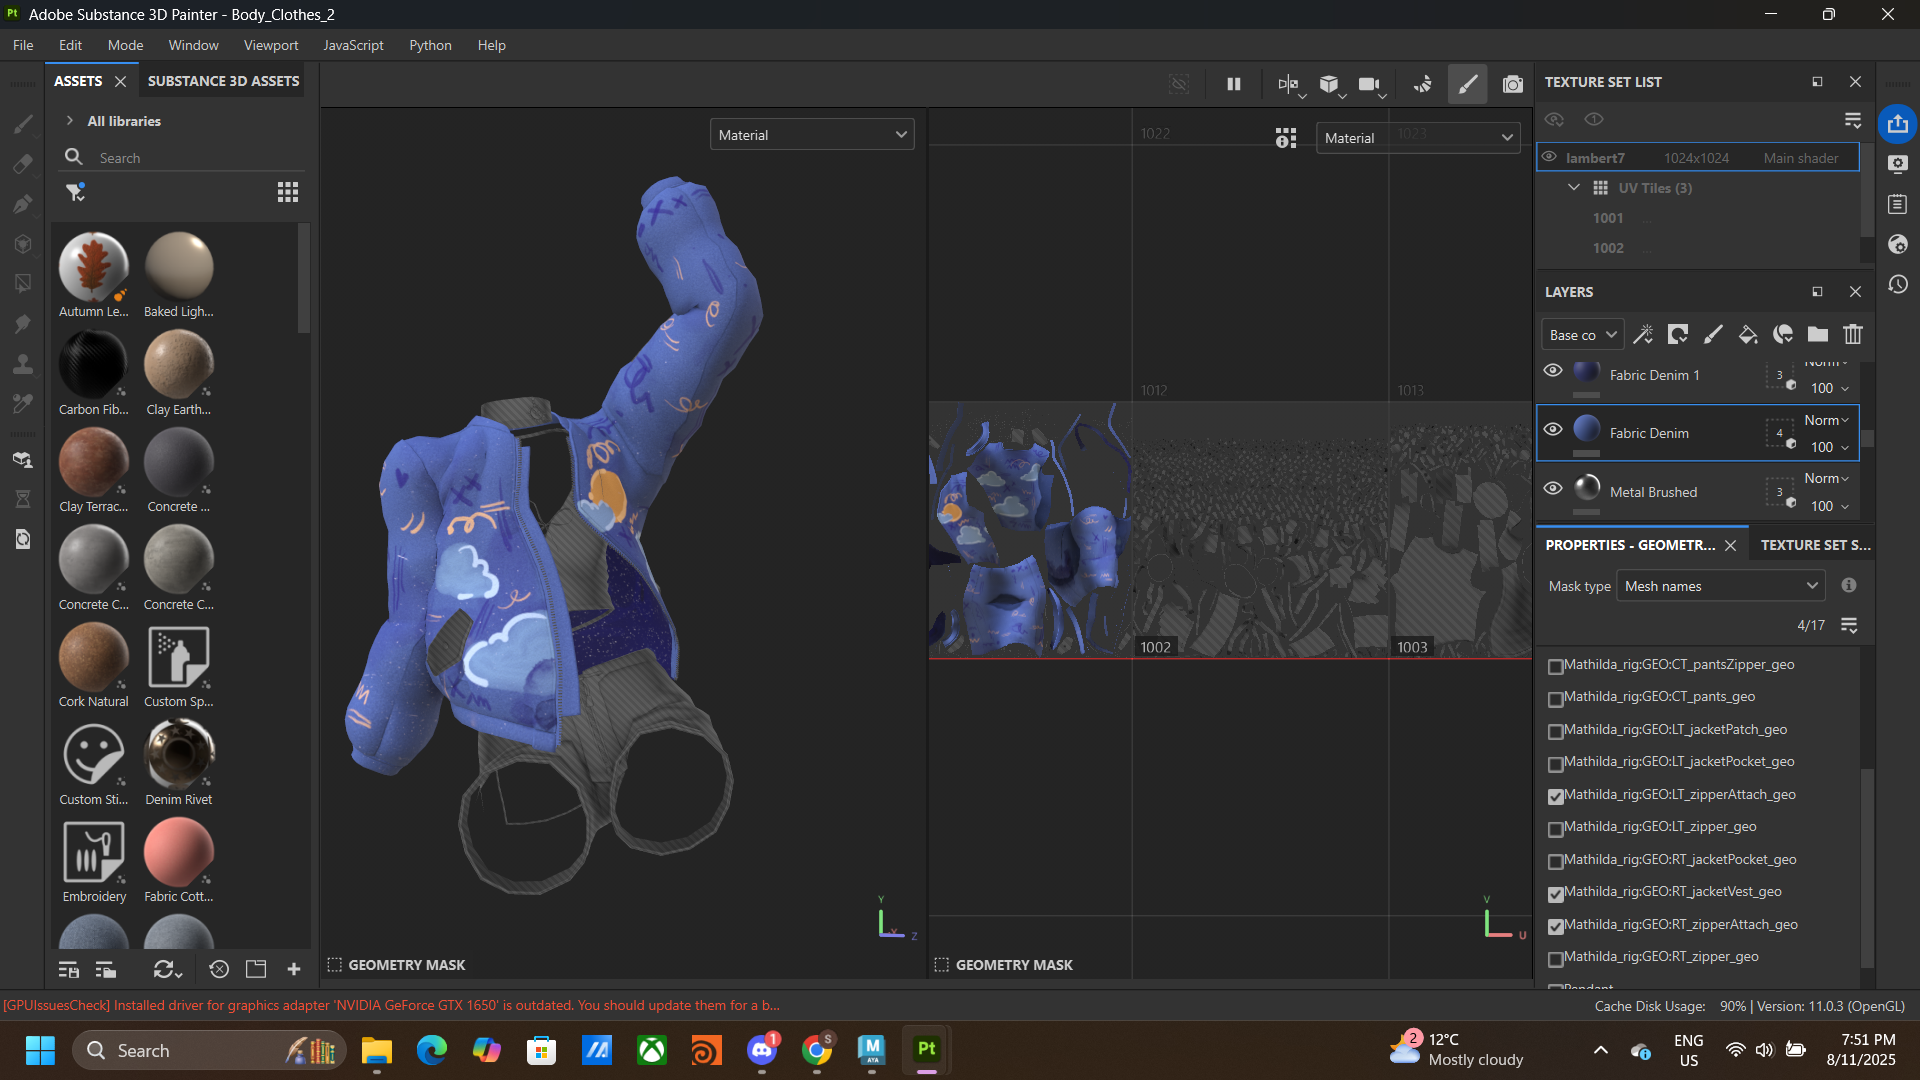
As shown above, the texture is applied onto four specific mesh layers (should be organized in maya before import here).
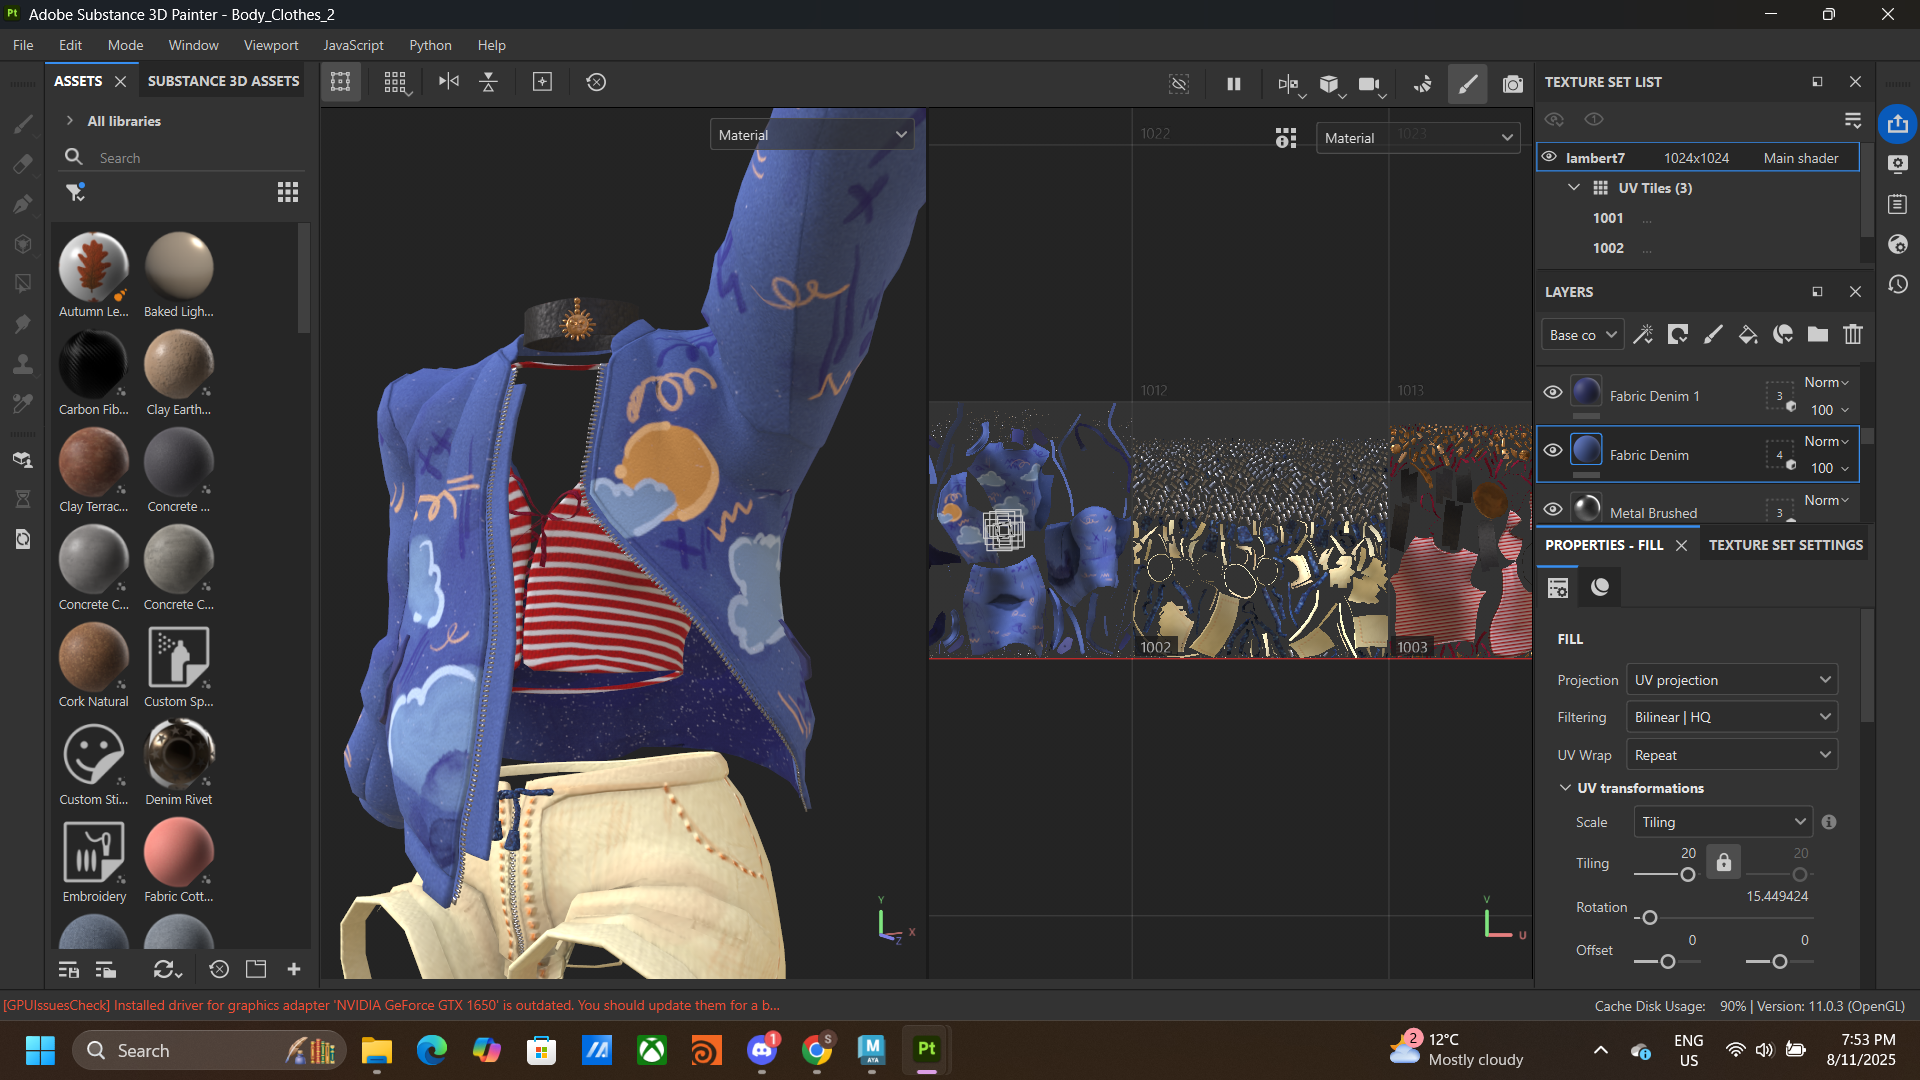
I use one of the cloth material to apply to the jacket and adjust it to the color I have designed, adding a stylized hand-drawn sky element and a playful lines, shapes to decorate the sky for a lively feeling. And the inner of it is a night sky that full of stars.
For the red striped shirt, also use the supply cloth material, make it red and add a striped texture on that material layer, adjust the striped to make it a perfect look.
For the short, the method is quite similar but for the short I have added some detail that is the stitch in the propriate position by added a paint layer, make a line where you think it must contain stitch, and apply height to it.
For the choker, it was a simple leather materials with a golden pendant.
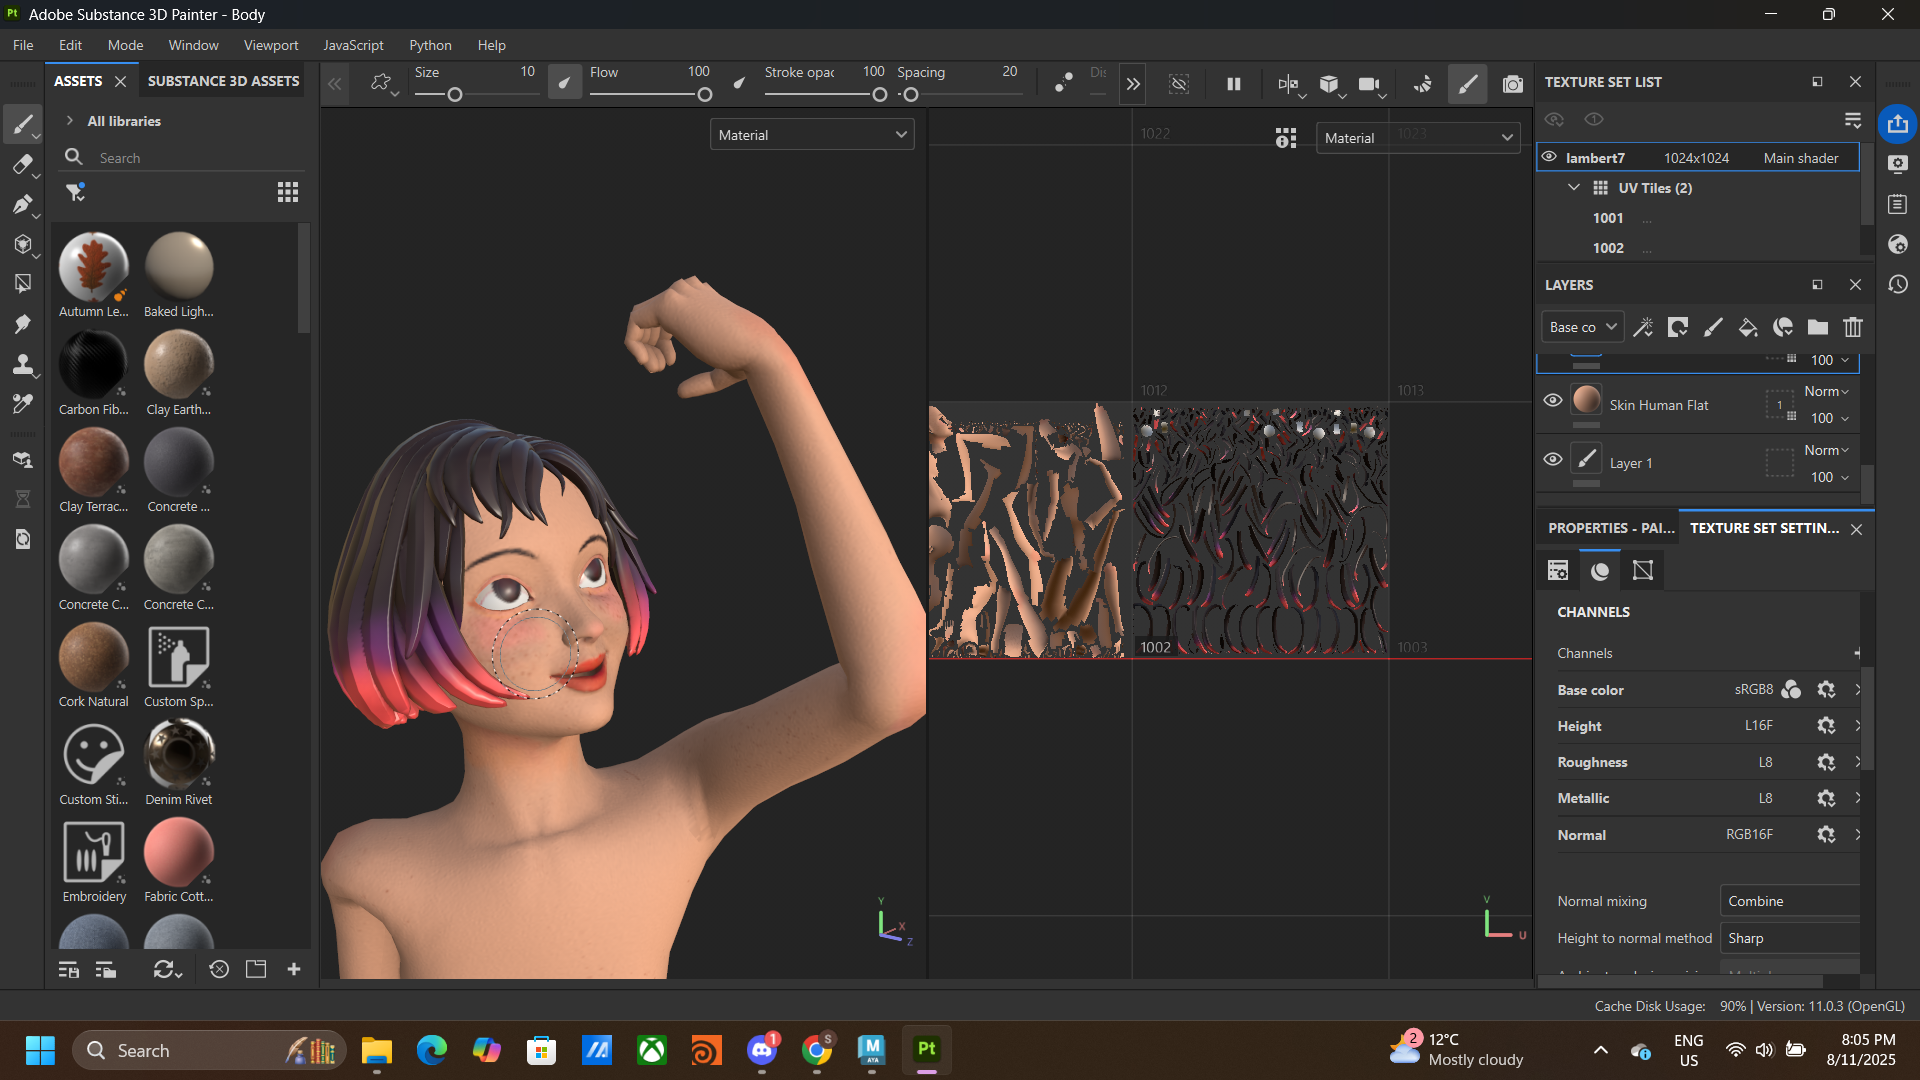
The next one is the body and the hair. For the skin it was just a simple skin material with a paint contour on some specific position such as the elbows and knees (a thin layer of pink).
For the face, at first I just add a brush-on (add pink on her cheeks) and apply an orange-red lips for her. But when I look at her face I feel something is missing, I start do her some more make-up, on lashlines, lids and add an eyebrows. After all of those make-up, I still think it was not yet enough, so I add a freckle into both of her cheeks.
As for the hair, it was just a simply fill color and paint on top with the highlight color which is pink and purple.
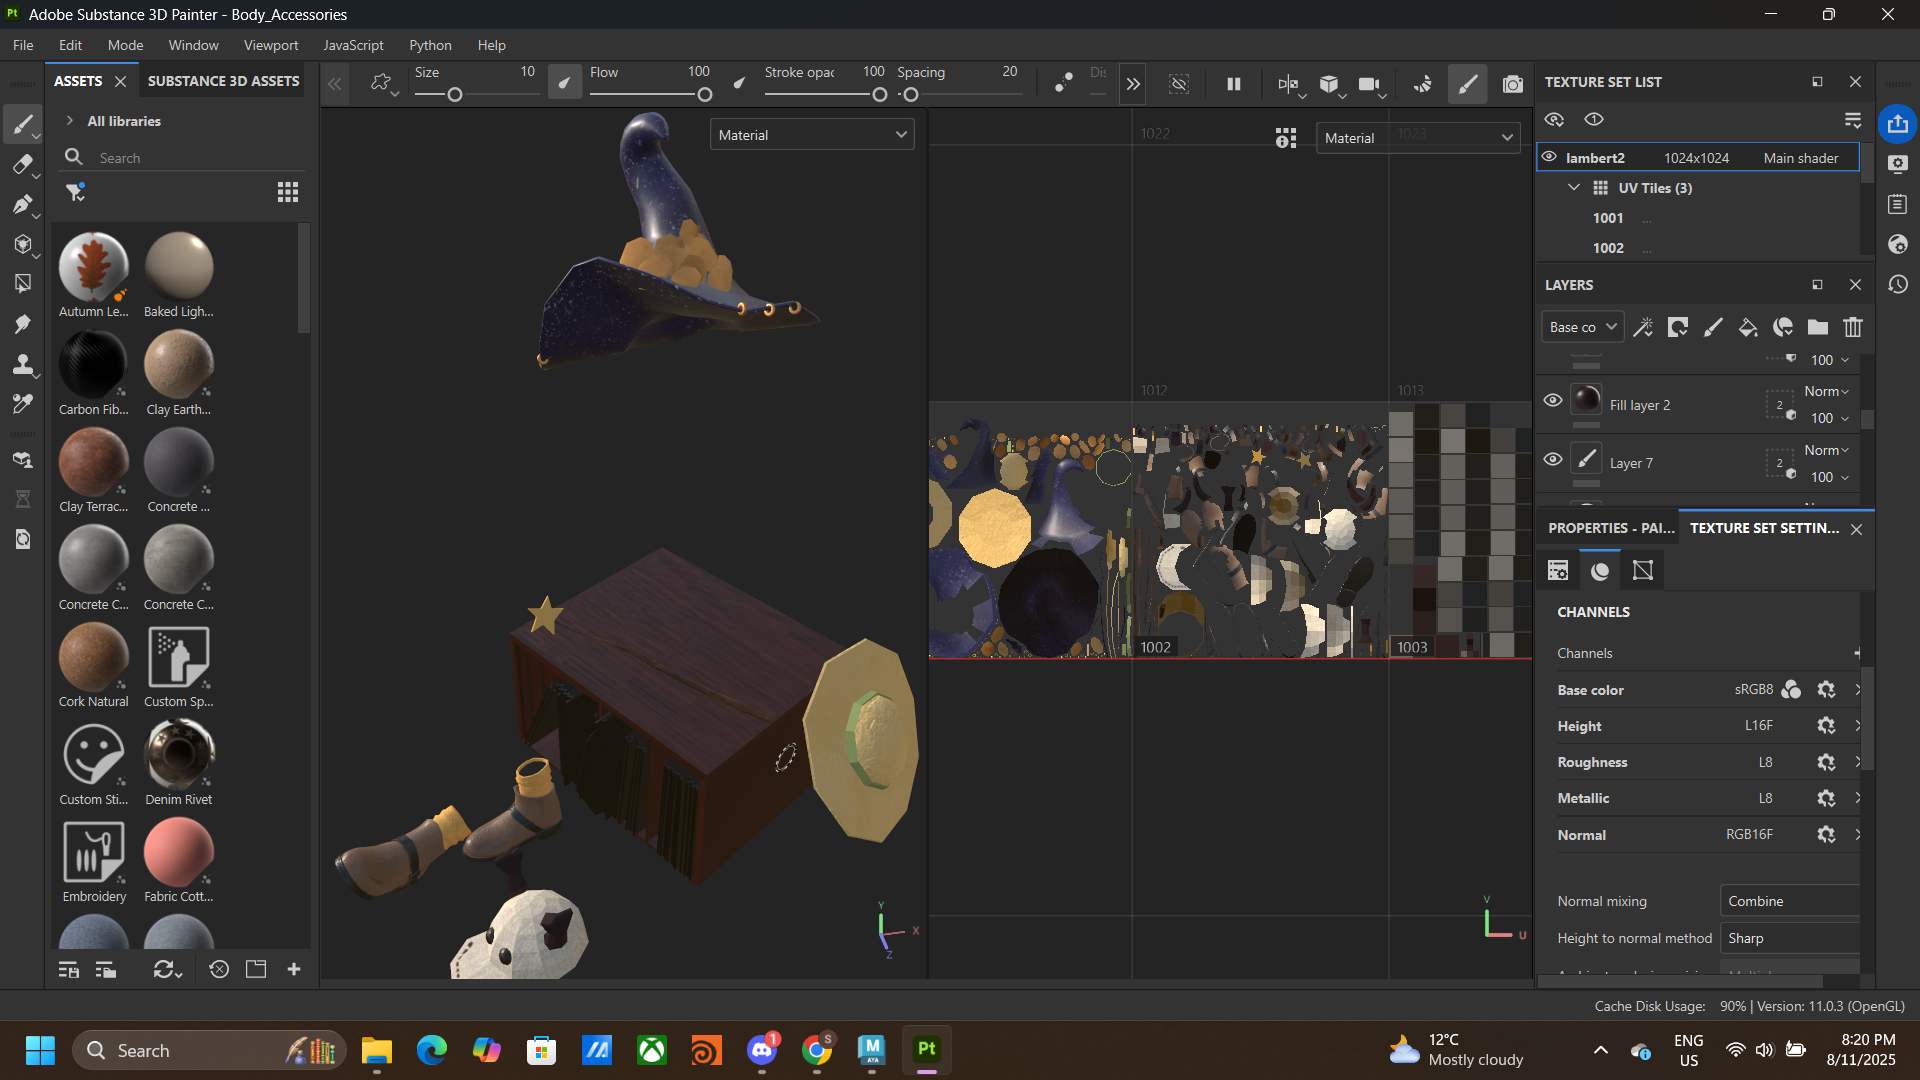
I got a night sky witch hat, a small wooden cupboard, magic stick, brown shoes and yellow socks.
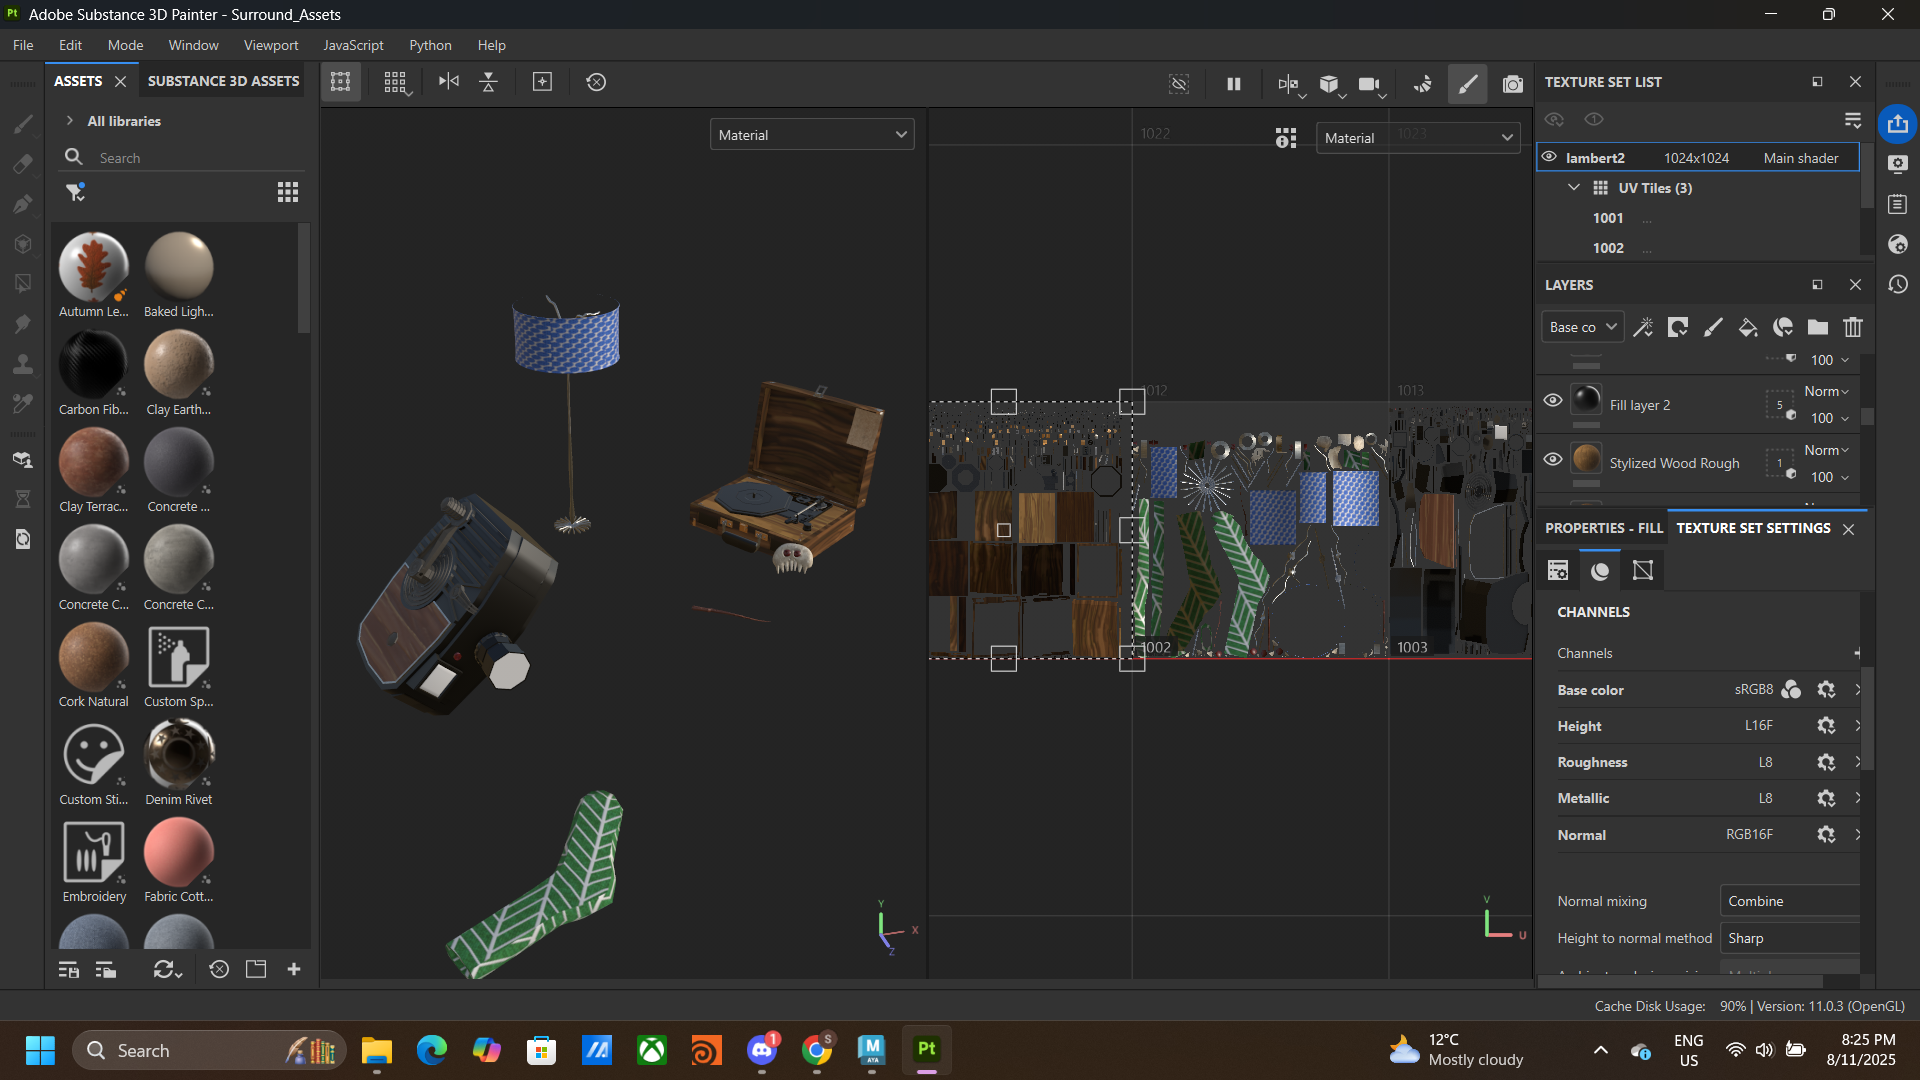
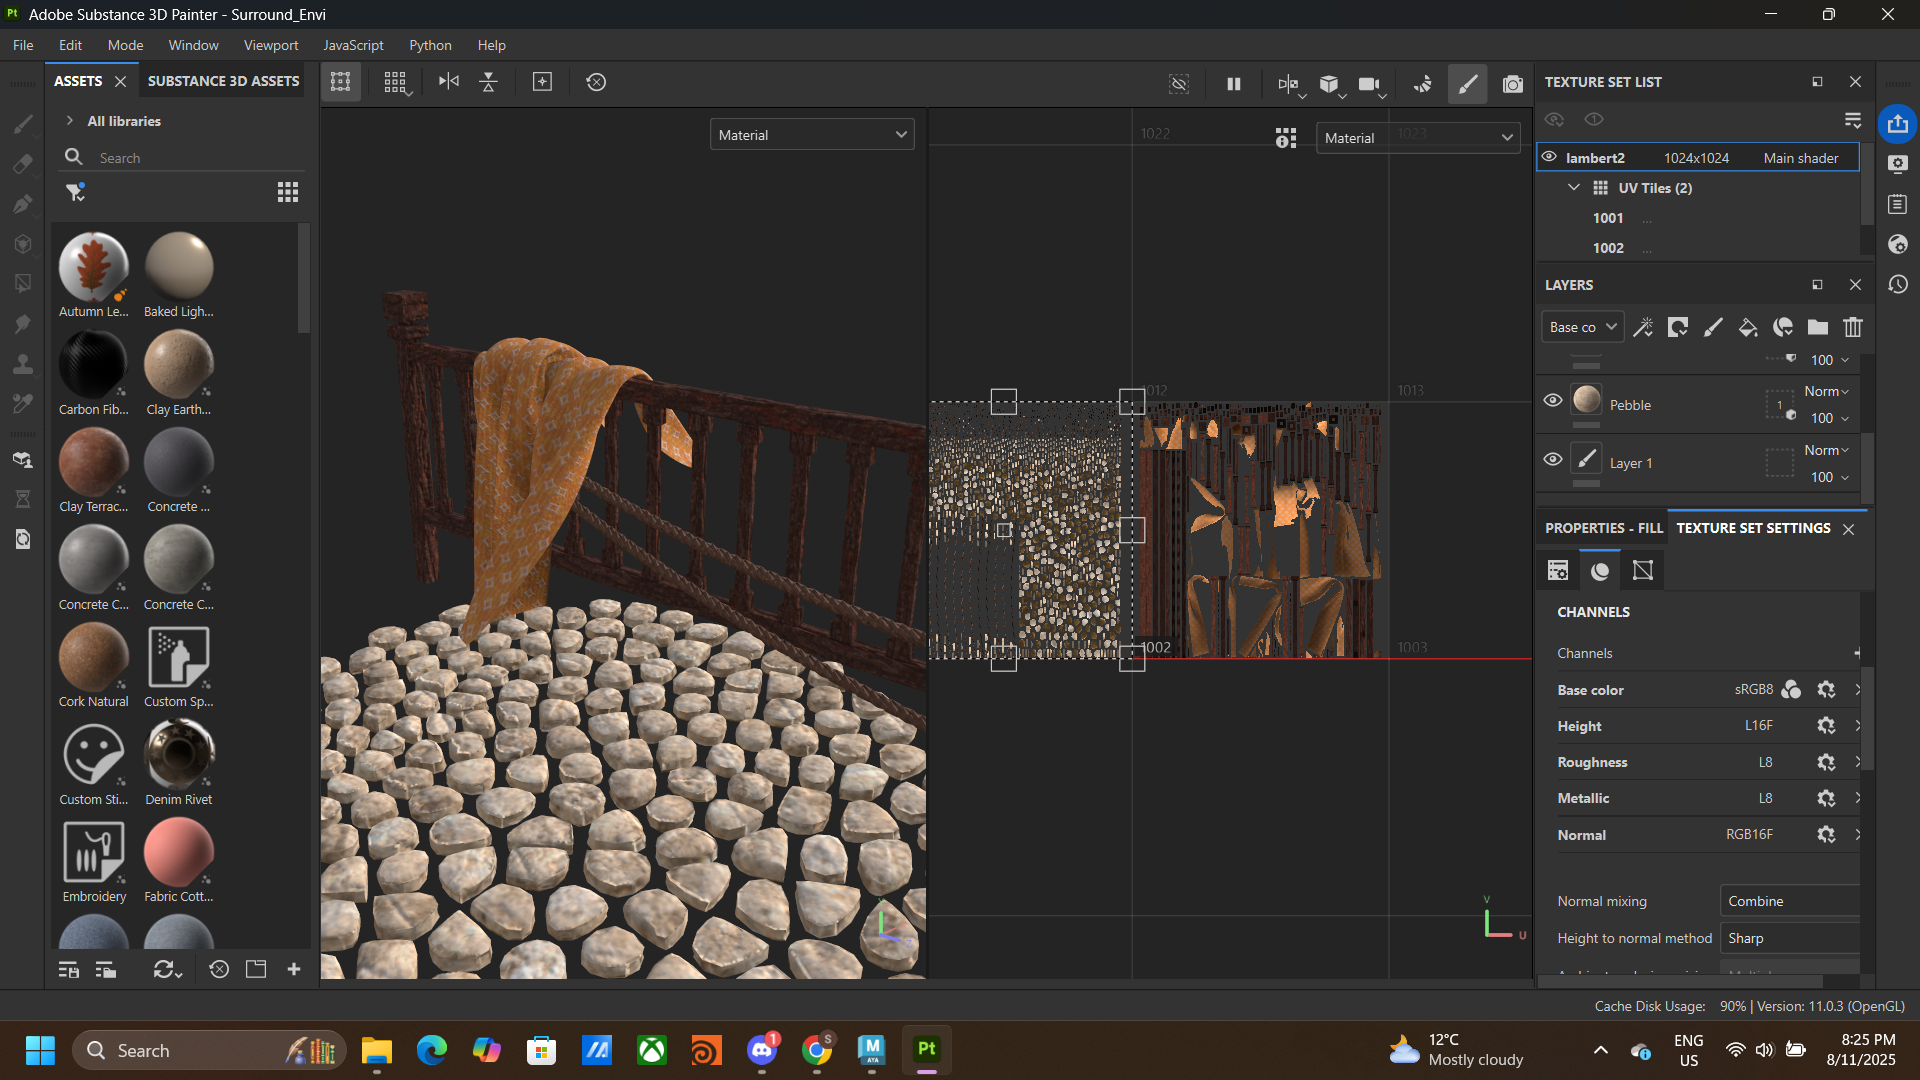
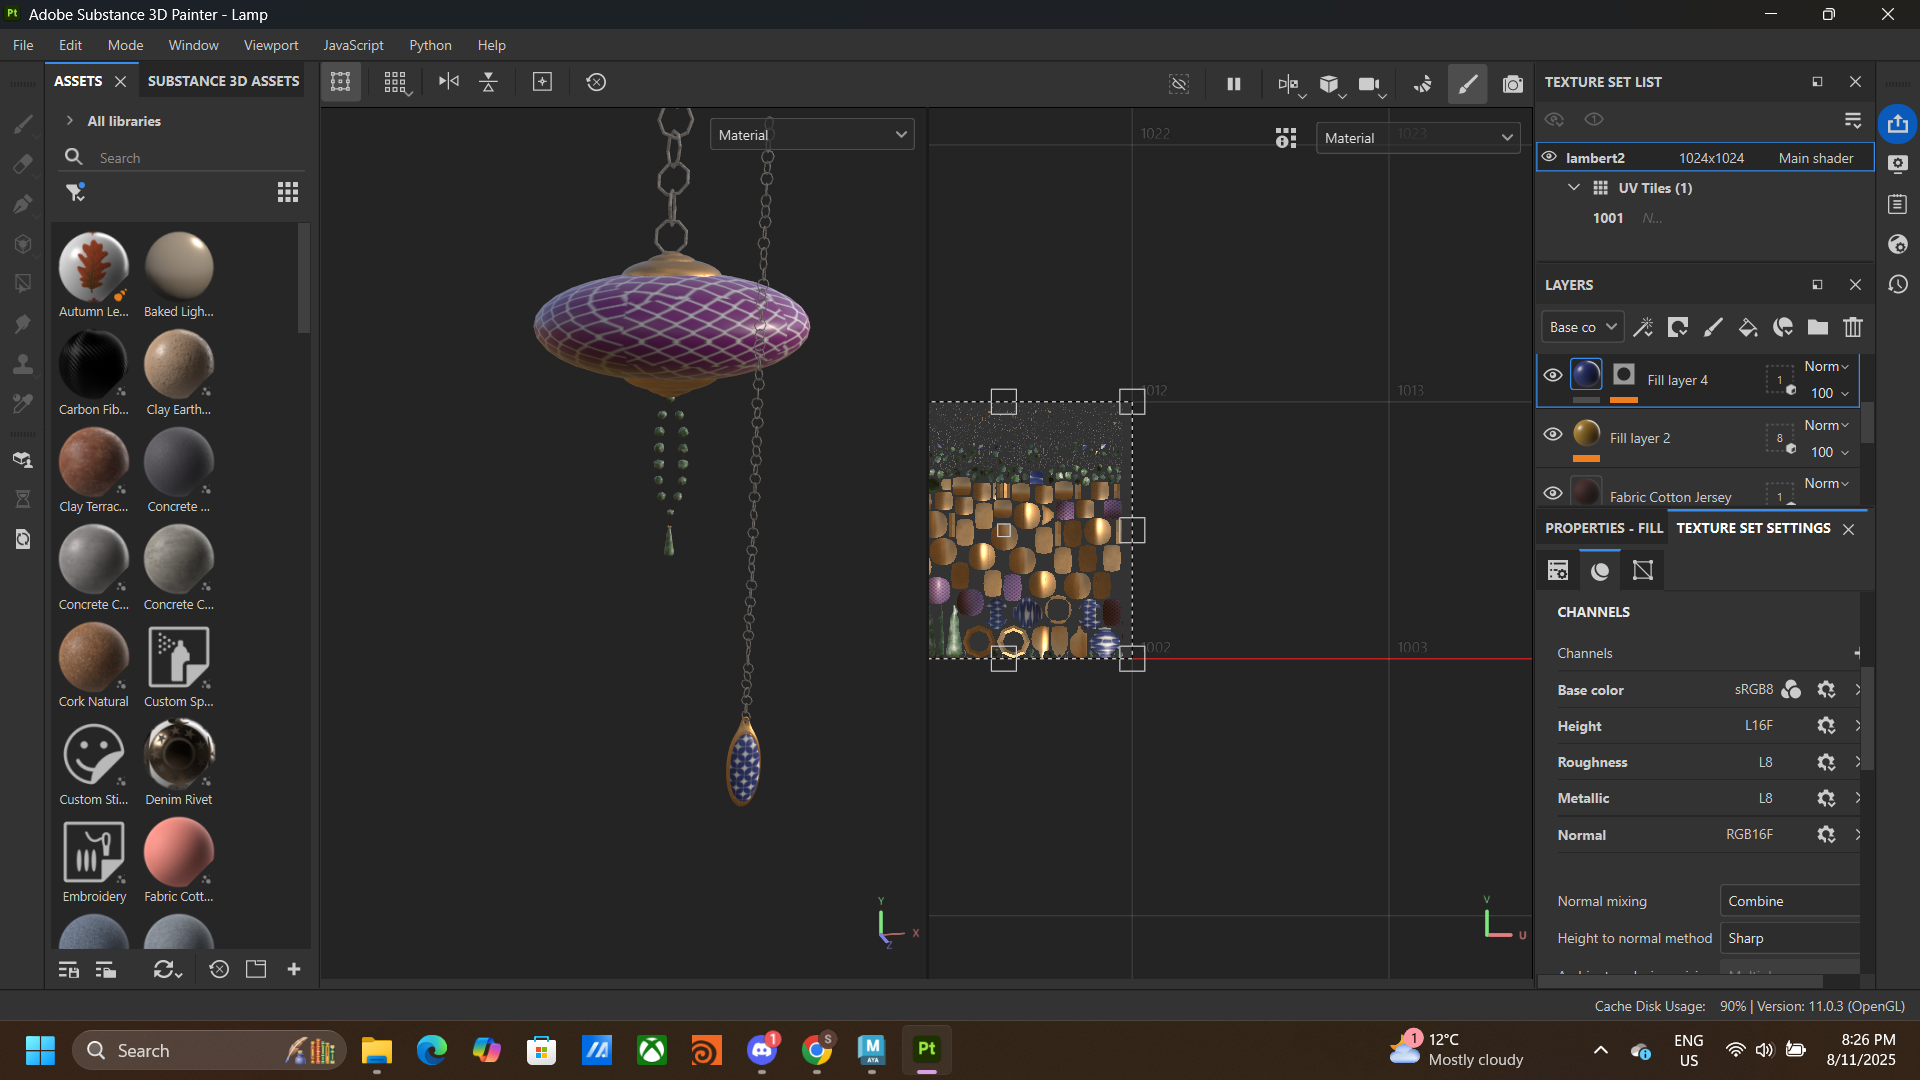
I got a night sky witch hat, a small wooden cupboard, magic stick, brown shoes and yellow socks.
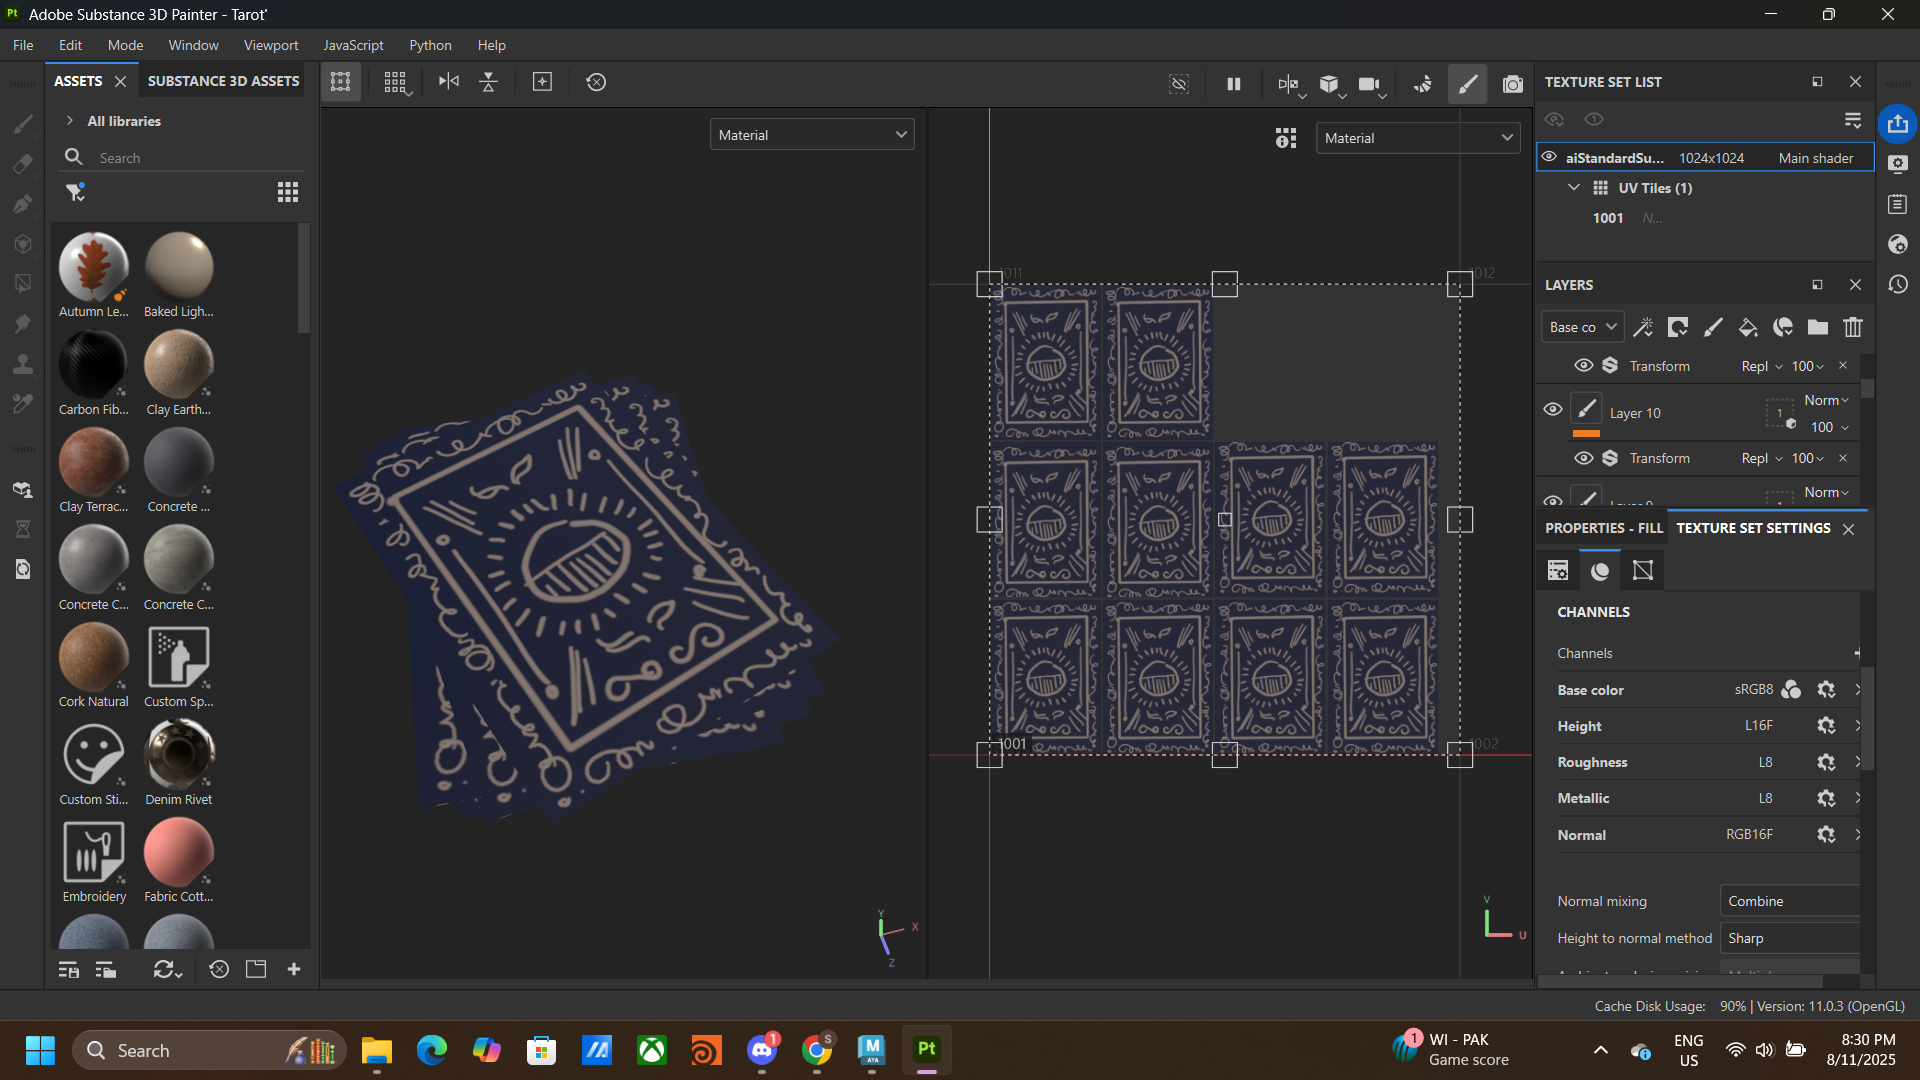
This is the tarot cover. At first I plan to do ten card tarots with design from the major cards.
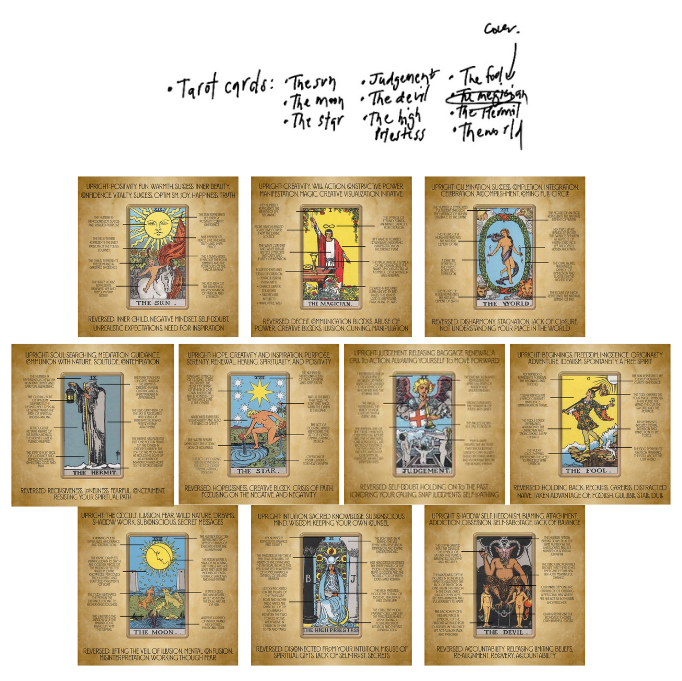
Here are the card I pick and was thinking to apply to the tarot cards in the scene, but just think that it would even see it would probably have seen just the front one so I decide to change to flip it to other way, to show just the back side of it.
After finished all the texture needed in Adobe 3D Substance Painter, export them as exr. files and import back to maya by assigning an aistandardsurface to the group of layer and add assign appropriate texture files to the materials. Enable hardware texturing in viewport to see the texture.
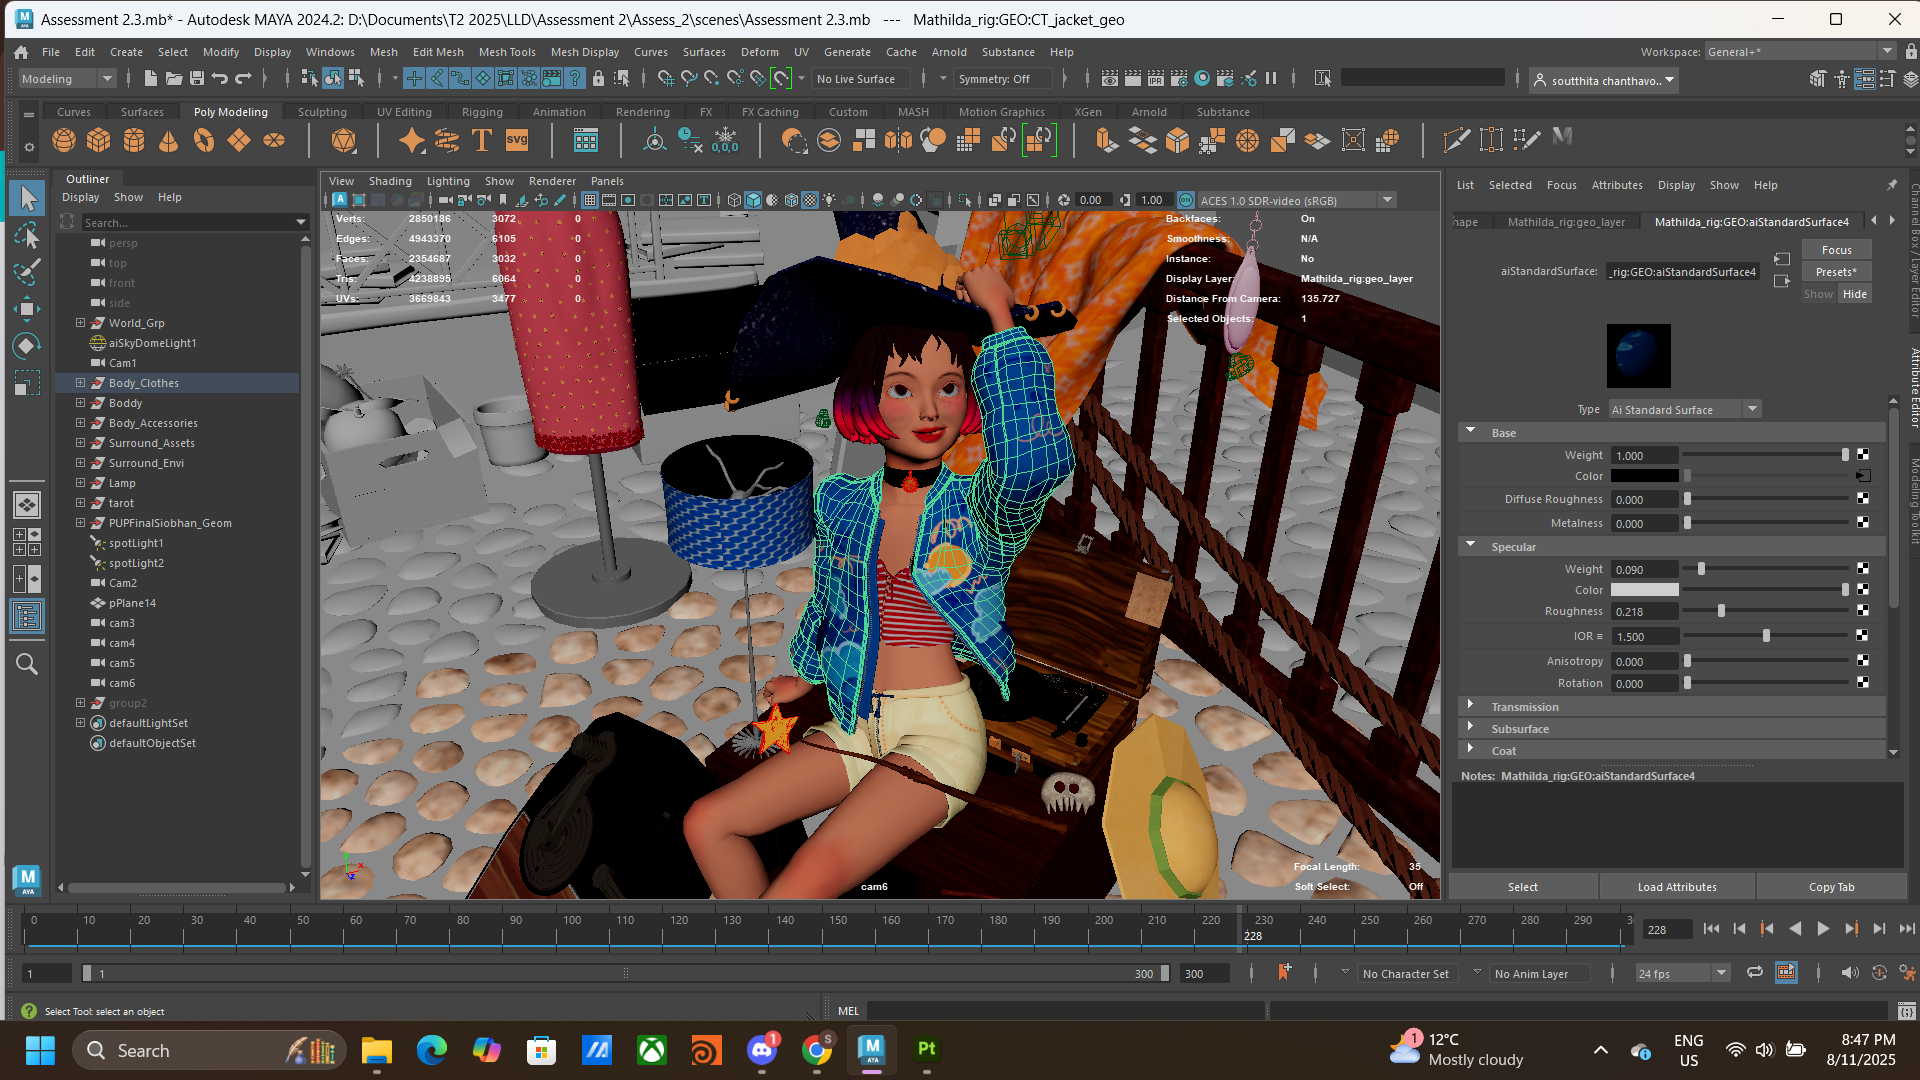
Next, I want to add some line onto the object, I use the assign outline in toon panel to make an outline of the jacket, short, body, etc.
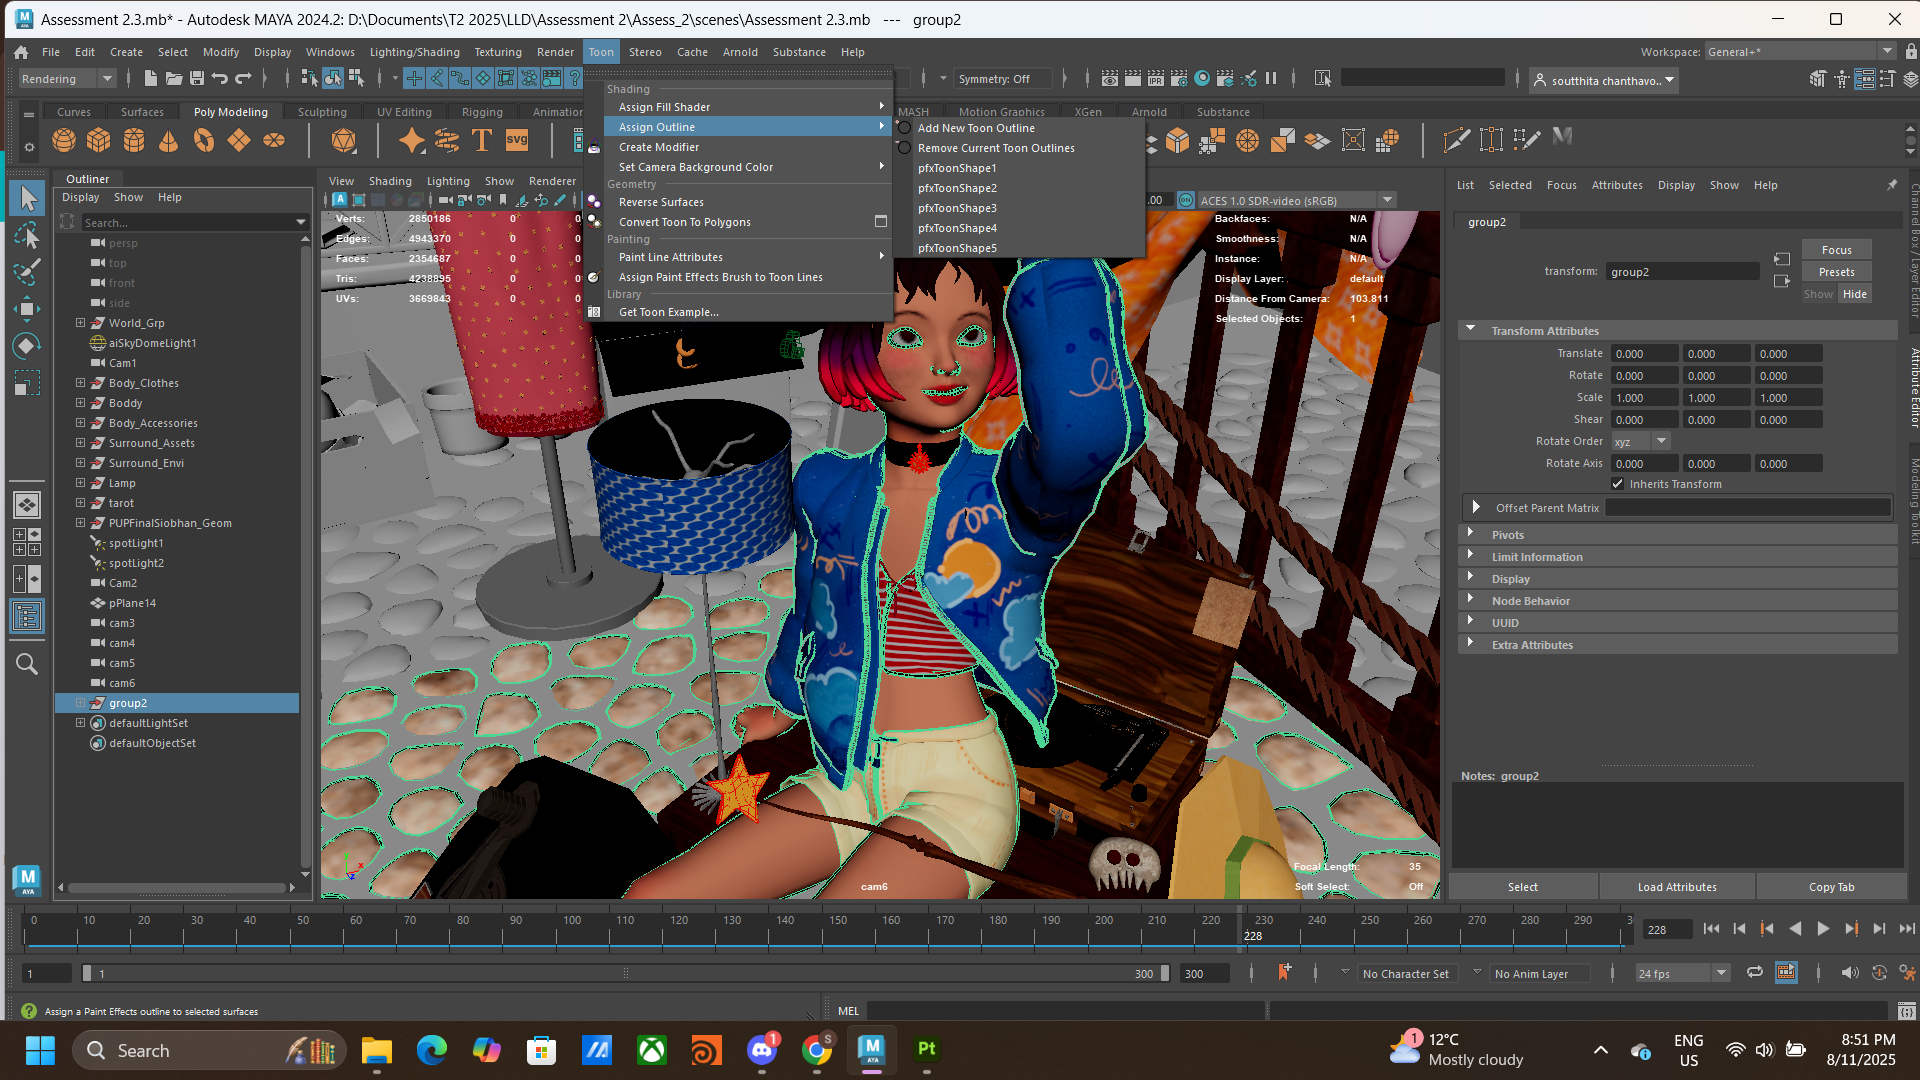
At first, I try the toon shader method that have been taught in the class, but when I try it, it replace my texture so I find other way.
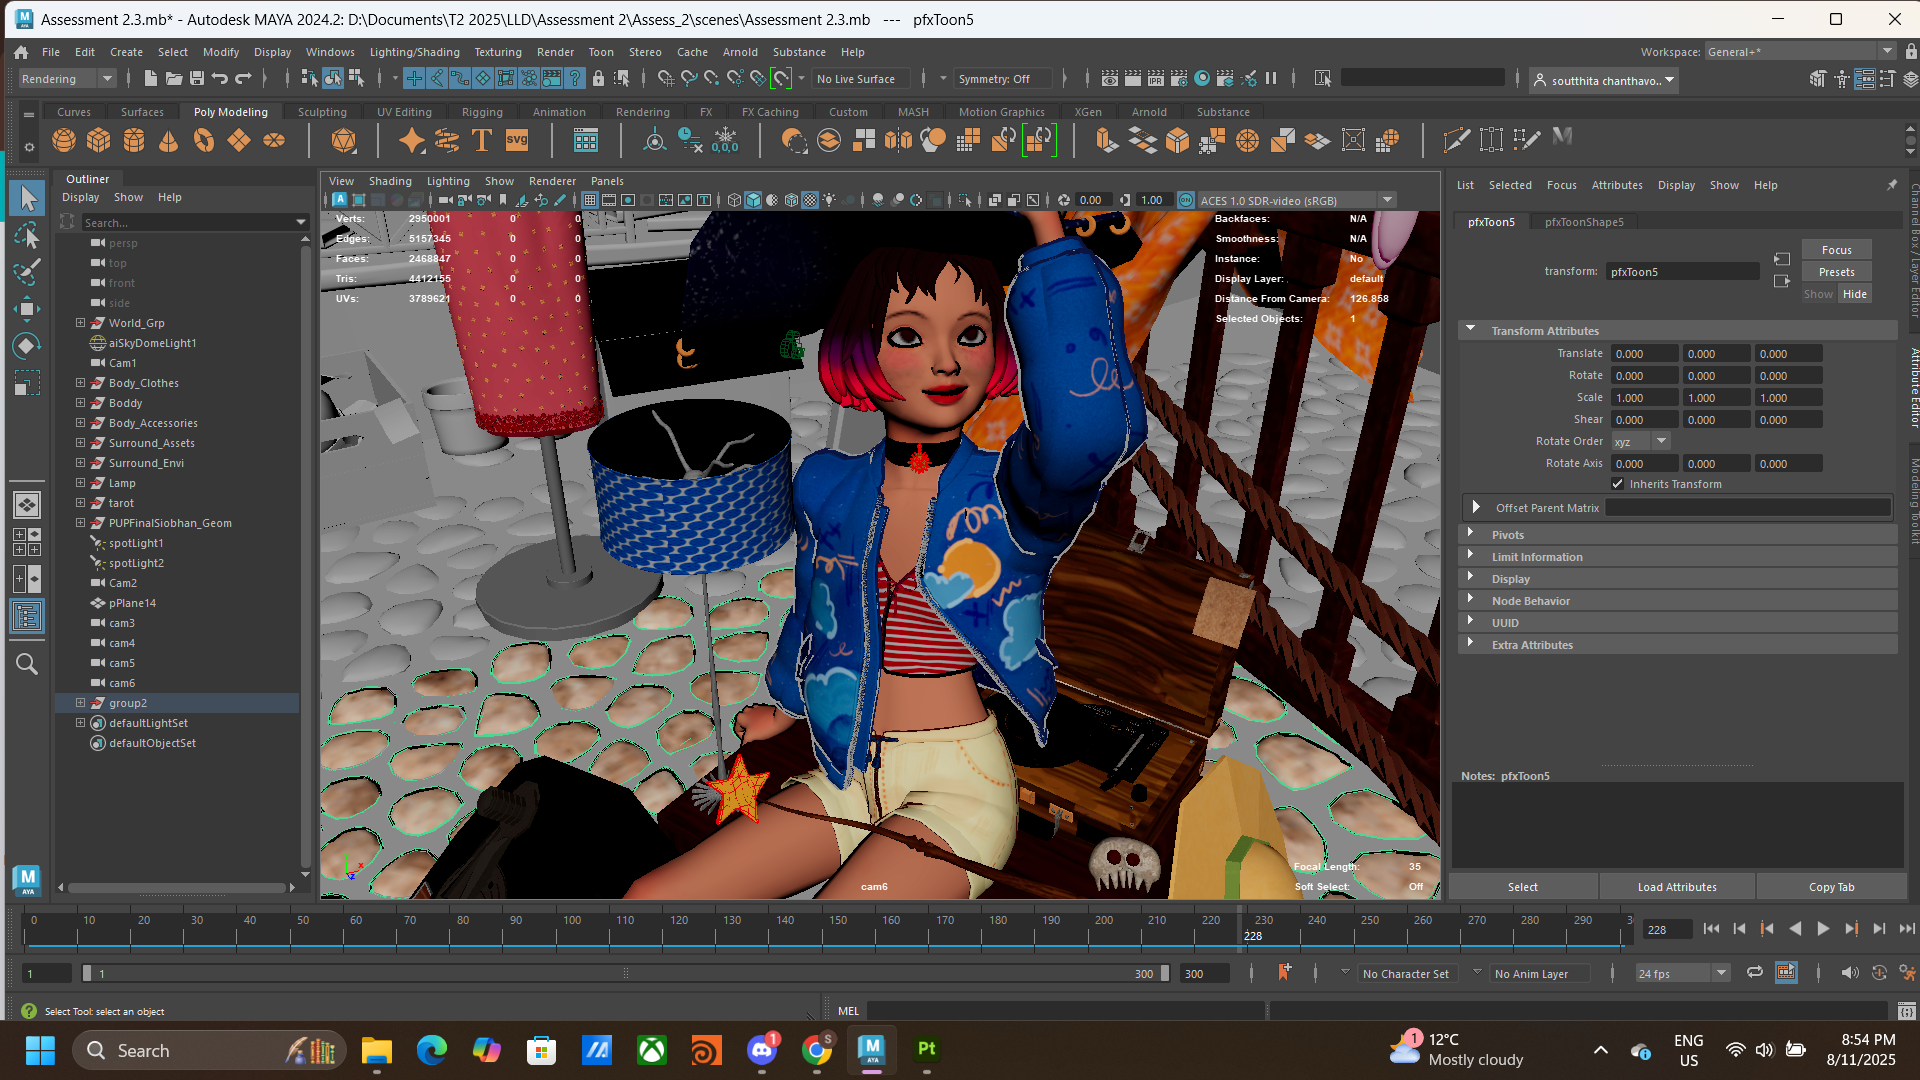
Lighting
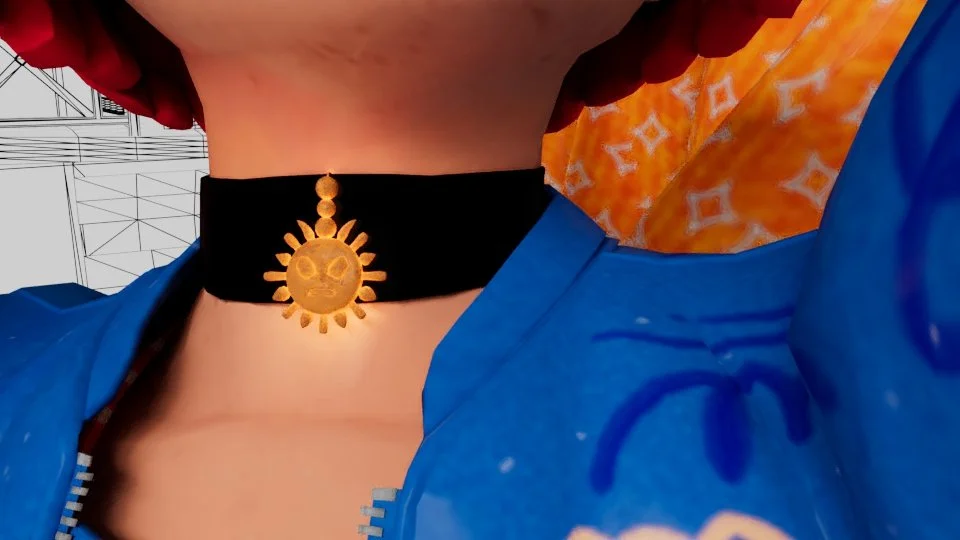
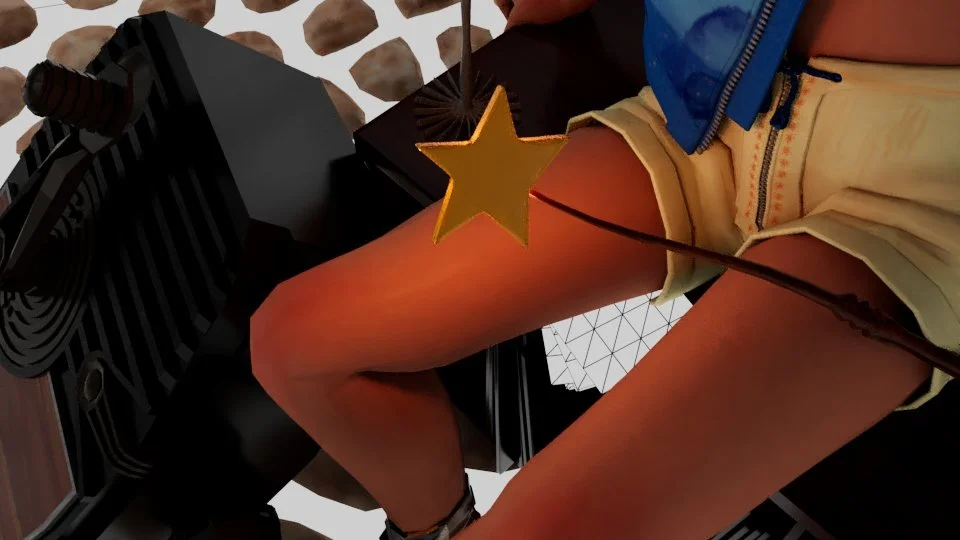
For this project I didn’t use much light source (to be honest, the limitation of the time had affected the opportunity to explore various things). As the scene was outdoor, my base light is the arnold skydome light, with a spotlight onto the character and the leaves gobo light. I had added some small light source which are the sun on the choker, the star of the magic wand and the hanging lamp above.
Camera and rendering
Play with the camera, move and rotate until getting the right angle. After deciding which angle you want to render it out, enable dept of field to make the overall look more marvelous.
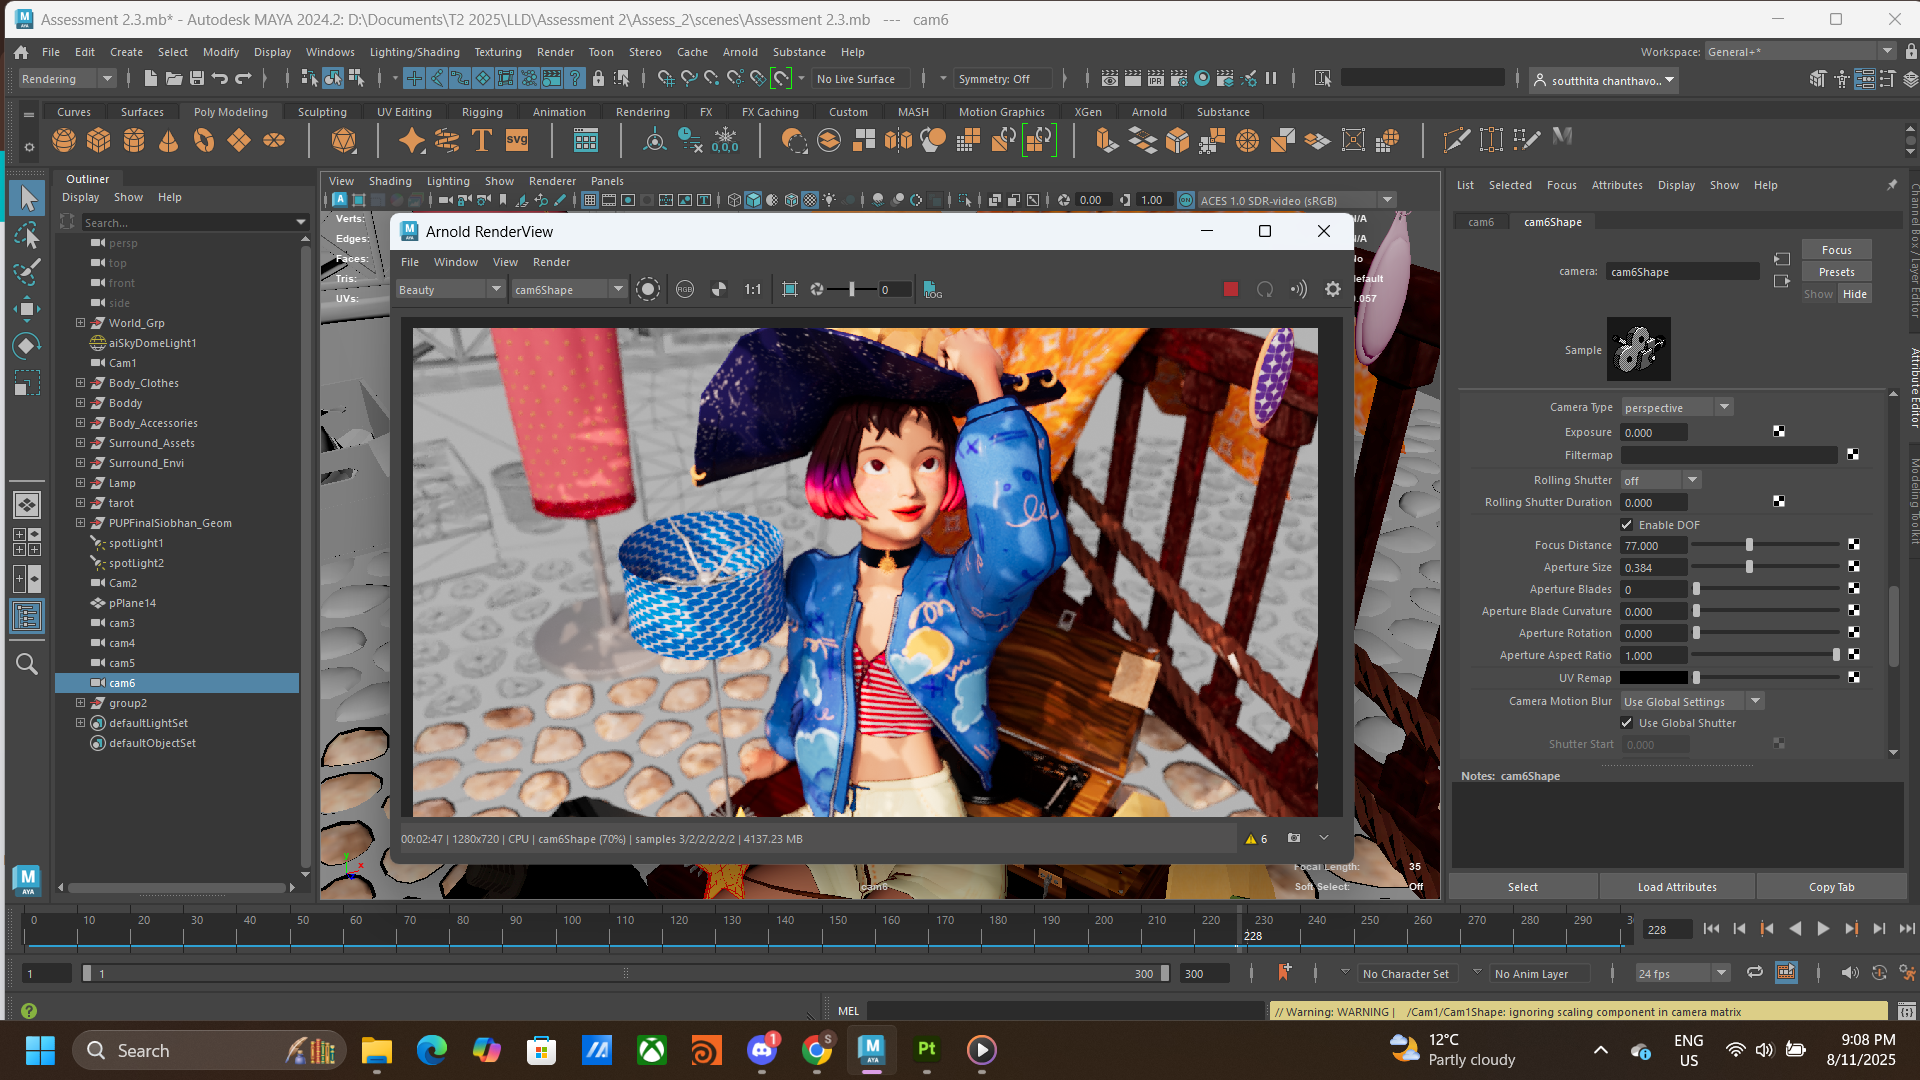
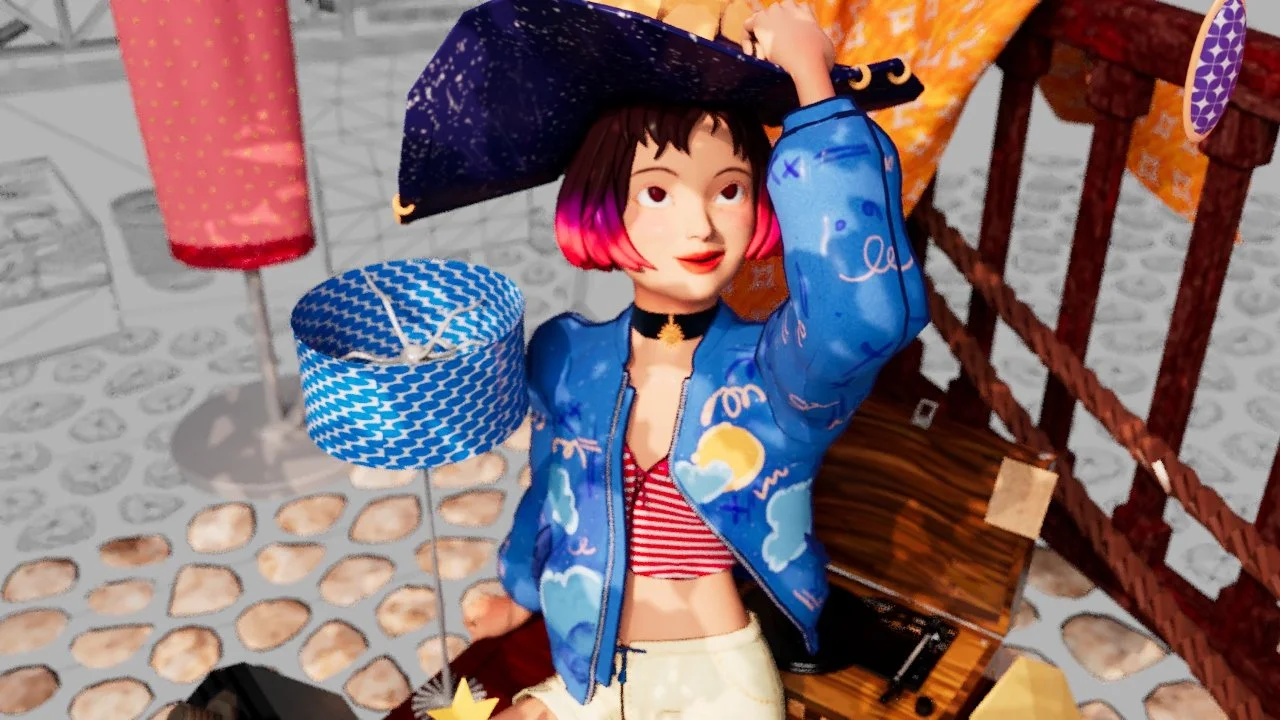
After setting all the camera needed, render it out as an exr. files and enable merge AOV (I forgot to merge AOV to my first render scene, I got multiple separated exr. files and must render it from the start again T^T).
For the object at the back that didn’t apply detail texture, I apply a wireframe shader to it.
Composition
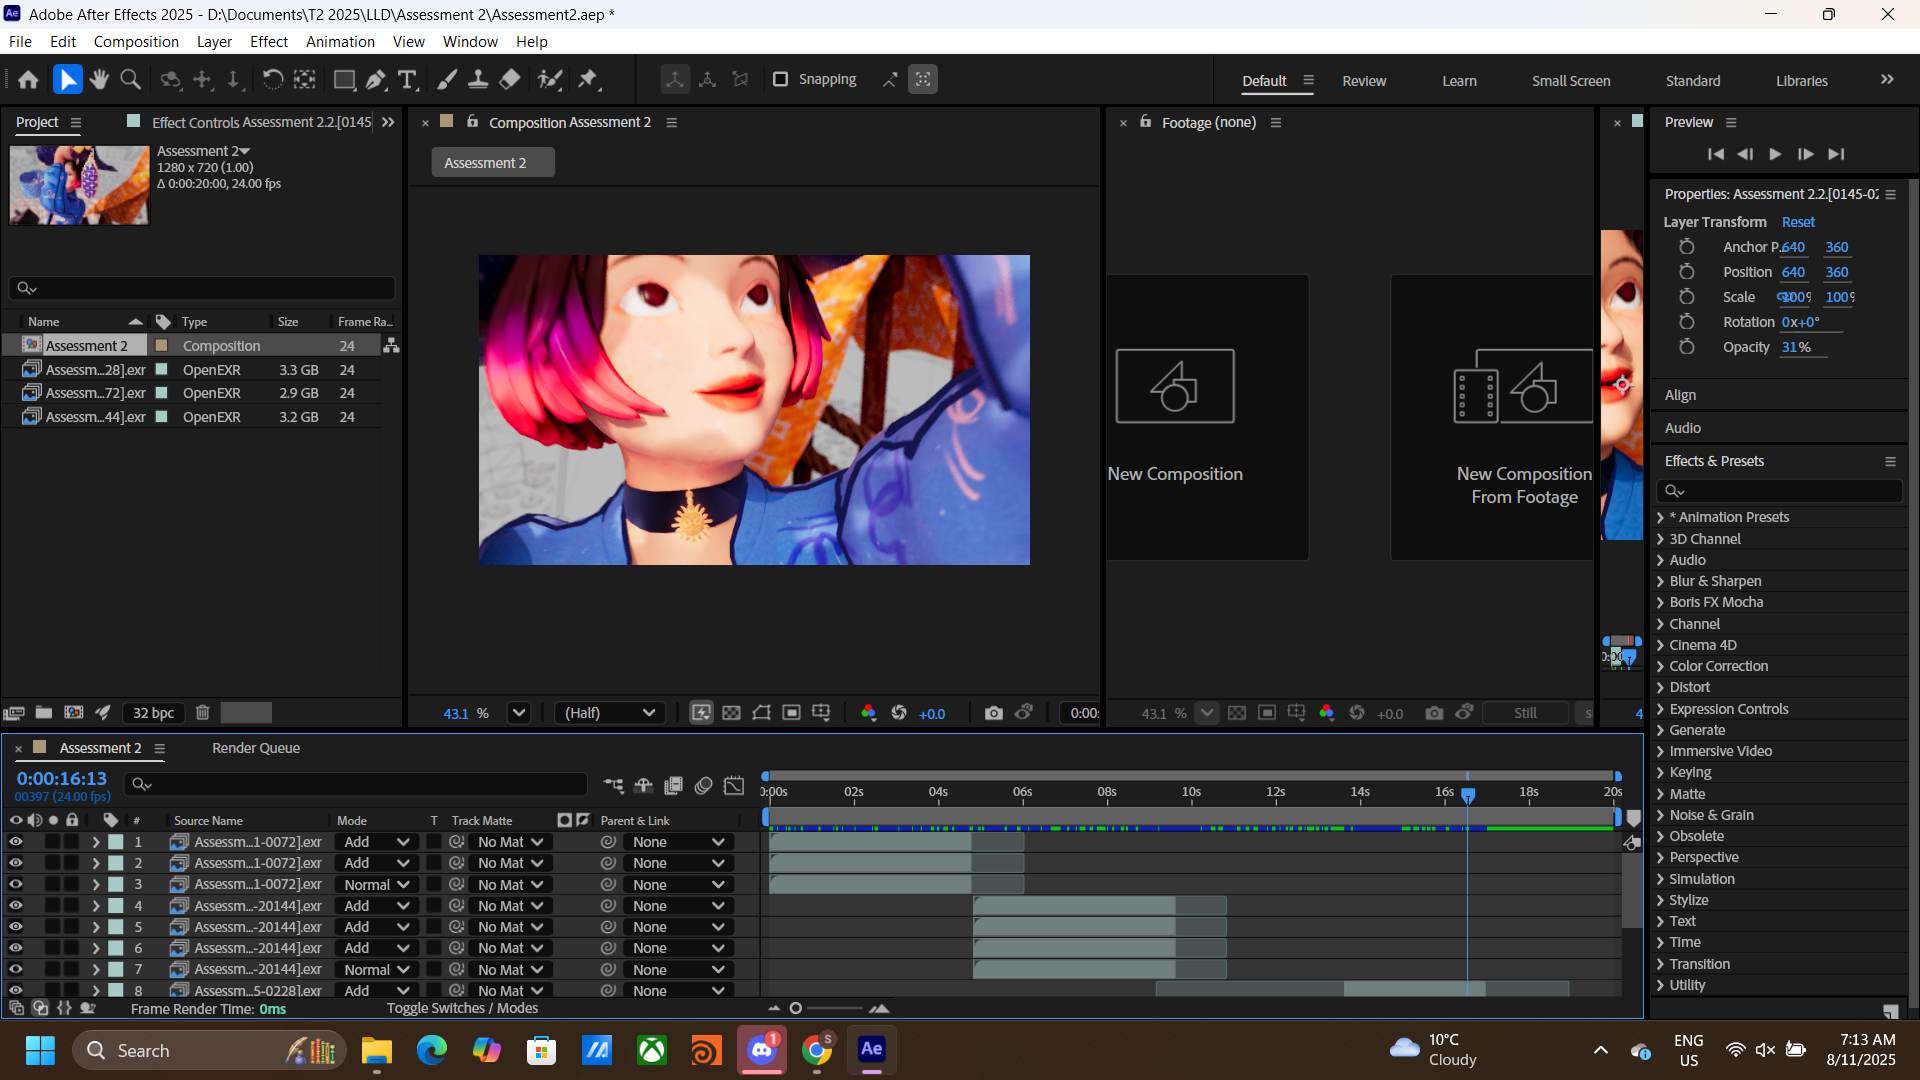
Import the exr. sequence into Adobe After Effect, make sure to set up the setting correctly before working on the project.
Added 3D extractor to the file to composite specific part of the shader.
Import the exr. sequence into Adobe After Effect, make sure to set up the setting correctly before working on the project.
Added 3D extractor to the file to composite specific part of the shader.