3D Sculpture Process
This project is from a sculpture class, where we created a 3D model based on a given reference.
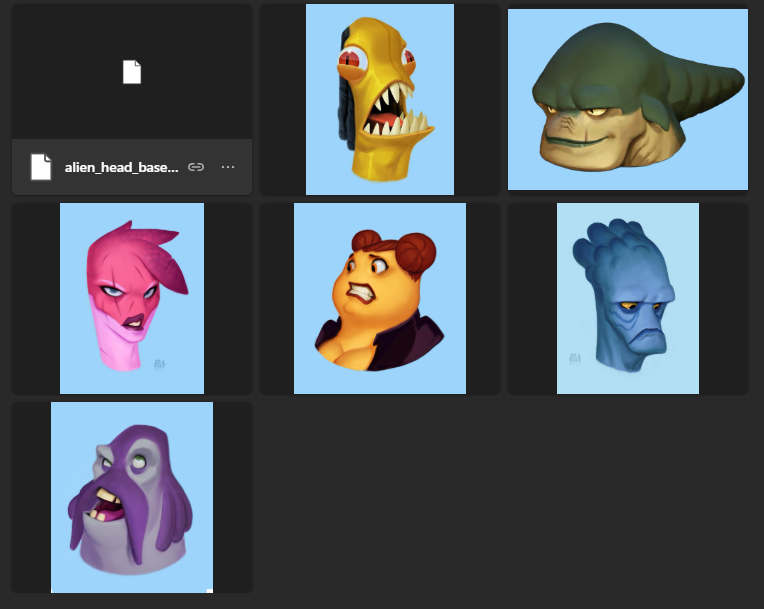
The Reference
Let’s get started
I started by blocking out the basic shape of the model. At first, I was too focused on making it look exactly like the reference, which caused me to keep redoing the same parts without making much progress.
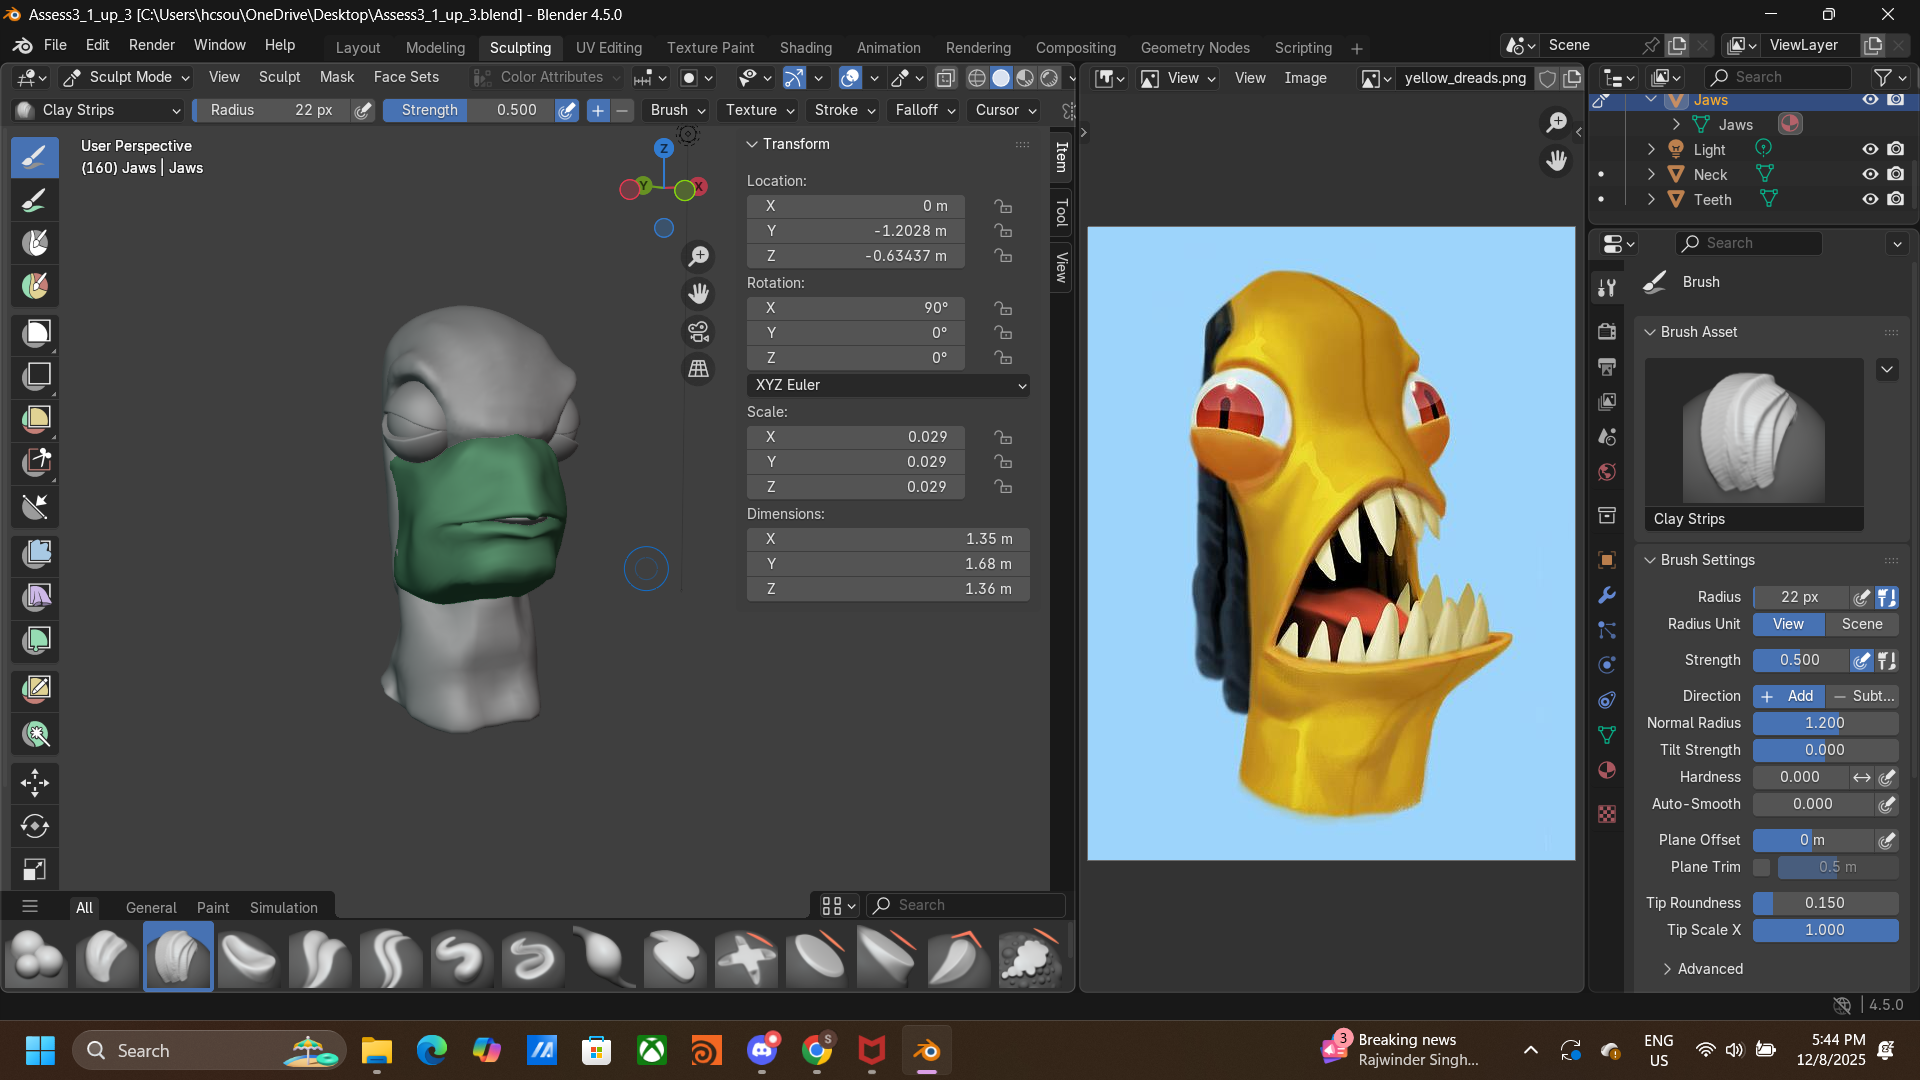
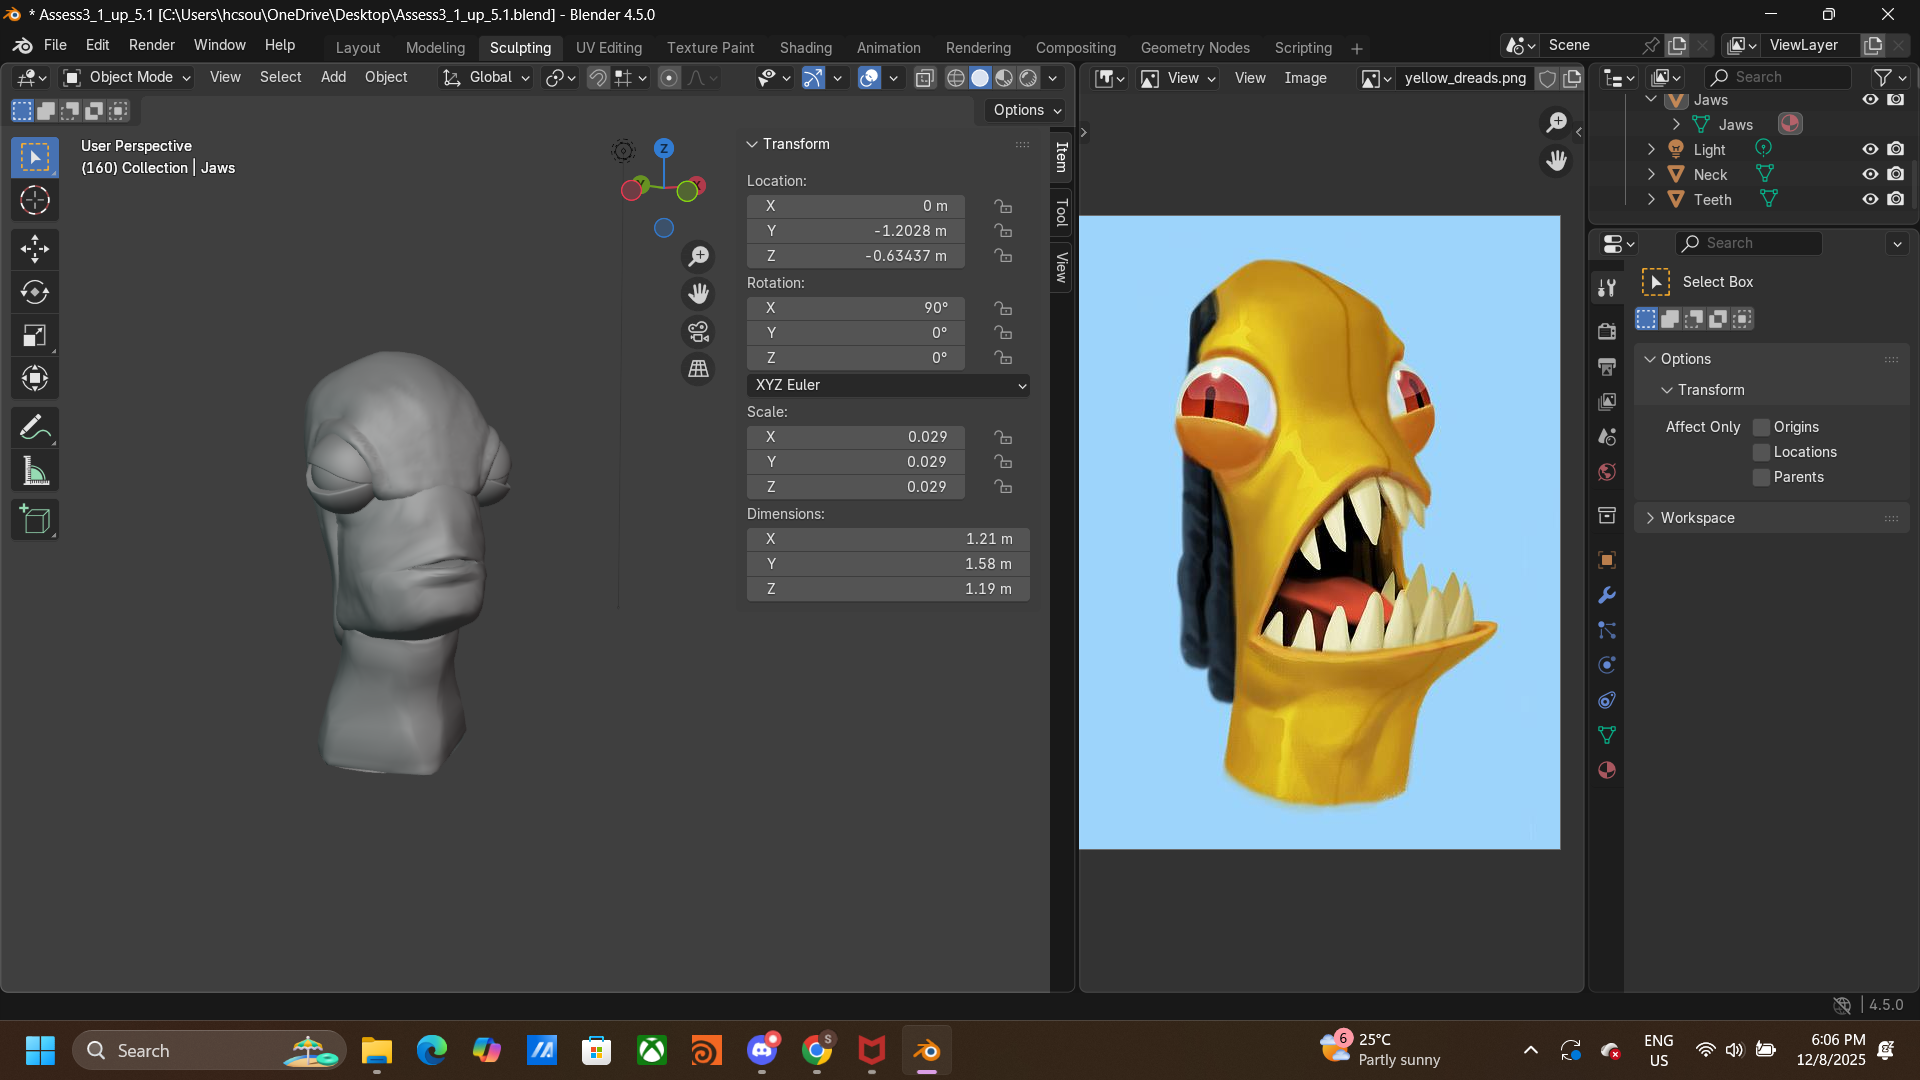
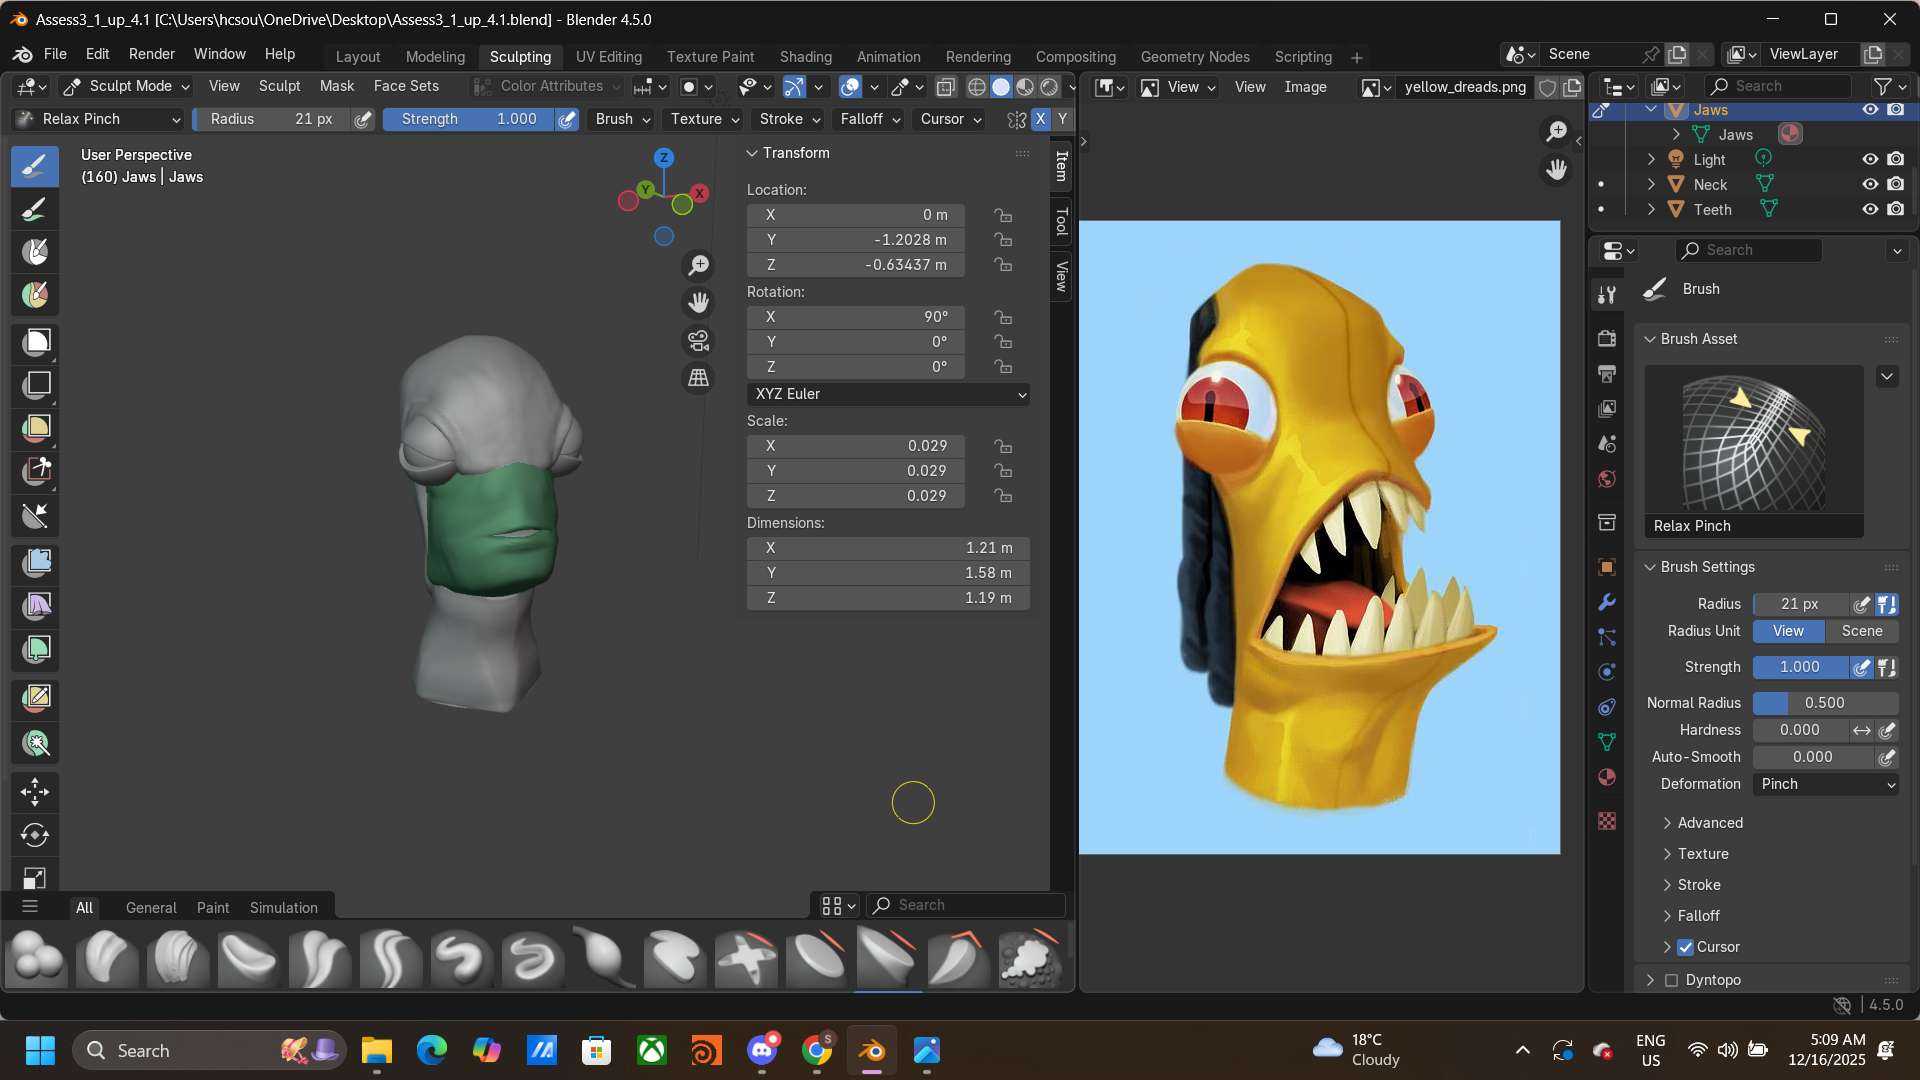
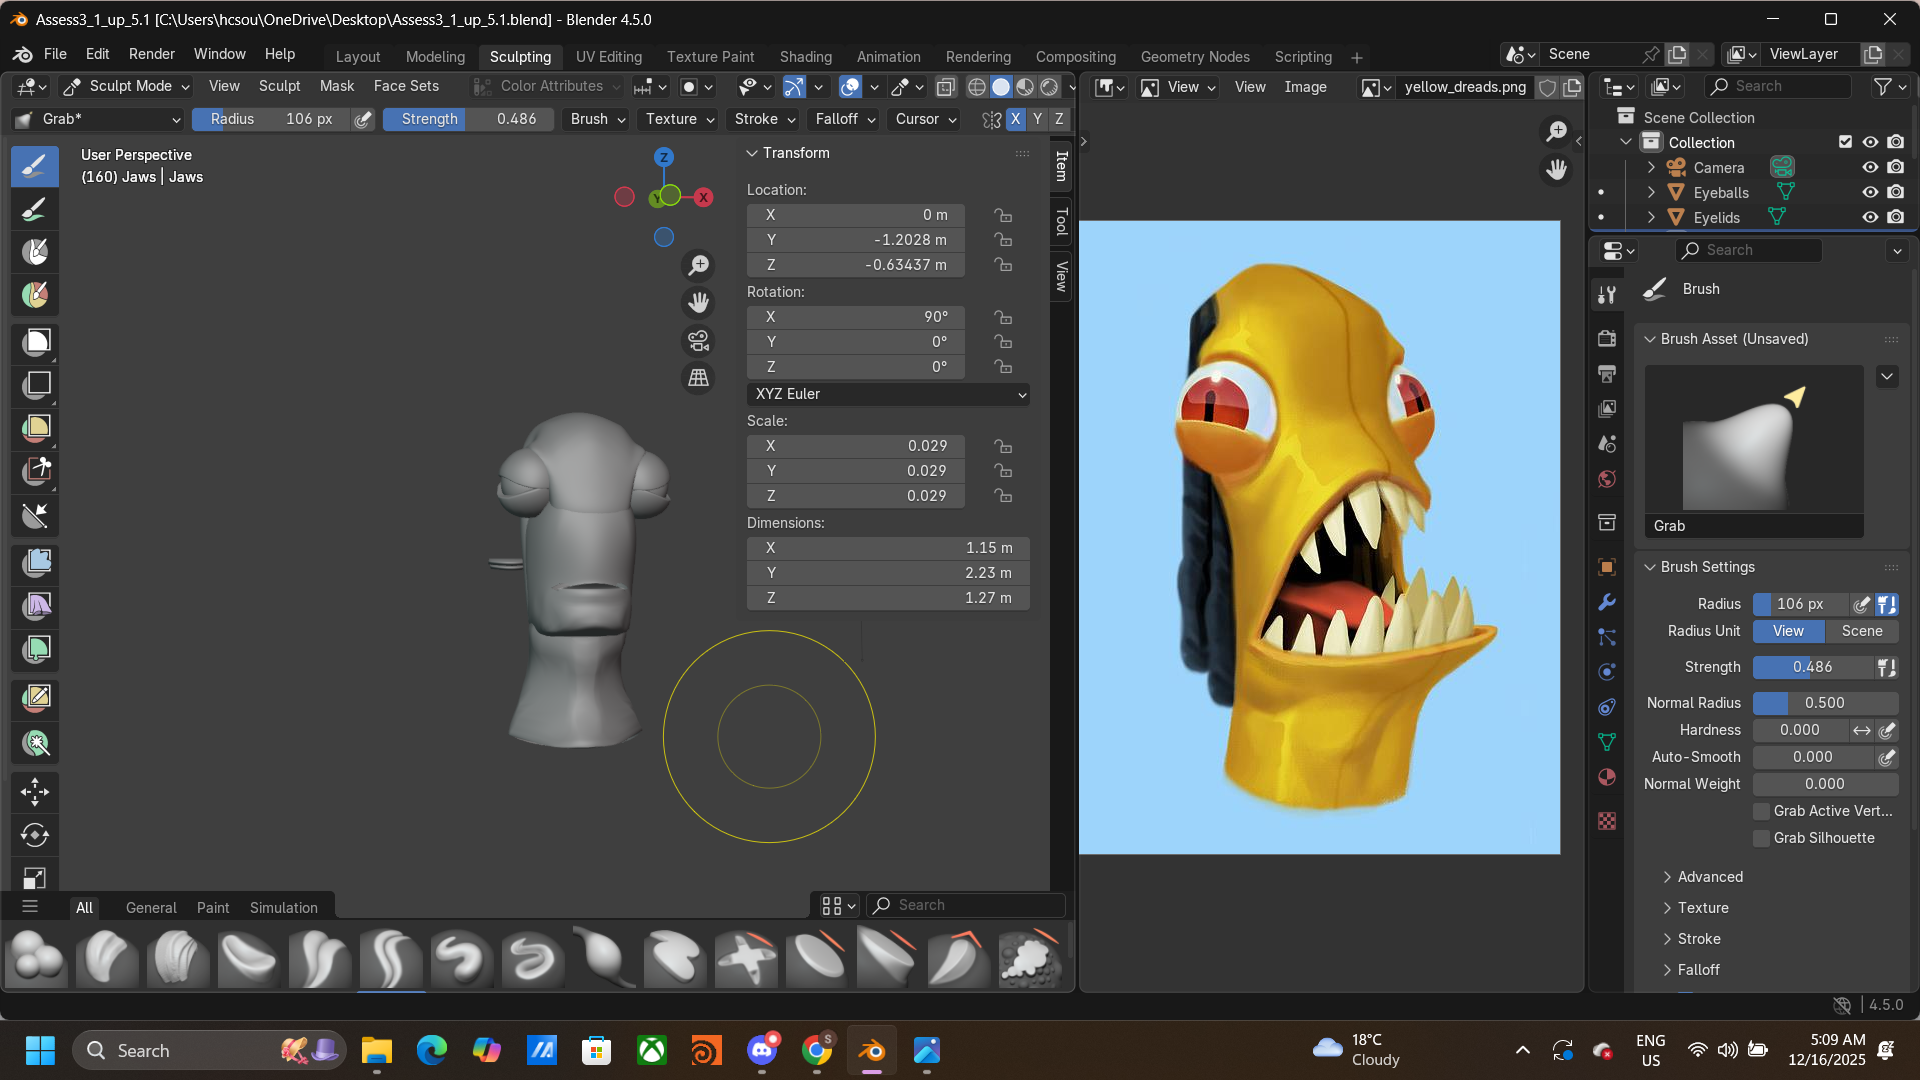
After taking a short break, I came back with a different mindset. I told myself not to focus too much on the final result yet, but to trust the process and build it step by step. Since this was my first time using Blender, I struggled at the beginning, especially with navigation and controls. I was used to Maya shortcuts, so I often pressed the wrong keys, and I found the rotate, scale, and translate tools quite confusing.
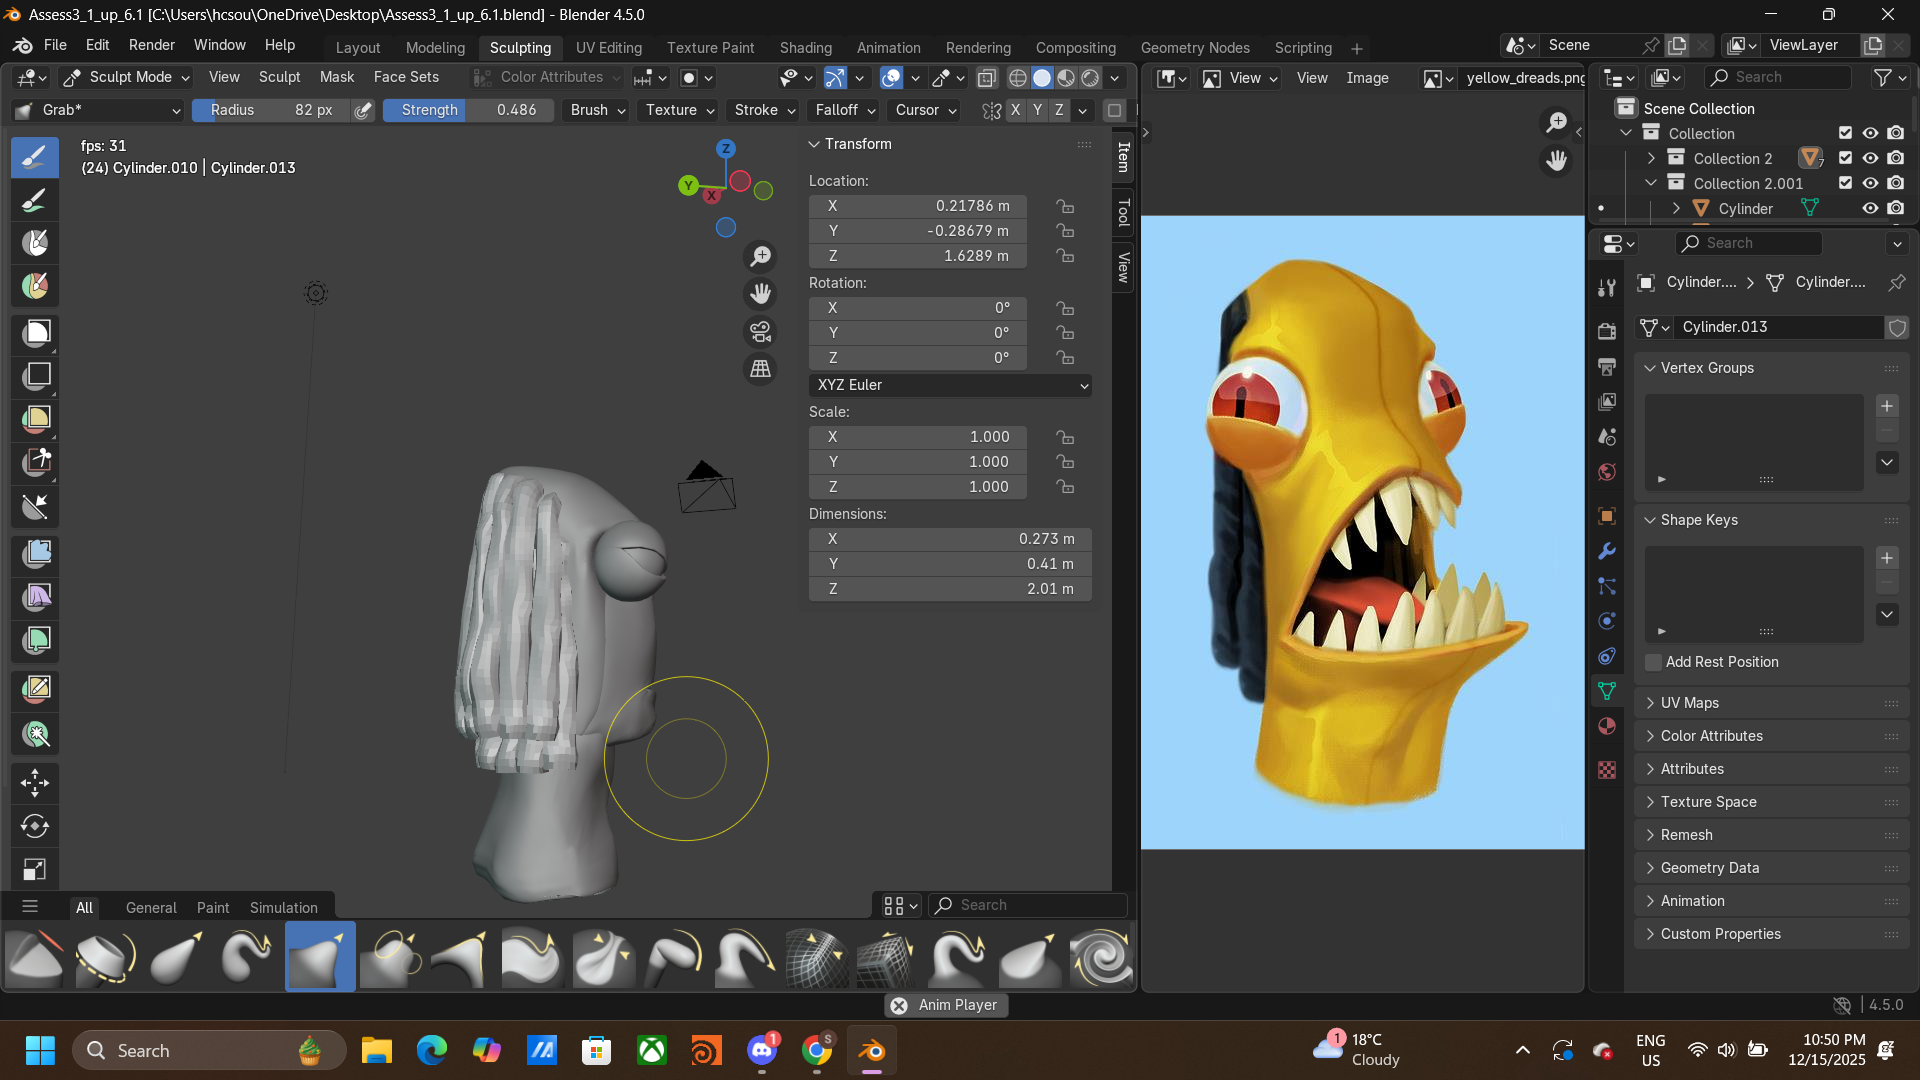
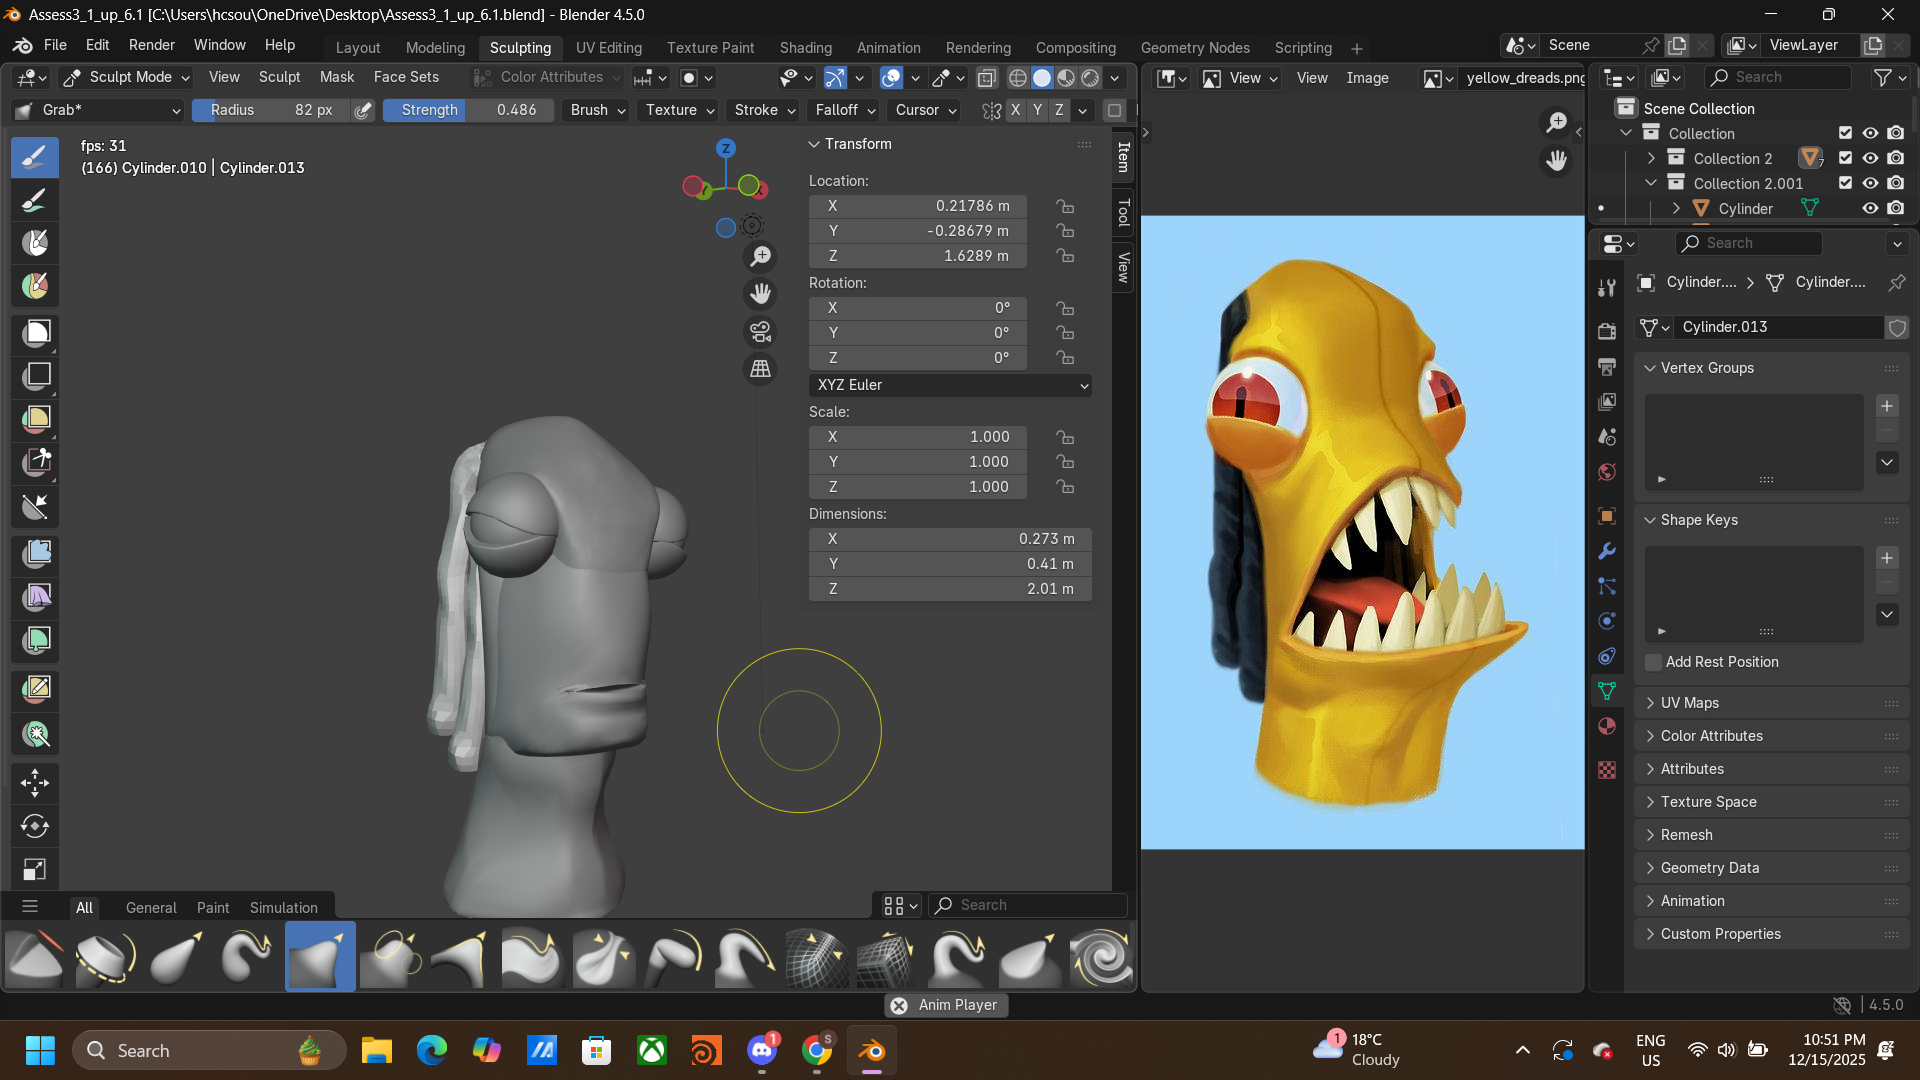
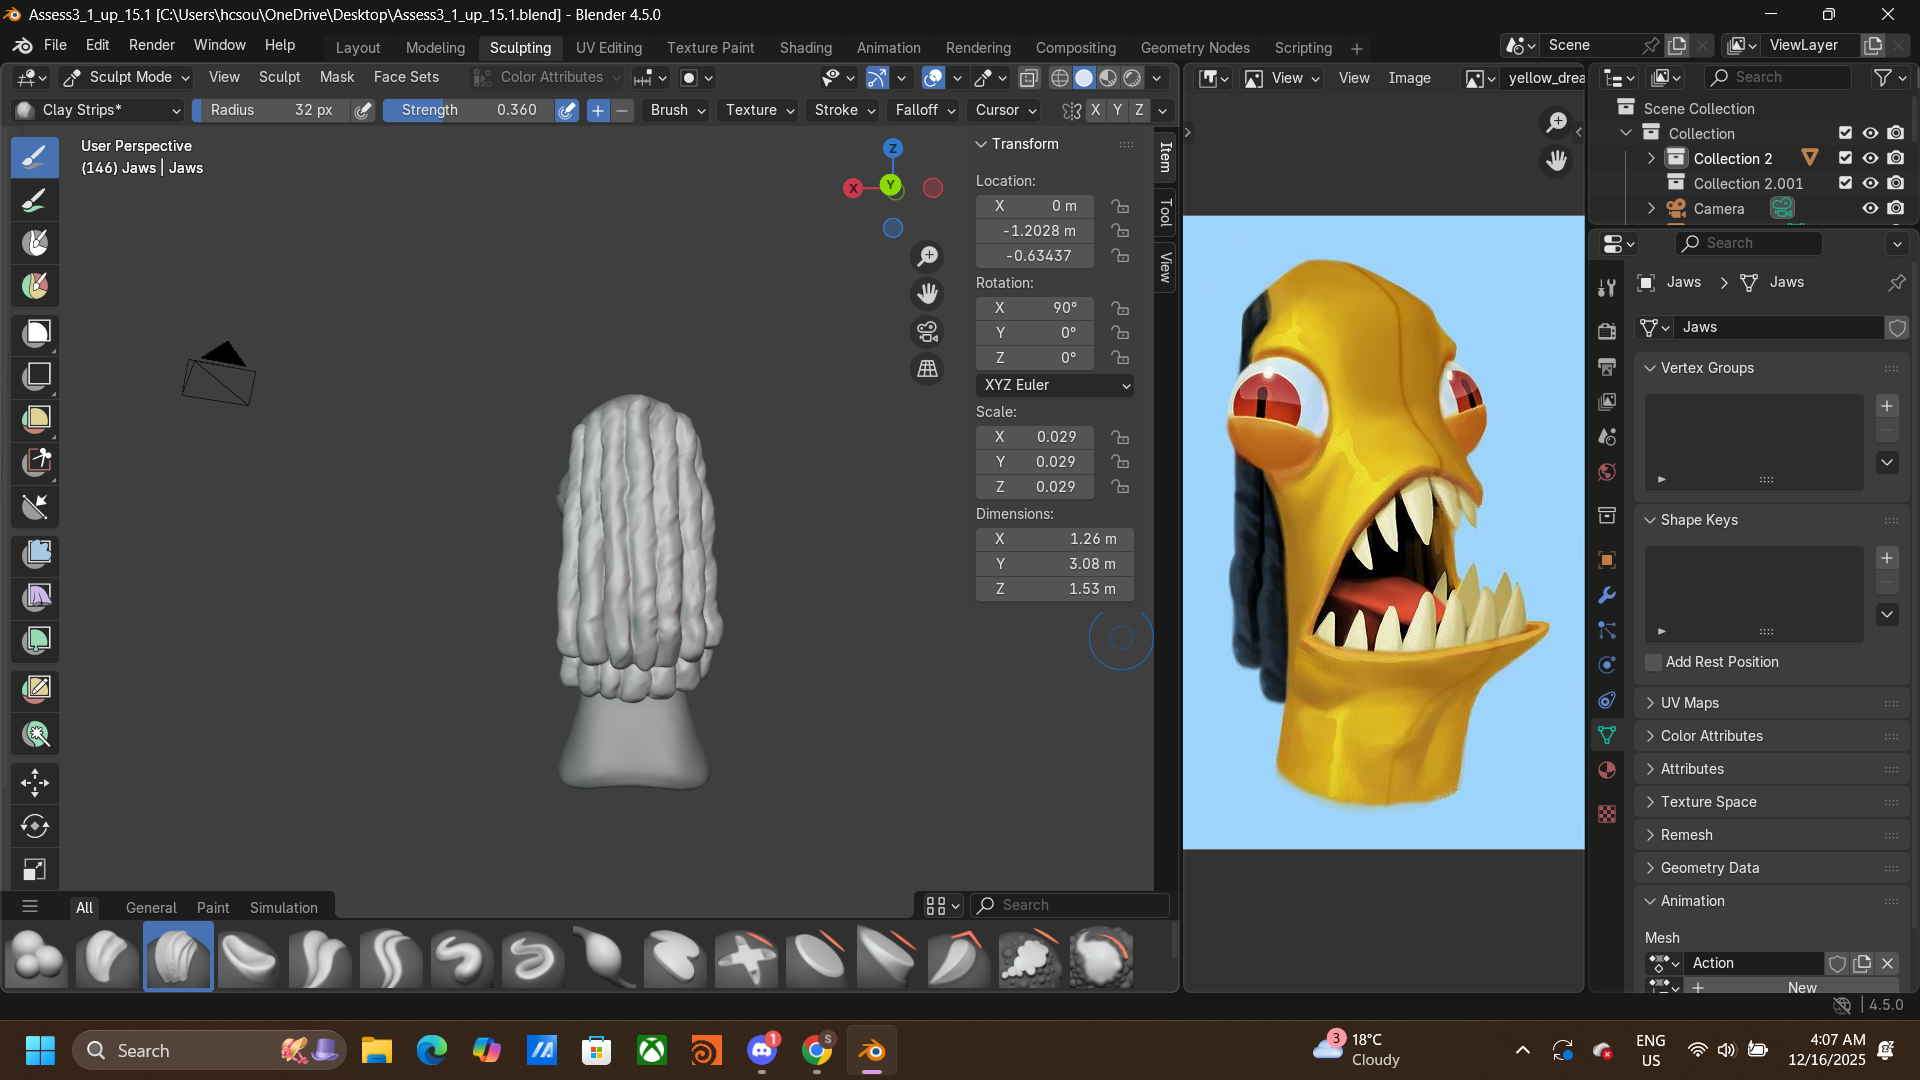
Once I established the base shape of the head, I moved on to creating the hair. I experimented with different methods—first trying cubes with subdivision, but the result didn’t match what I had in mind. I then switched to using tubes, stretching and shaping them into simple curves, and duplicating the mesh to build up the hairstyle.
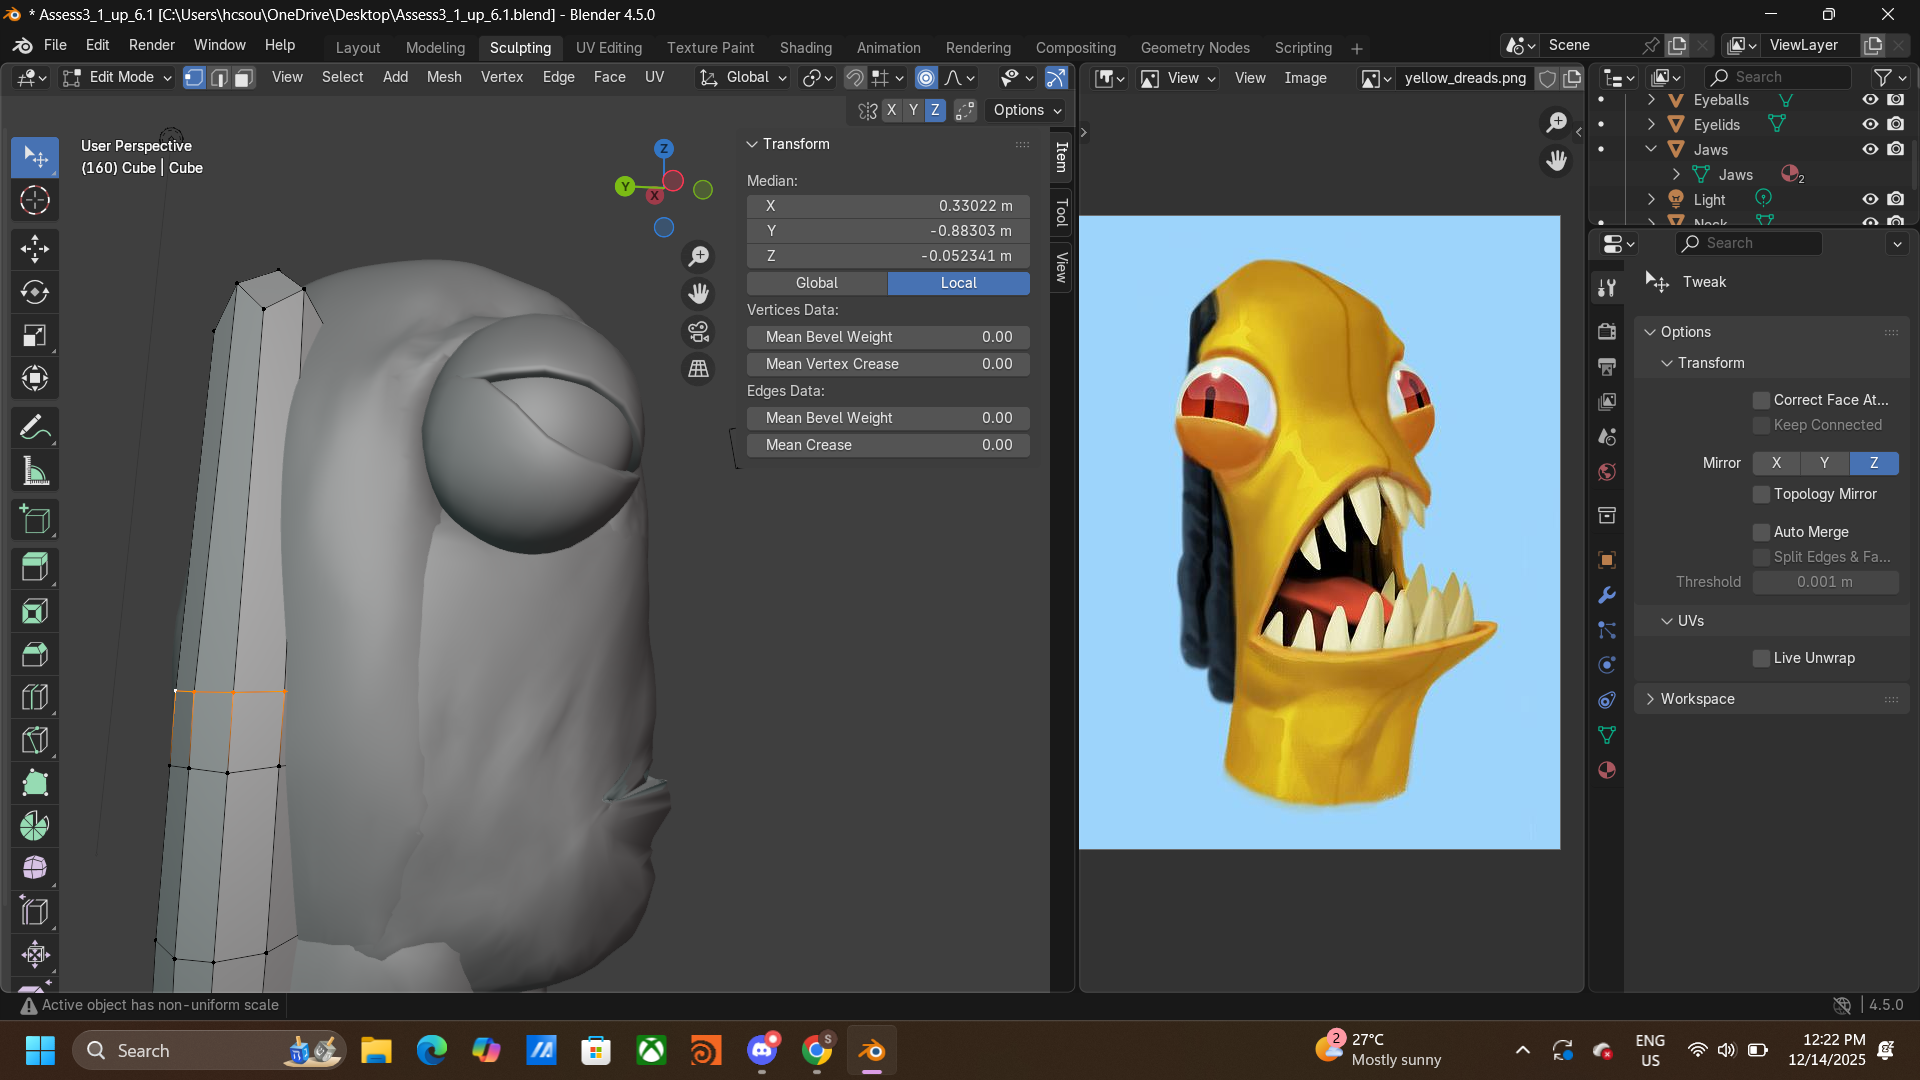
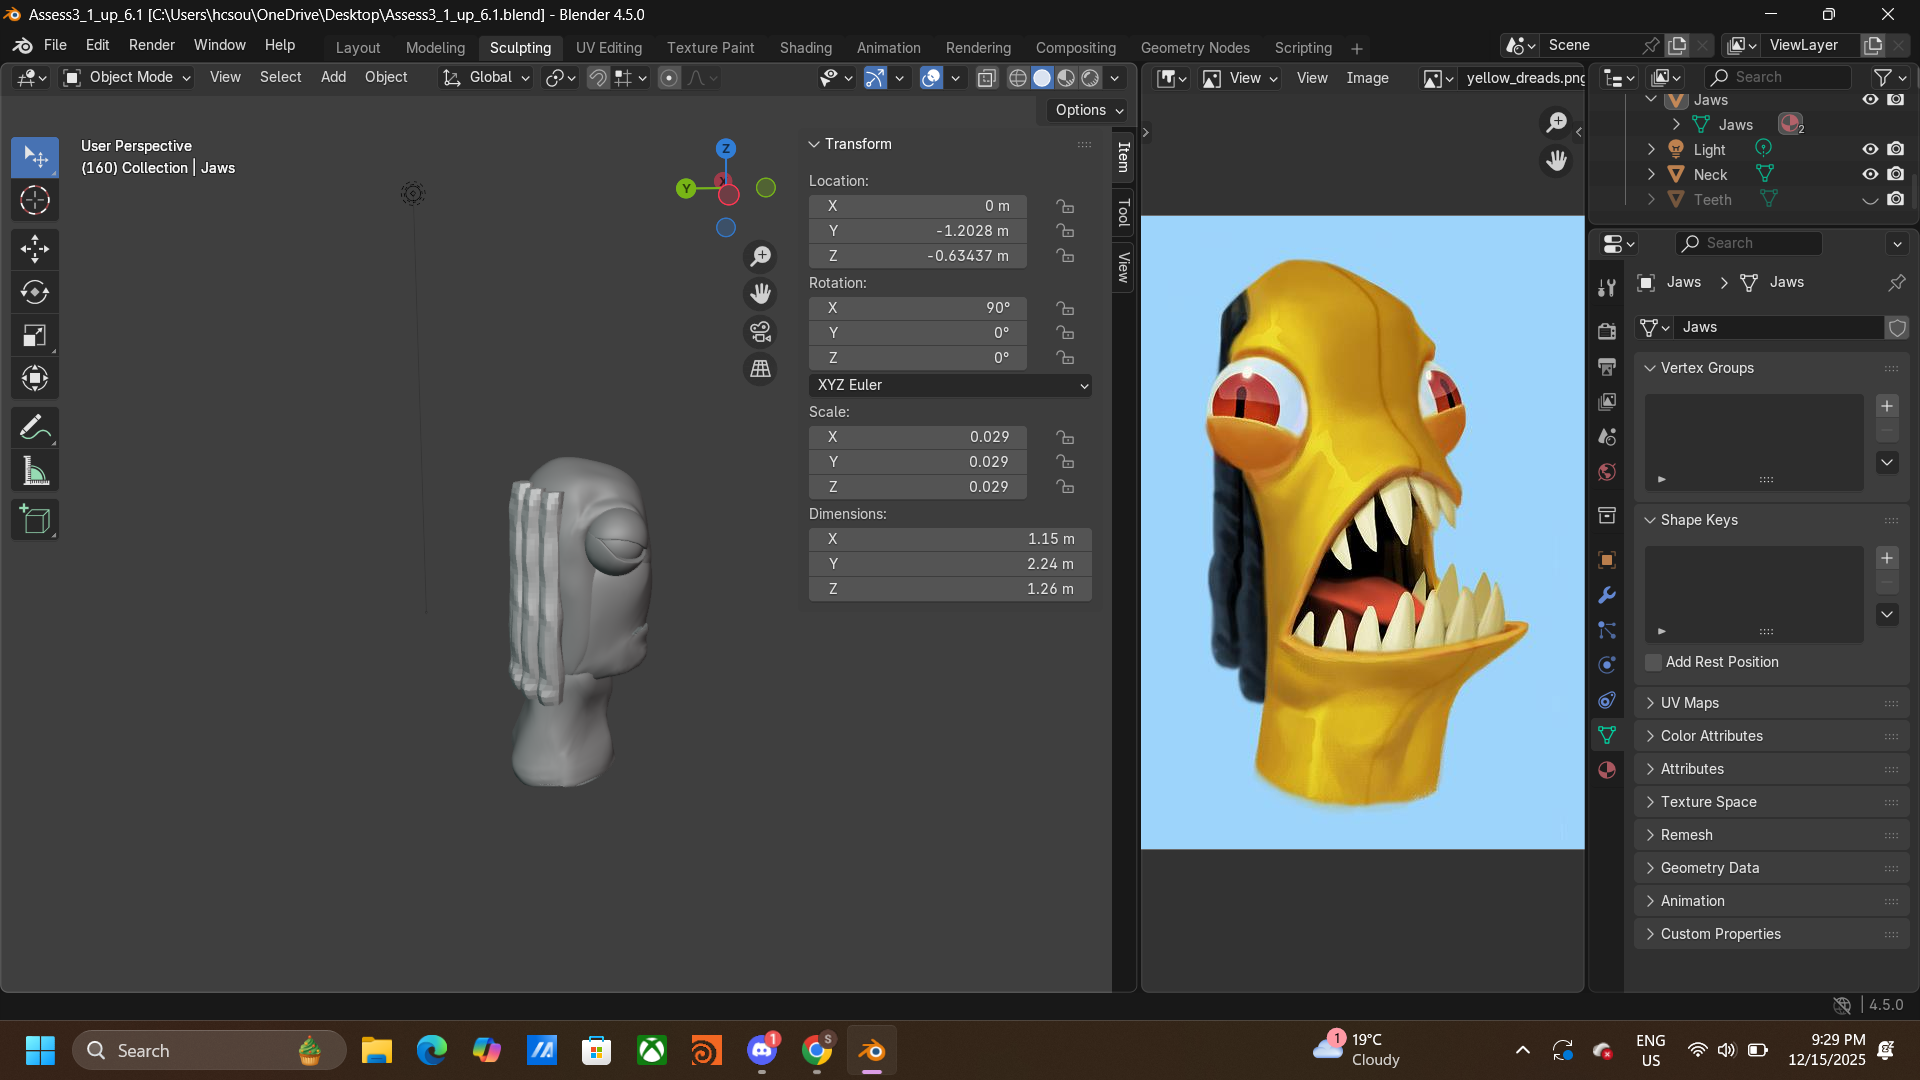
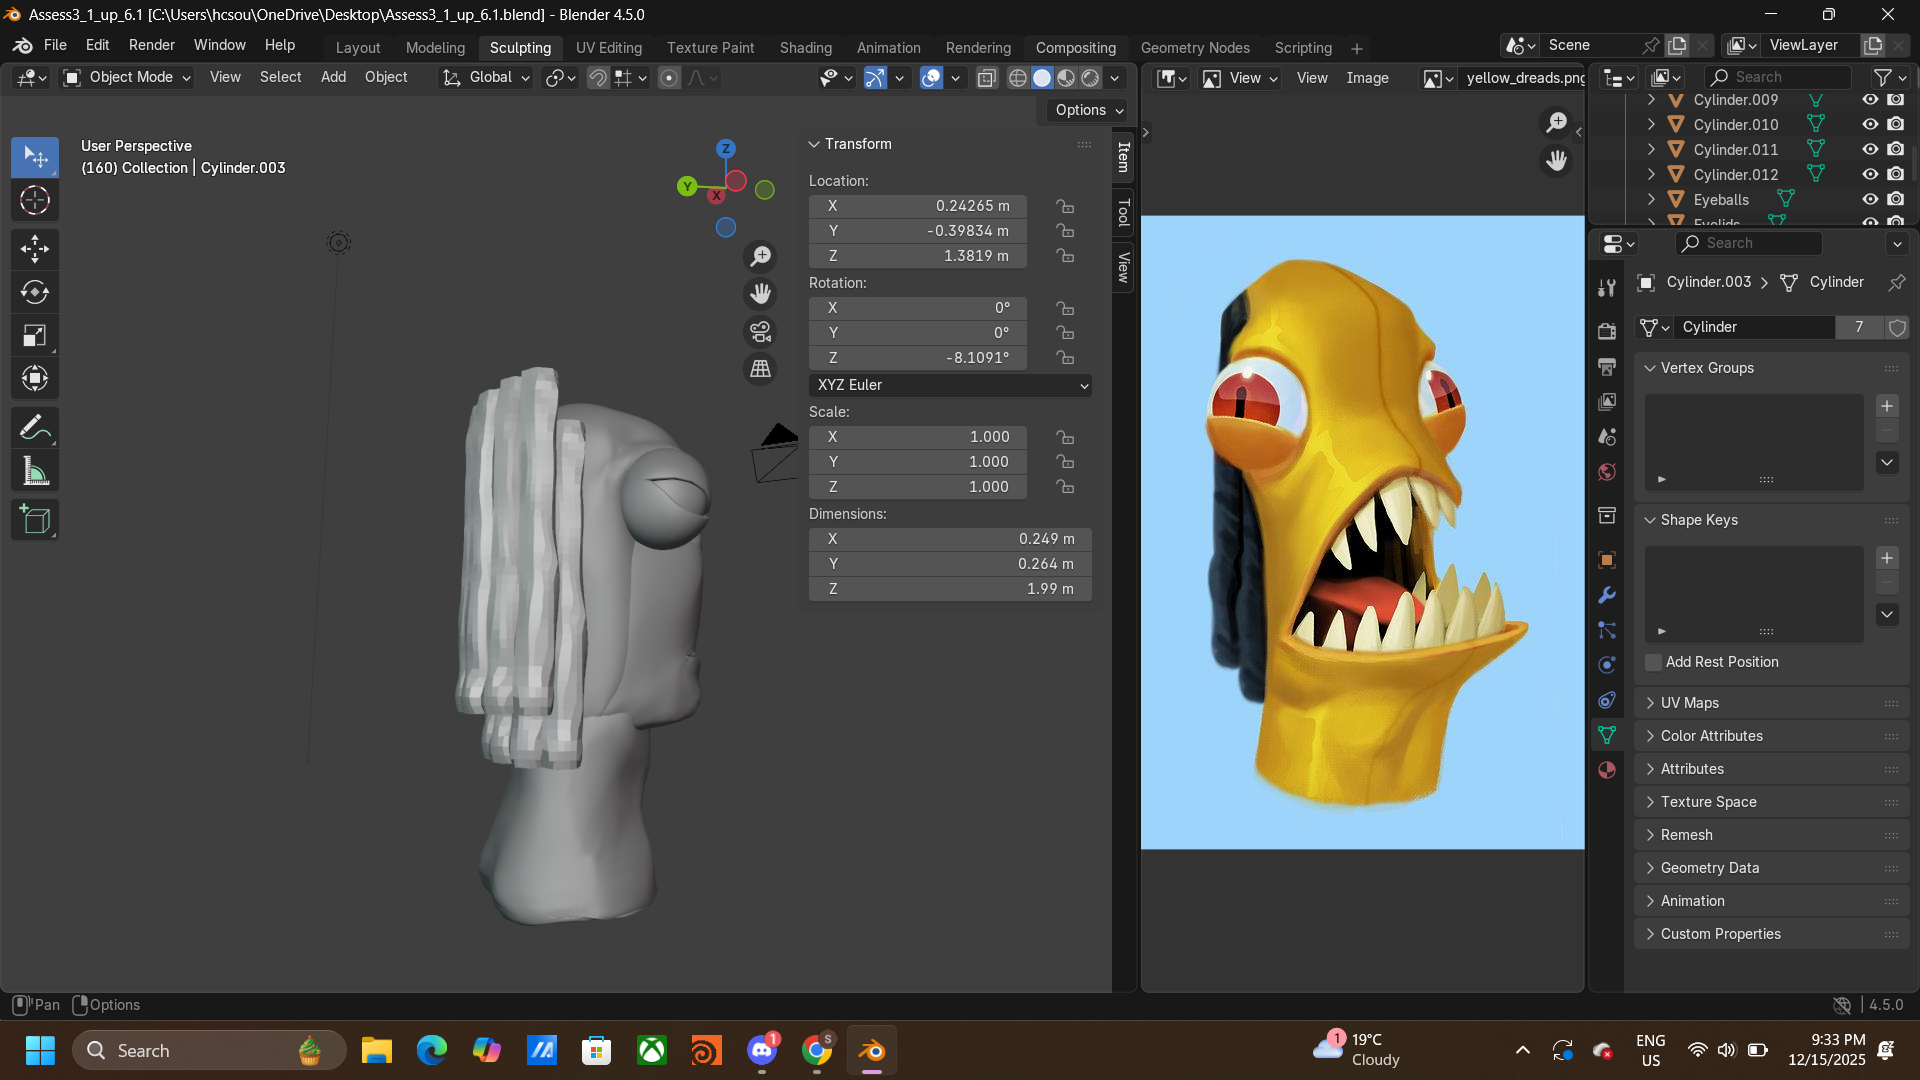
After completing the hair, I refined the head shape further to better match the reference and ensure the hair and head worked well together.
Driven by curiosity and built on purpose, this is where bold thinking meets thoughtful execution. Let’s create something meaningful together.
Driven by curiosity and built on purpose, this is where bold thinking meets thoughtful execution. Let’s create something meaningful together.
Facial Expression
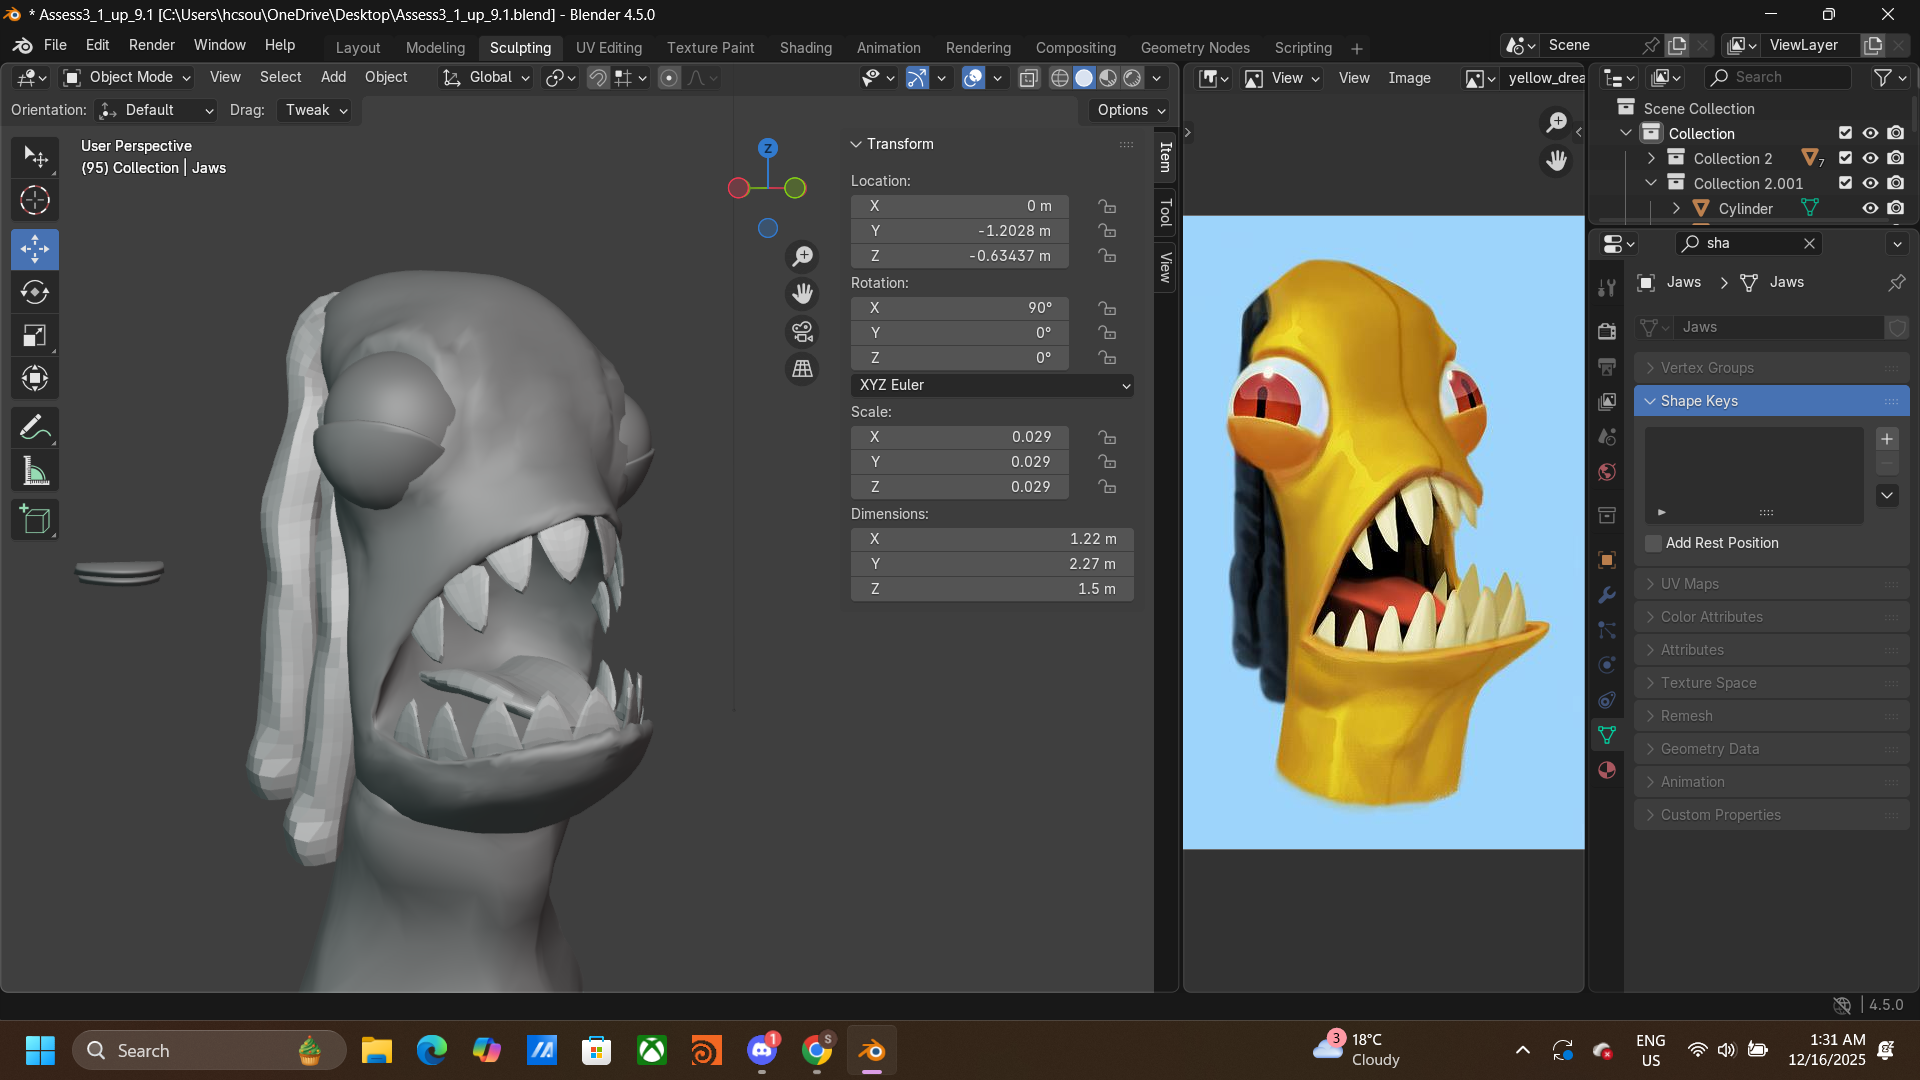
For the facial expression, I initially used shape keys as taught in class. However, after adjusting the vertex size and applying a remesh, the shape keys were lost and couldn’t be recovered. Rather than restarting, I decided to continue without them, since the mouth shape was already close to what I wanted. I then sculpted the tongue and teeth from cubes, placing them roughly before refining their positions later.
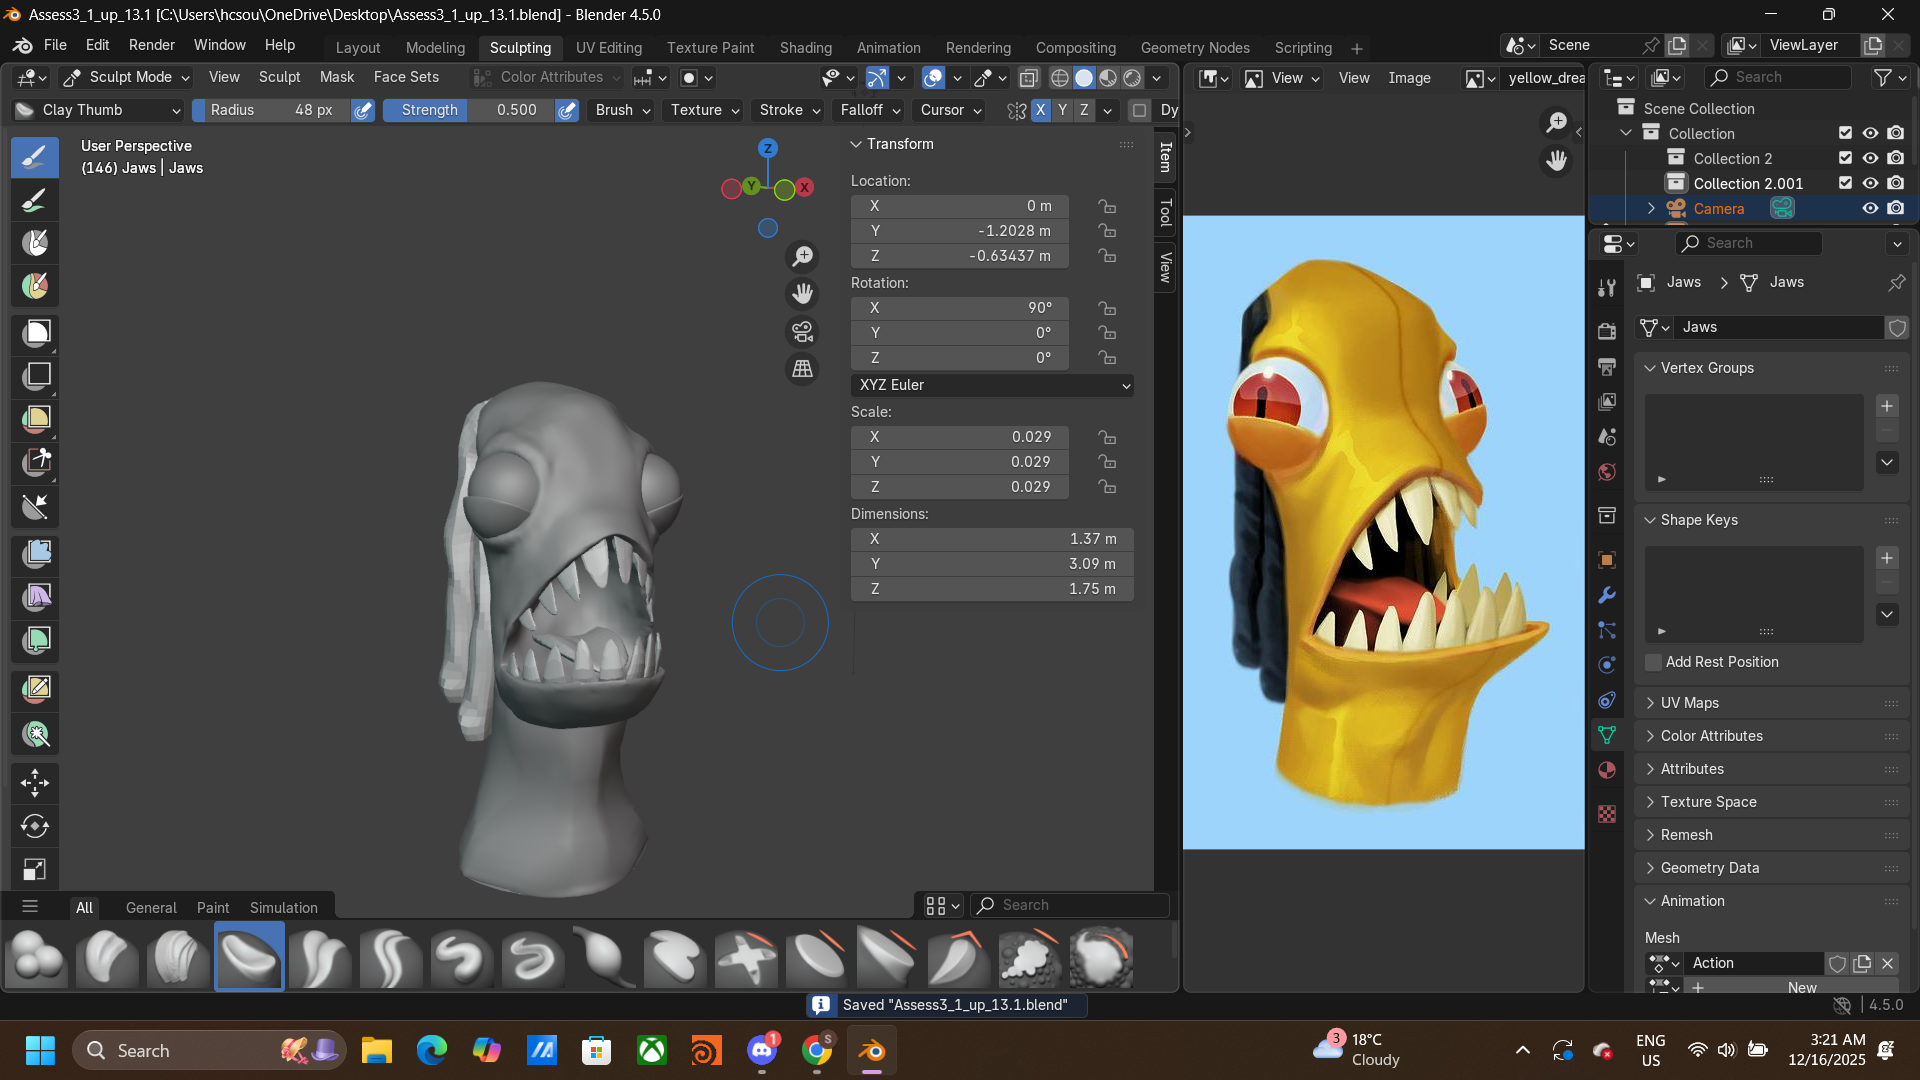
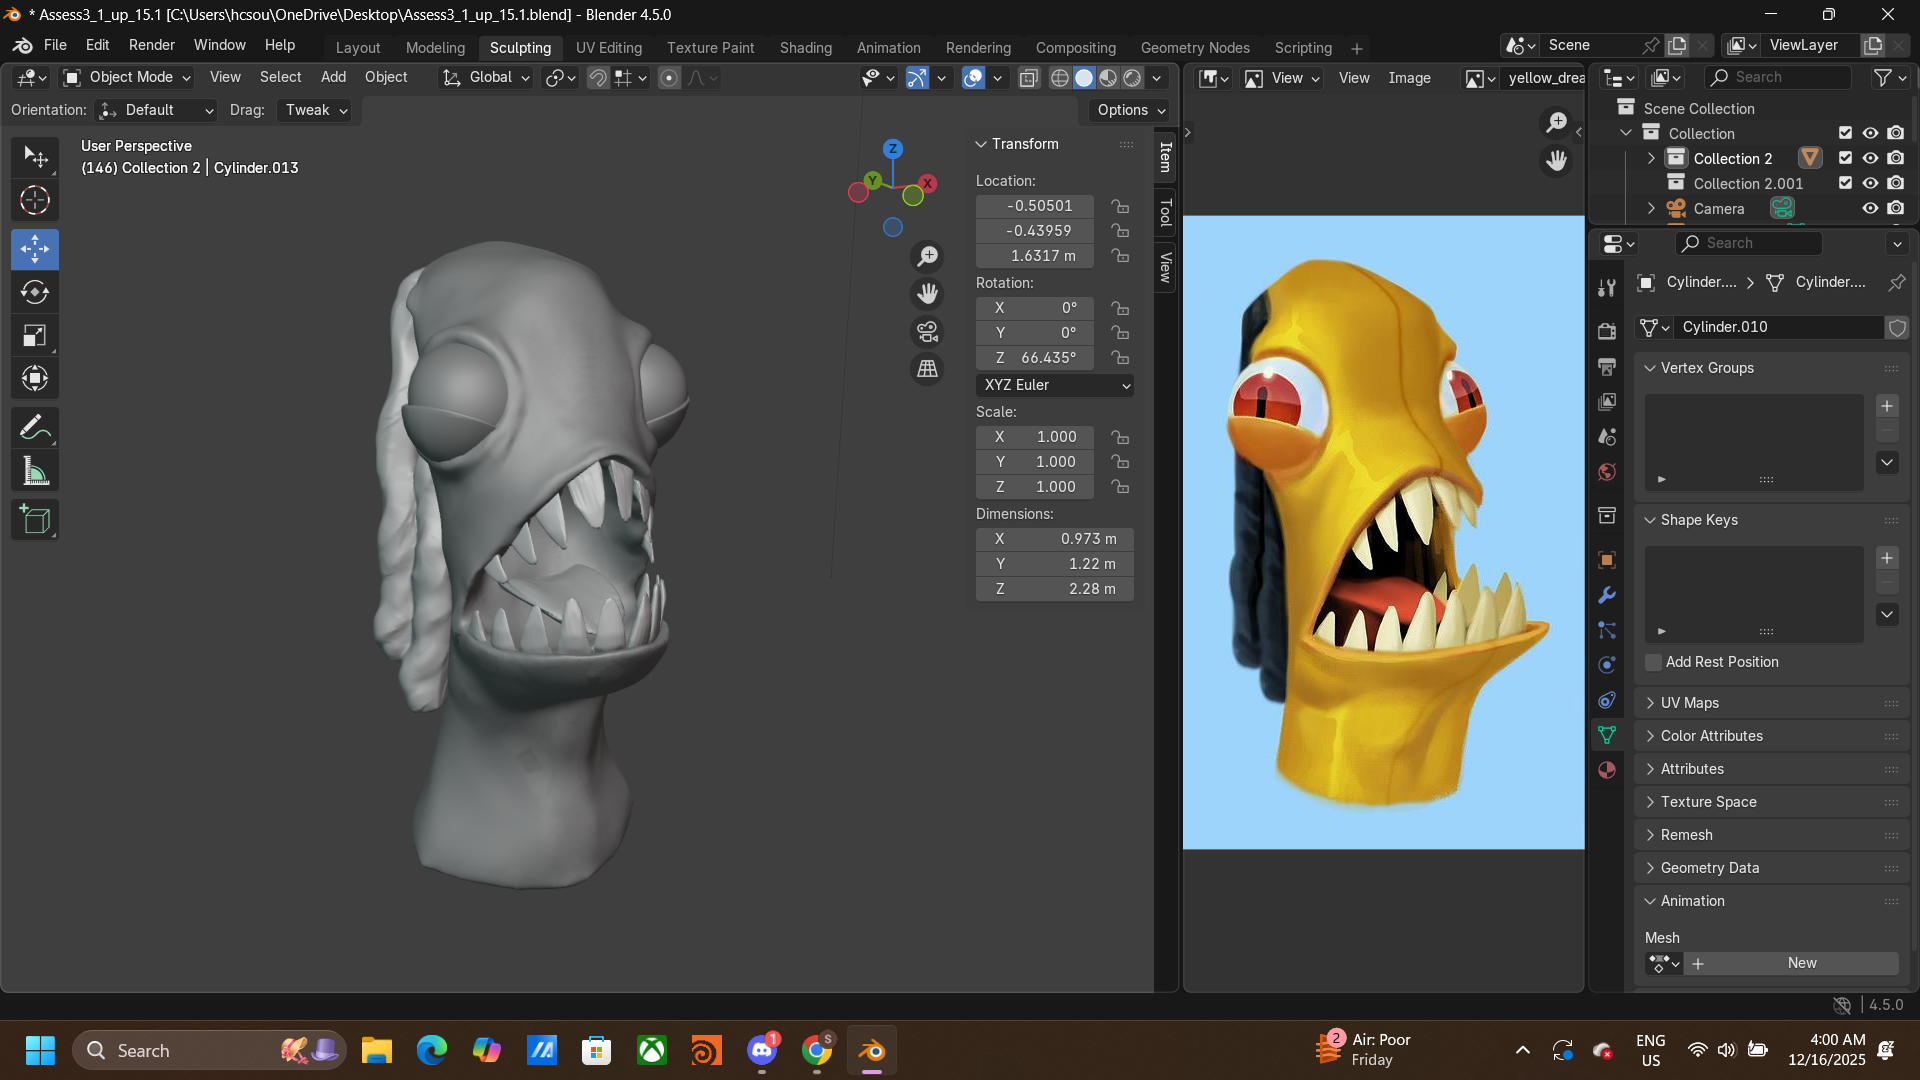
Here is the result after adjusting the hair and teeth.
Colouring
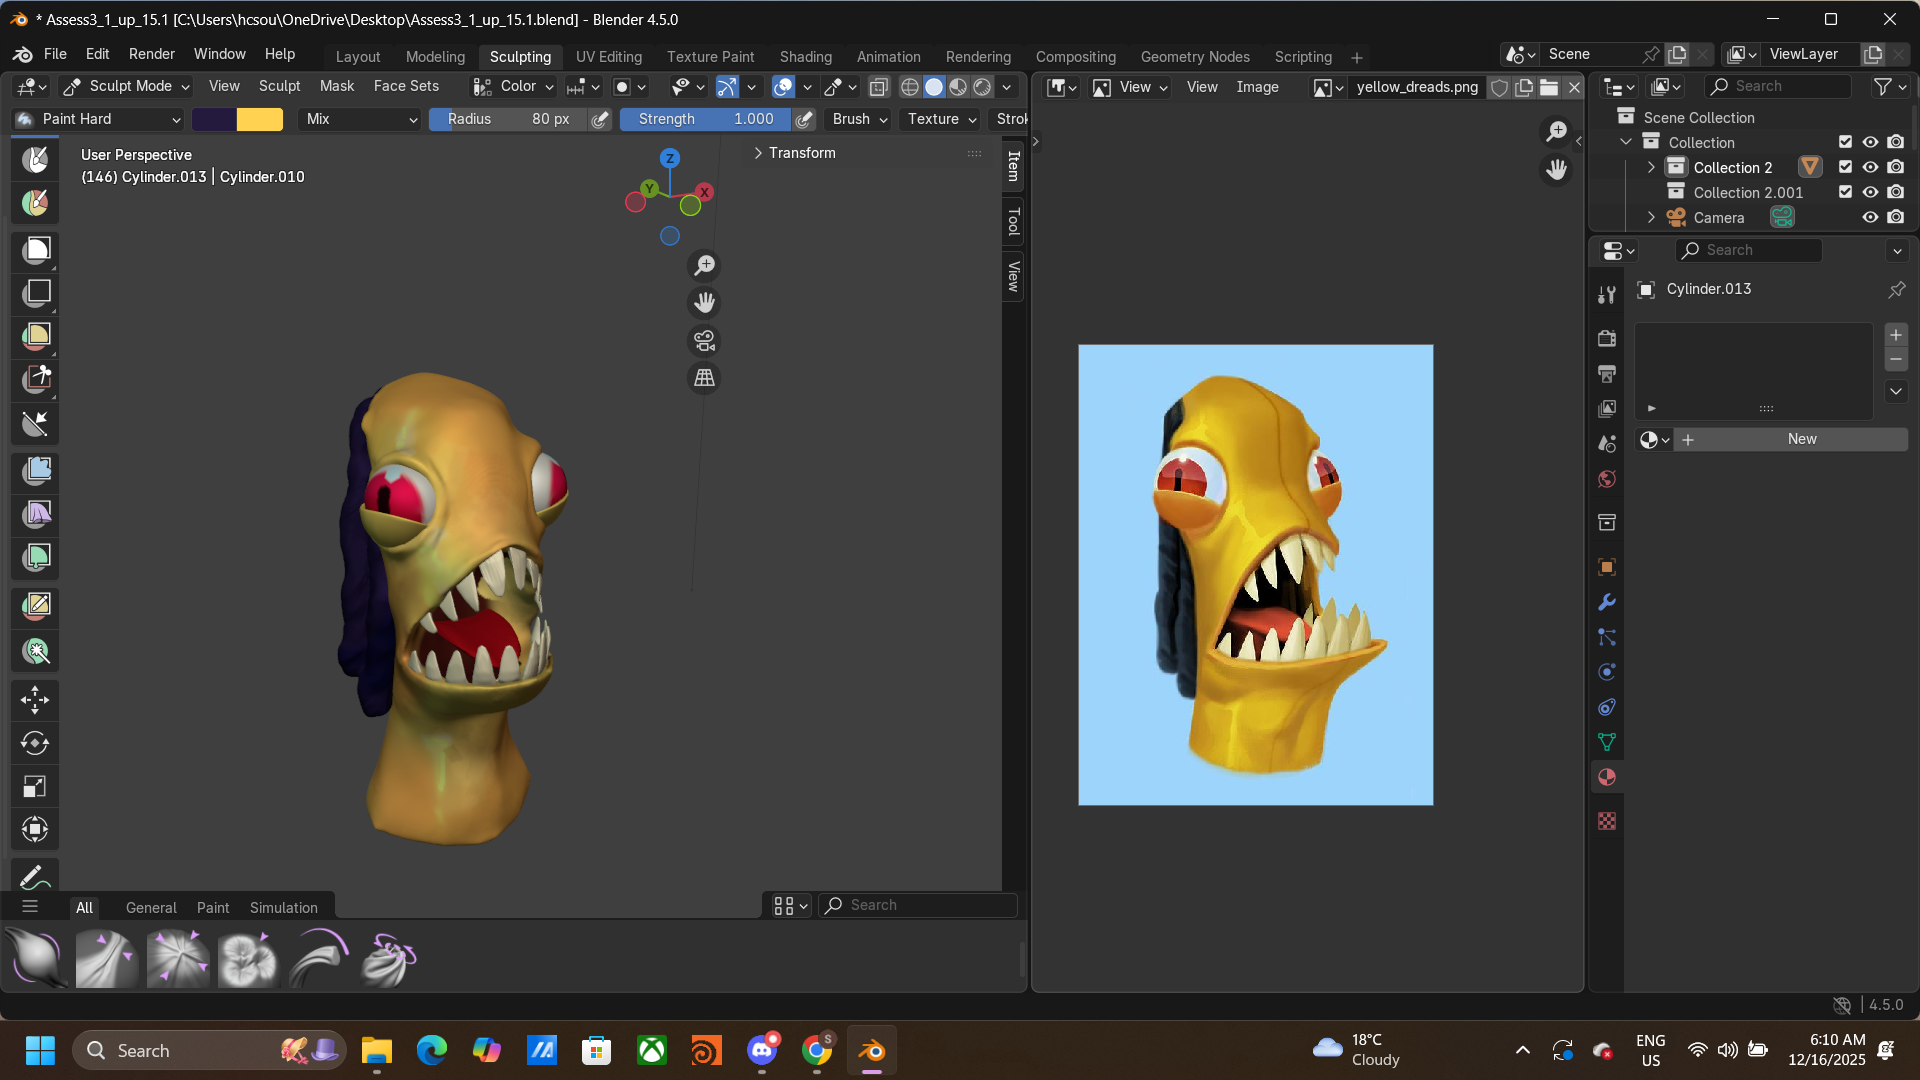
For the colouring stage, I ran into difficulties again as I couldn’t get the paint tools to work properly, even after following tutorials. I realised I was quite tired, so I took a break and came back to it later—and it worked.
After completing the model in Blender, I exported it to other software for colour adjustments. I first tried Photoshop, but later switched to Procreate on my iPad, as it felt more comfortable and intuitive for me.